Misc : Stopmotion
Created on August 22, 2018. Last update on January 12, 2019.
Introduction
As you could see in the section about origamis, I have made some animated pictures of many of the polyhedra I have built. In this post, I will explain how I did it.
The main reason behind this project was that once I had made a model, no picture would accurately express the feeling of seeing the object live and make it easy to understand its structure at the first glance. This is especially true when looking at some representation of the Johnson polyhedra for the first time as I did on this web page [3]. This is why I find the "Visual Polyhedra" website [2] to be especially useful with its interactive display of polyhedron. This website also adds a lot of information on the geometrical properties of the polyhedra.
So the goal, to be precise, was to make some stop motion animation of the origami models of the augmented solids. I chose to have the solid rotating around a fixed vertical axis. Moreover, I wanted the animation to be seamless between the first and the last frame so that the animation could loop indefinitely without any noticeable artifact.
Setup
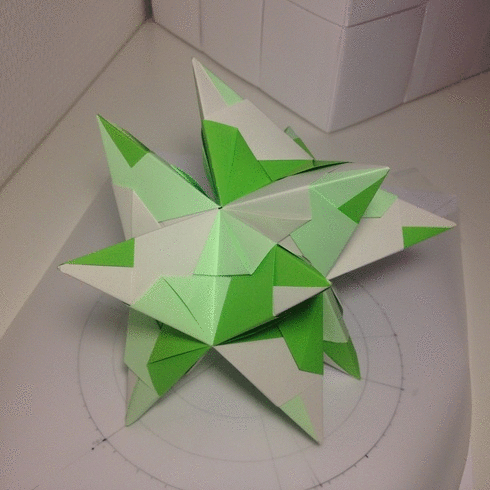
Rotation platform I did not have anything close to a rotating platform at home and I wanted to have a precise angle of rotation between each frame and some way to properly center the model on the platform. Hopefully, I had some tracing paper. I drew a circle (15cm wide) on both a sheet of white paper and a sheet of tracing paper as well as regularly spaced ticks on the circle using a protractor (learning a new word here). This way the circle and ticks on the white paper served as a fixed reference and I could accurately position the tracing paper on top by matching the line and ticks of the circles. I did not fix the model to the tracing paper but I was careful during the shooting as to not let it slide on the tracing paper (it was sufficiently steady in the setup).
To achieve a seamless animation, I had to center the rotation axis of the model with the rotation axis of the rotating platform. I drew additional concentric circles on the paper as well as some radial lines (every 72, 90 and 120 degrees) for this purpose which helped placing the tips of the model that touched the ground at a reasonably equal distance from the platform rotation center (center of the concentric circles).
Frame number The number of frames I aimed for at first was 36 (because I’m lazy), implying a rotation angle of 10 degrees but the animation was too jerky and did not render well. I doubled the frame number using a rotation angle of 5 degrees and the result was much smoother. It took around 20-30 minutes to complete one sequence of shots. Fortunately, 72 frames is equal to exactly 3 seconds of 24 fps animation.
Camera I used my IPhone 4S back camera mounted on a tripod to take the pictures. After positioning the model and the camera correctly with the framing I wanted, I set and fixed the focus by touching and holding the screen with my finger (a yellow frame with "lock AE/AF" should appear at some point). The luminosity can be adjusted by sliding the sun icon up and down. Once set, the goal was not to move the camera when pressing the capture button at each shot (I did not have a remote trigger).
For the framing, I wanted to look at the model from a low angle, something between 20 and 40 degrees above the object so as to emphasize the parts of the model that appear and disappear during the rotation. The resulting pictures are 2448×2448 pixels (I chose a square frame).
Lighting The first shot I took was on a bright sunny day, so I did not face any difficulties concerning the lighting (it varied a little bit but I did not mind so much). However, on the next day, some sparse clouds were present and I realized after a sequence that the ambient luminosity was changing greatly during the shooting. So I decided to take my pictures during the night. Should I mention that the shootings were made close to the summer solstice when the sun sets around 10:30pm and true night falls around 11pm ? ... Anyway, I have managed to do it so who cares.
Rendering
My OS is Ubuntu (16.04 at the moment), so I had to find some ways to do things properly and preferably in a simple way. I was not deceived (yeah!). Here is some piece of advice. For rendering, always keep the unmodified pictures in a safe folder. If some modifications like resizing or white balancing are necessary, do it to a copied version of the files.
GIF
I used ImageMagick in command line to create the GIF pictures. The command is the following
considering that all the pictures are already in order in the same folder:
convert -resize 100% -delay 10 pic*.jpg -loop 0 myanimation.gif
The resizing is done on the fly, not onto the original files, though it uses a lot of RAM. The drawback of
making a GIF picture is that the number of colors is limited to 256 per frame which does not suit an
animation made of photographs so well.
Video I used Kdenlive [1] to produce better quality animation. It was easy and straightforward. Start by making a new project with the desired output video profile (720×720 24 fps in my case, create one if necessary), add a sideshow clip with the folder of the pictures, preferably resized to the video resolution using ImageMagick again (mogrify -resize 720x720 *.jpg). Do not forget to set the frame duration to 1 frame (00:00:00:01). Add the clip to the video timeline. Finally, export the video by clicking on "Render", set the profile to "MP4 -> H.264/AAC High profile", change the output file name and click render to file. Congratulations, it is done, easy and straightforward as I said !
Gallery
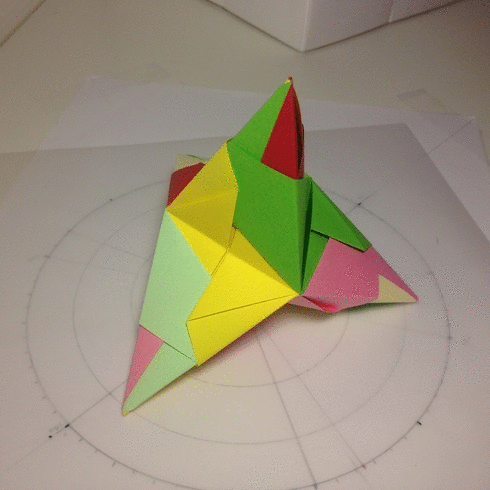
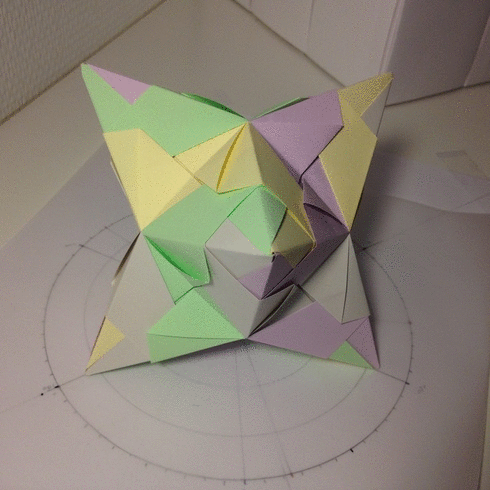
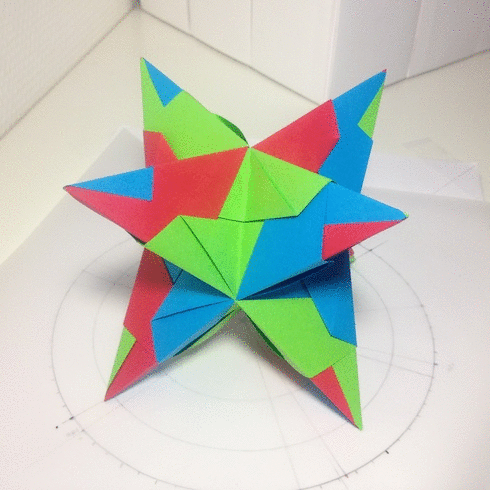
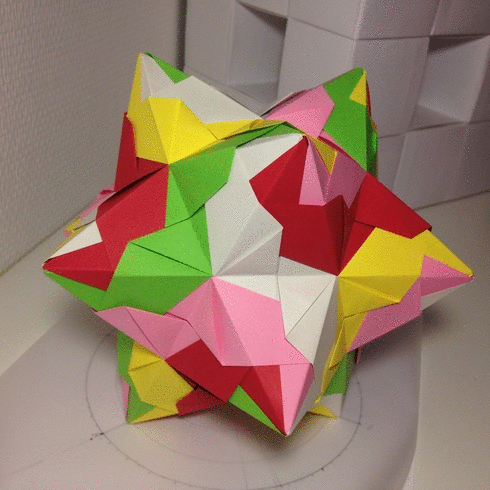
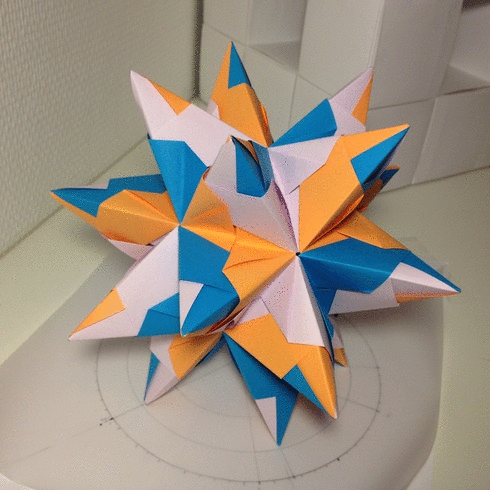
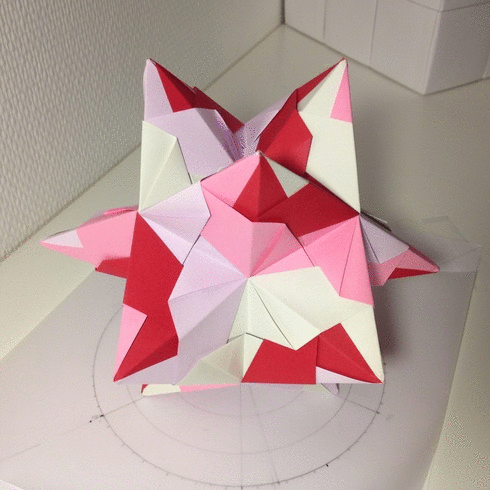
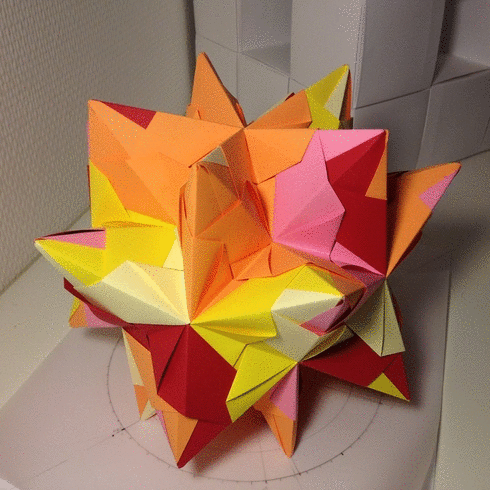
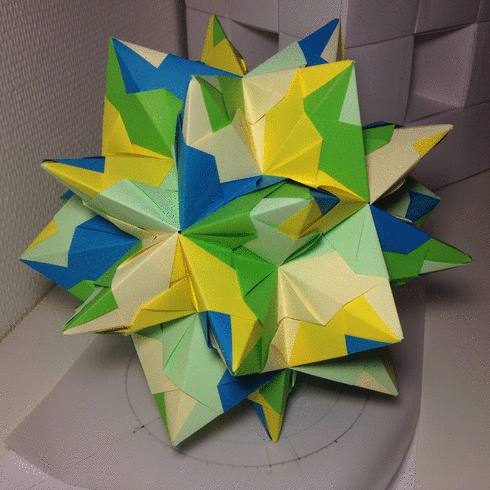
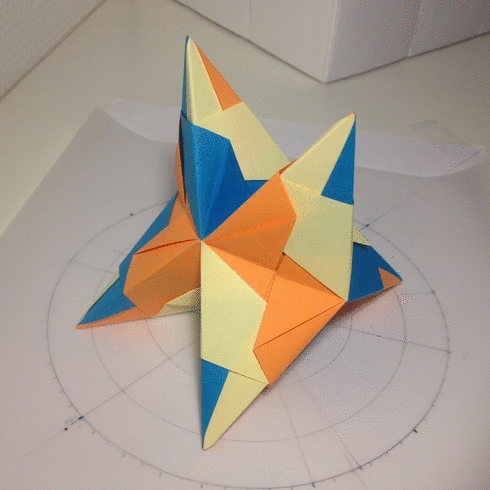
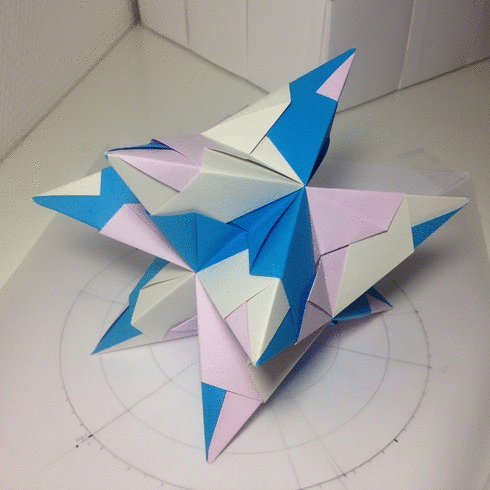
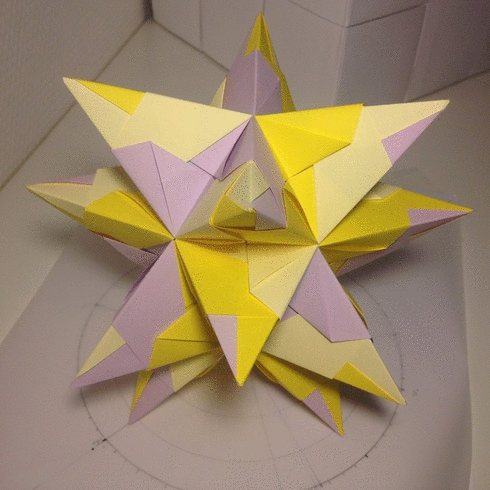
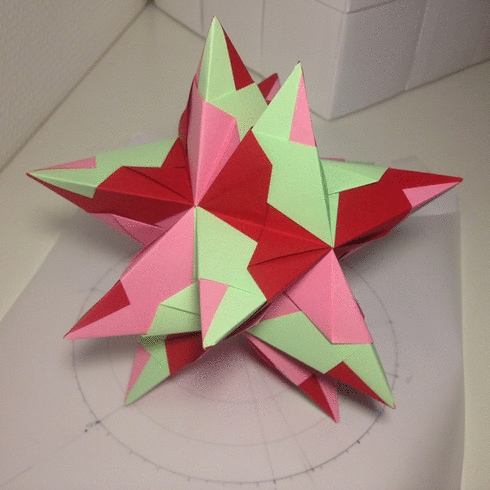
Here are some animations I made, Figures 1,2,3. Animation of better quality can be obtained by clicking on the pictures. More can be found in other sections.
References
[1] Kdenlive Developers. Kdenlive. https://kdenlive.org/fr/. Accessed on 08-18-2018.
[2] David I. McCooey. Visual polyhedra. http://dmccooey.com/polyhedra/. Accessed on 08-11-2018.
[3] Eric W. Weisstein. Johnson solid. http://mathworld.wolfram.com/JohnsonSolid.html. Accessed on 08-13-2018.