Origami part 8 : New modules, new models and viewers
Created on September 27, 2025.
Last update on April 30, 2026.
TL;DR
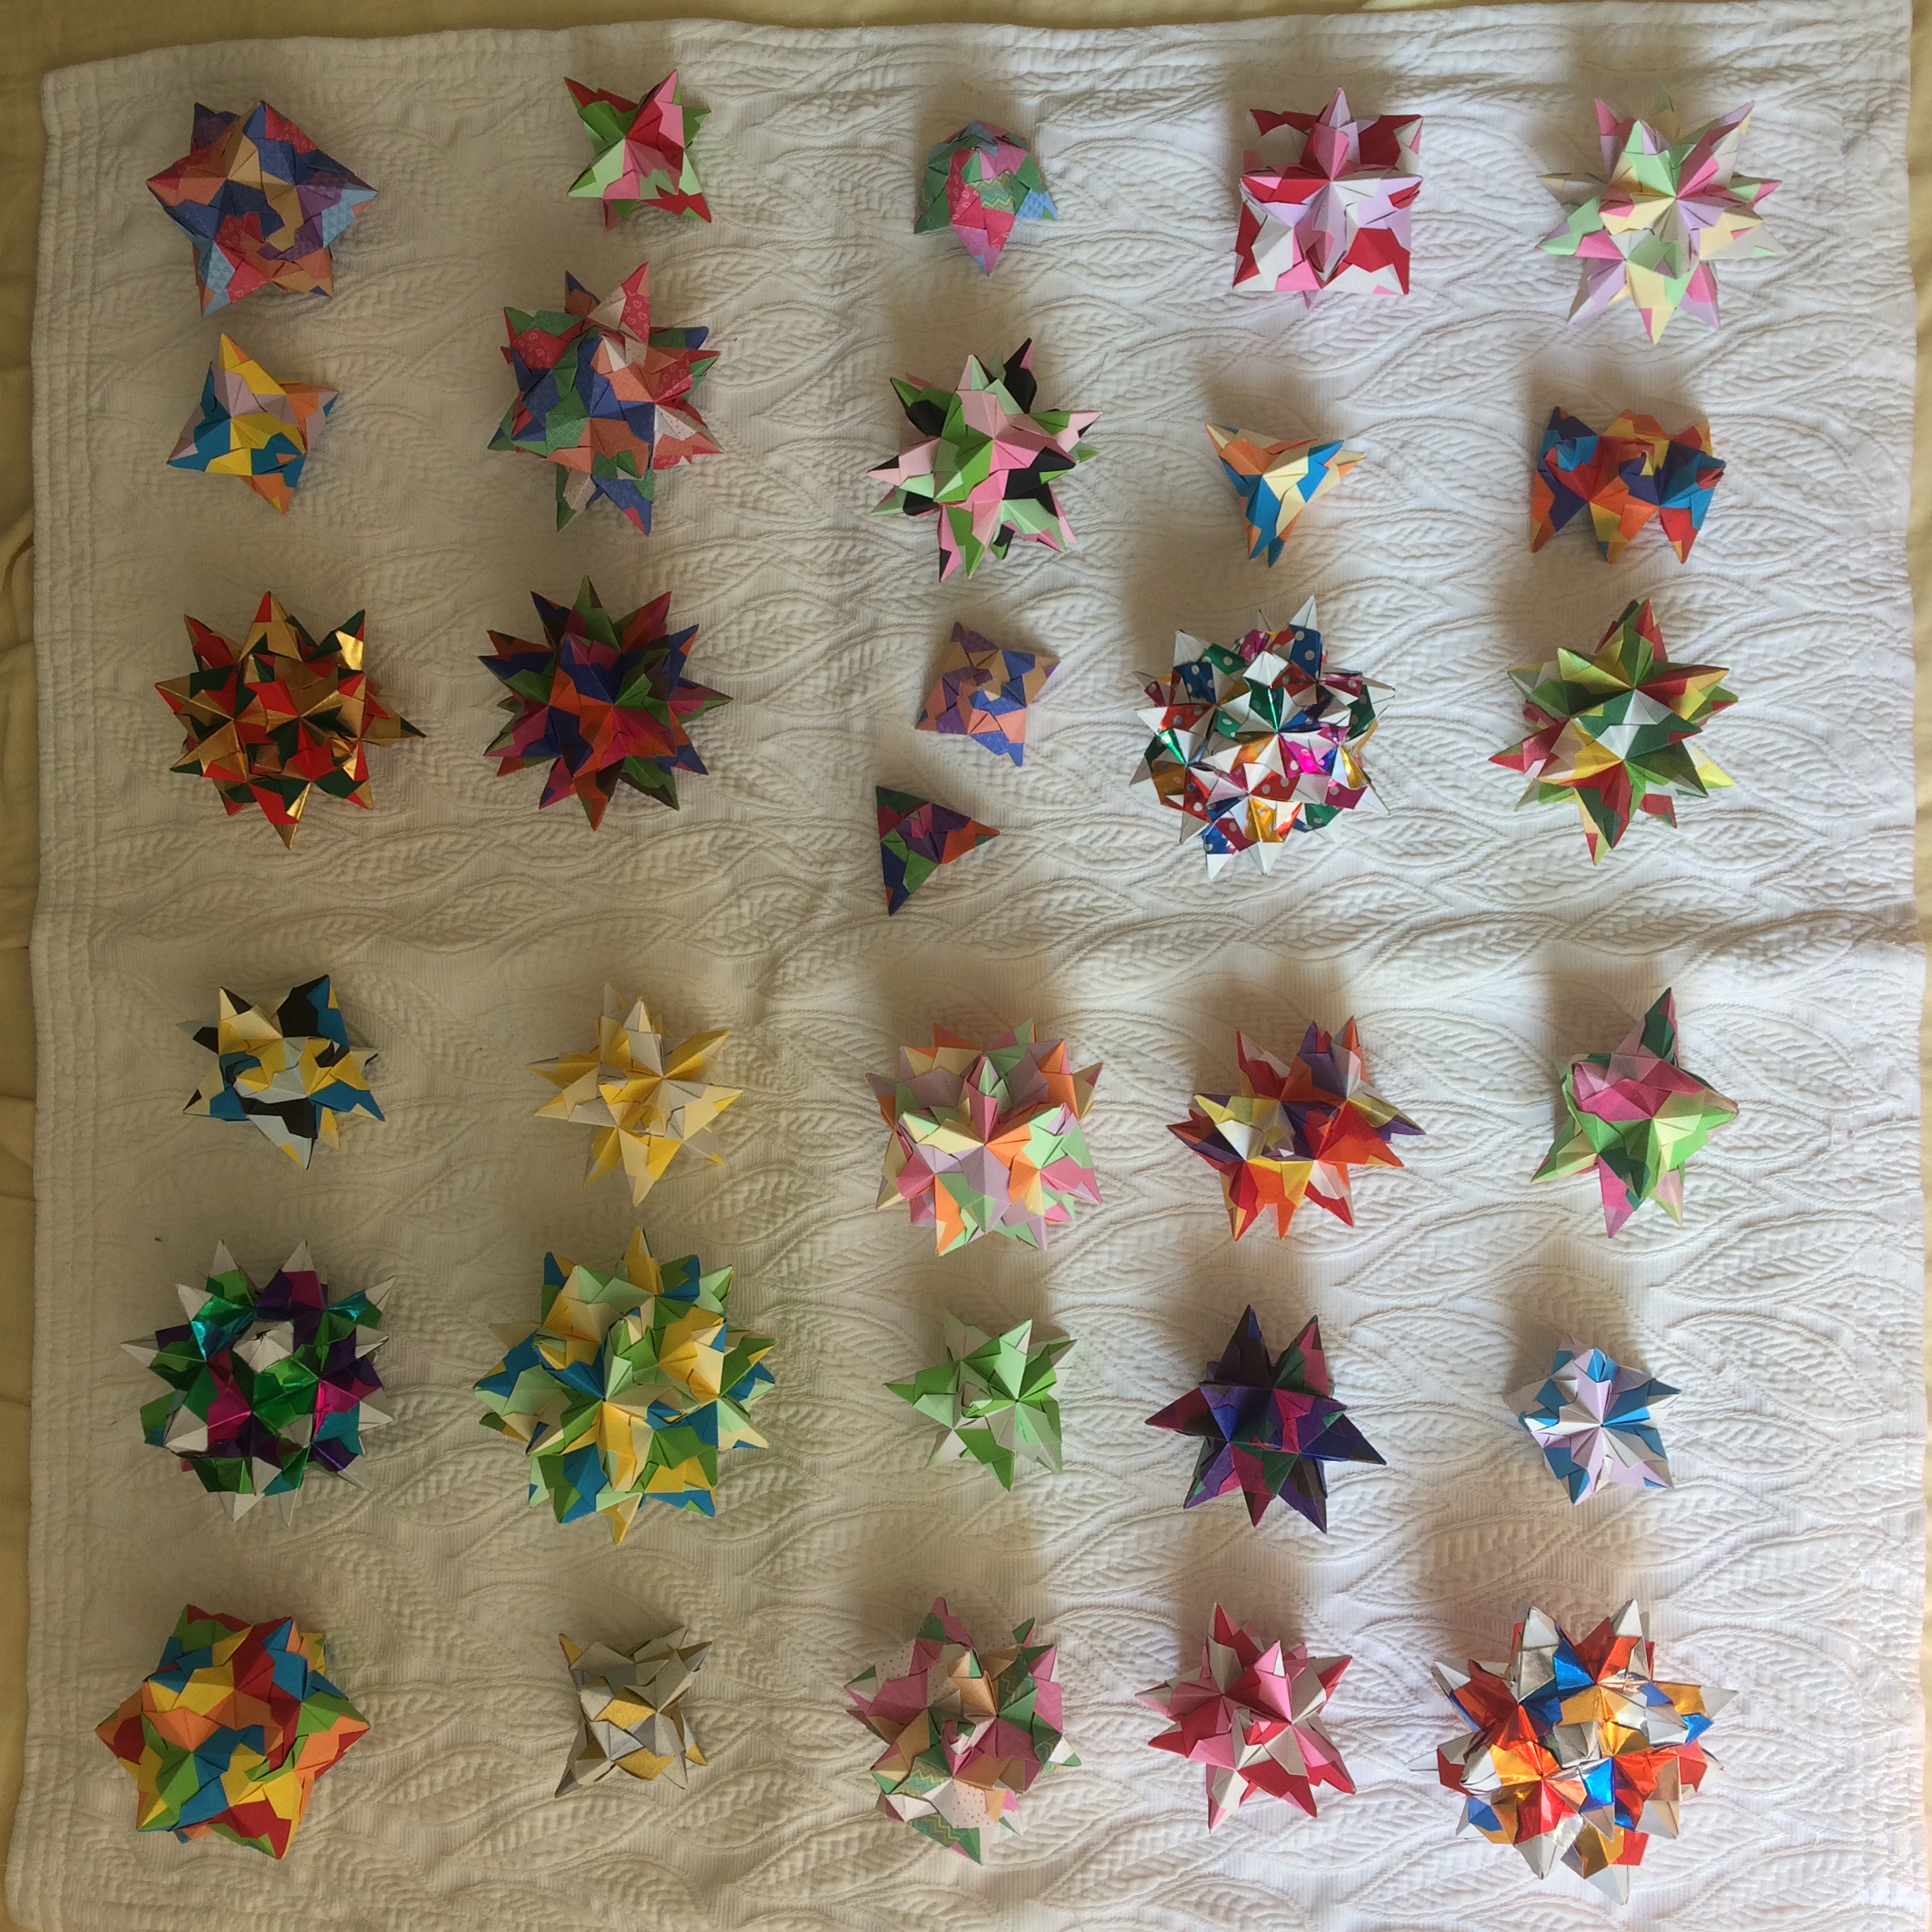
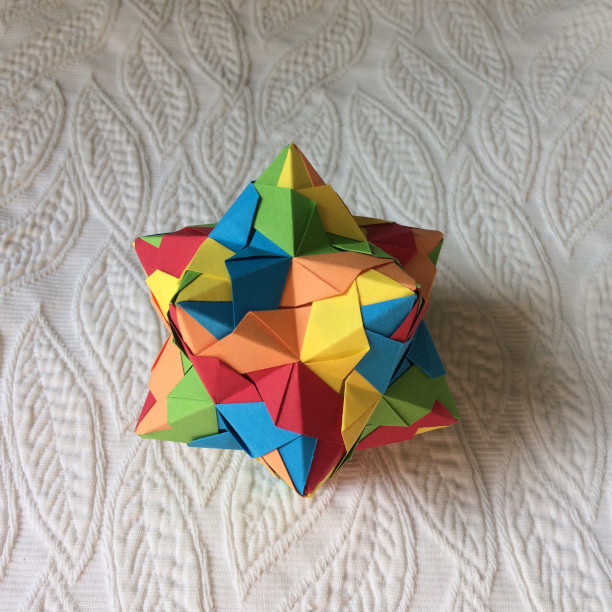
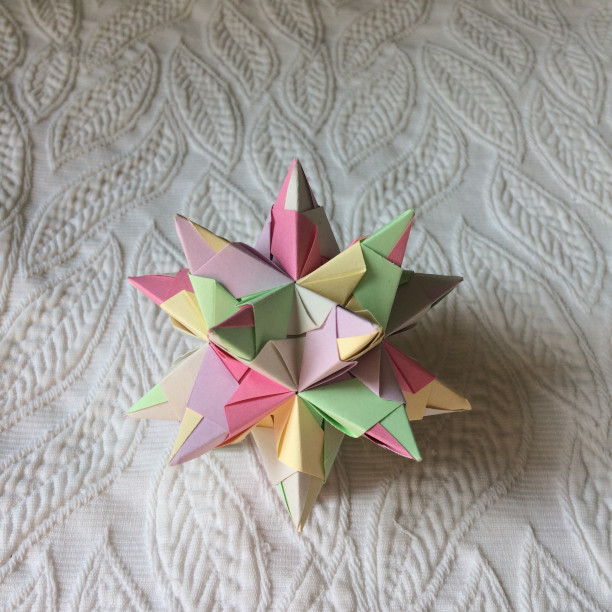
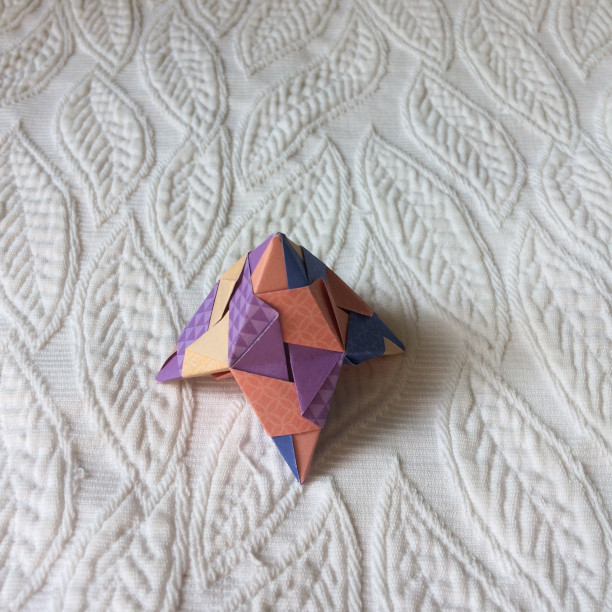
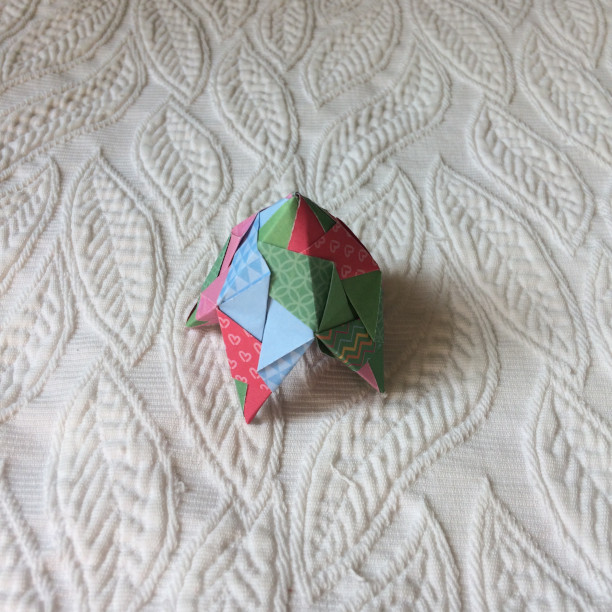
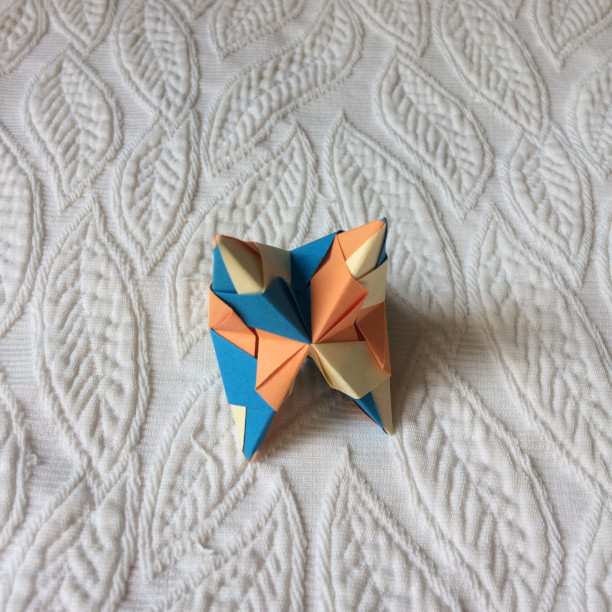
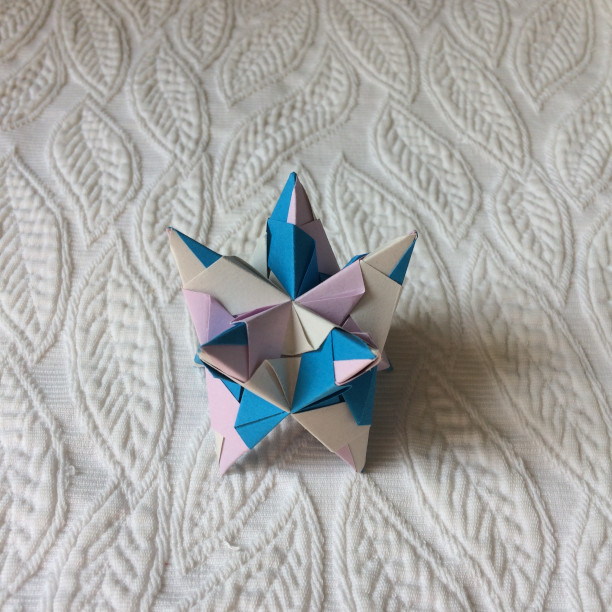
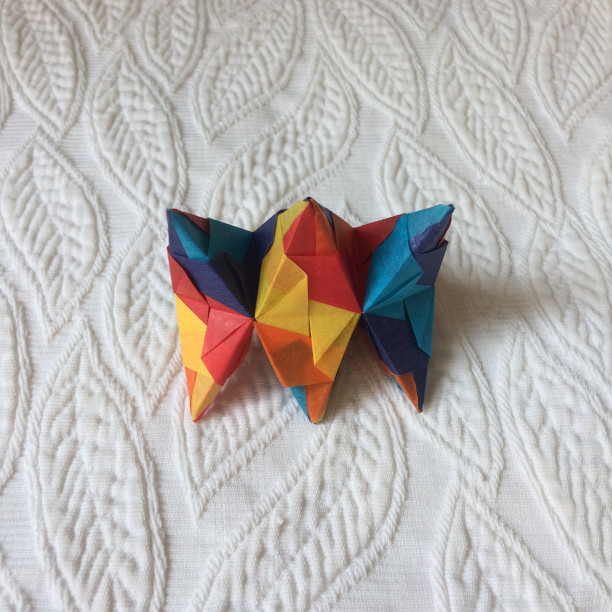
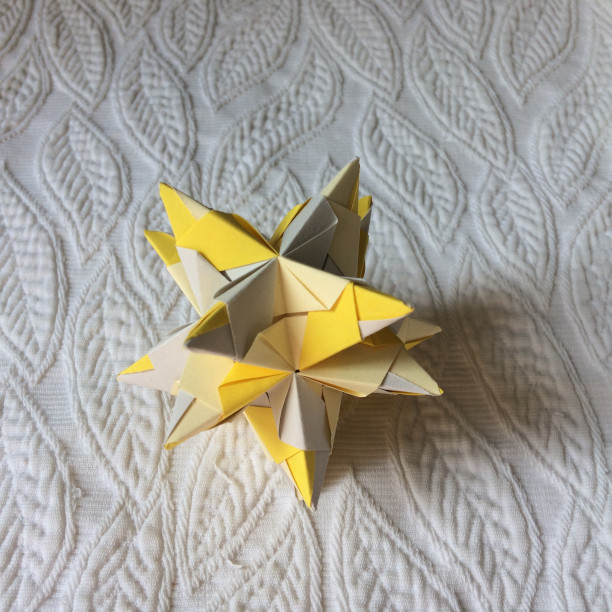
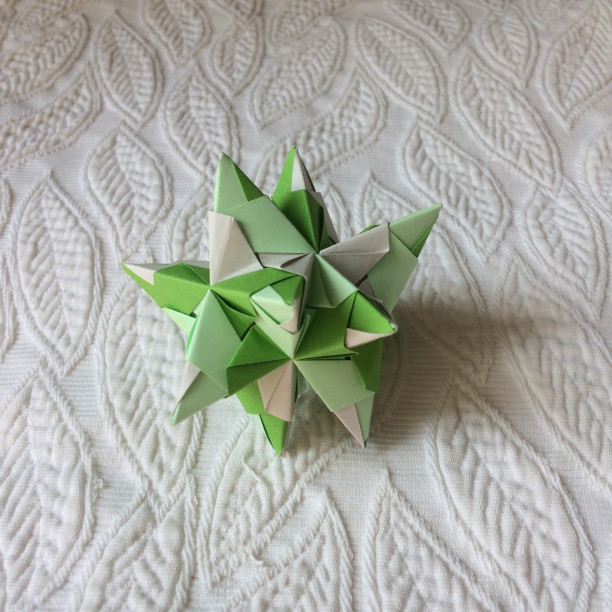
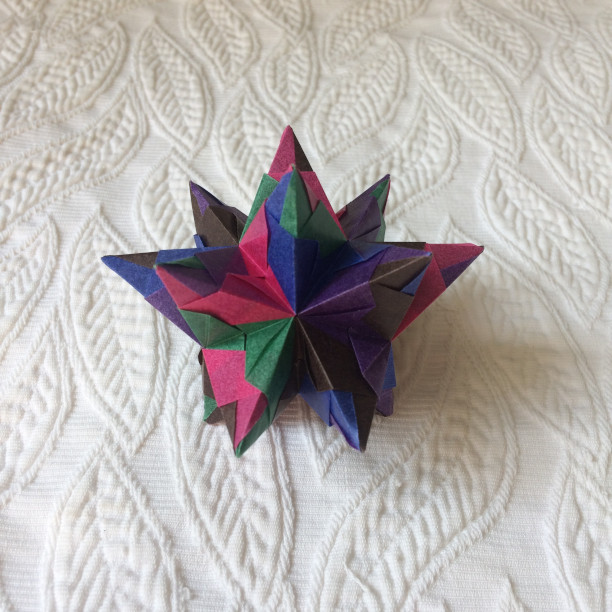
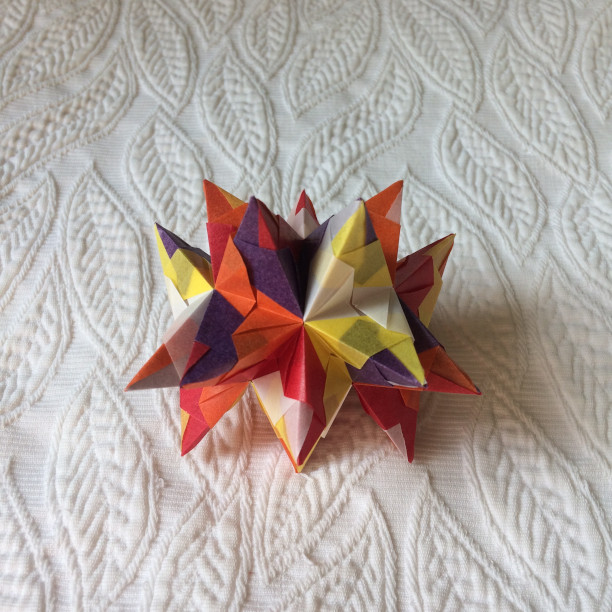
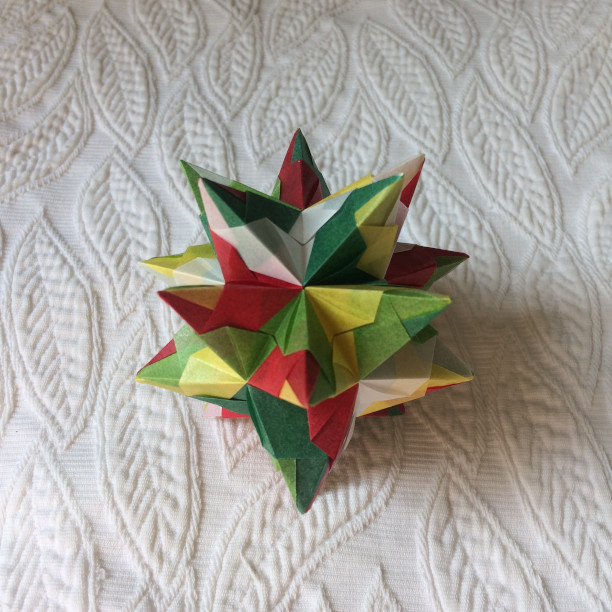
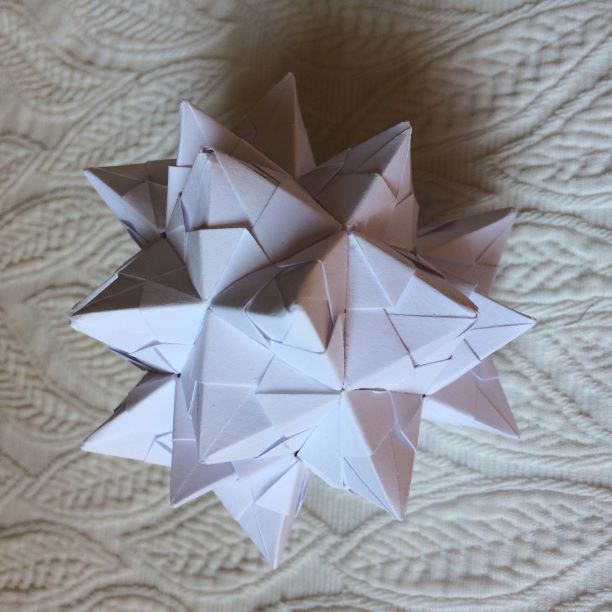
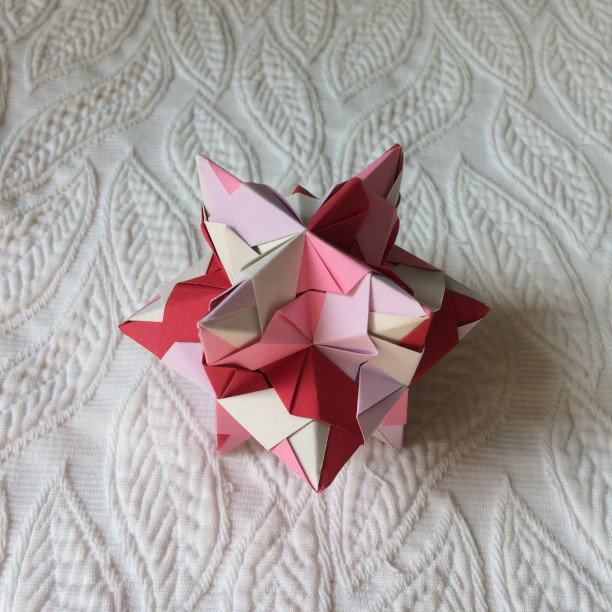
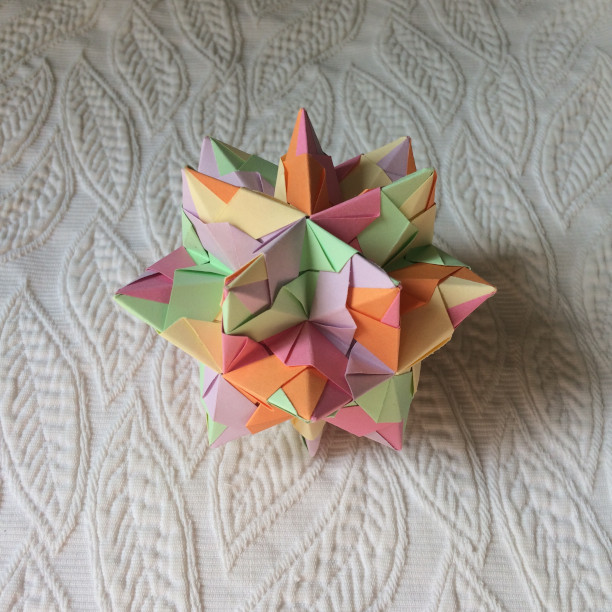
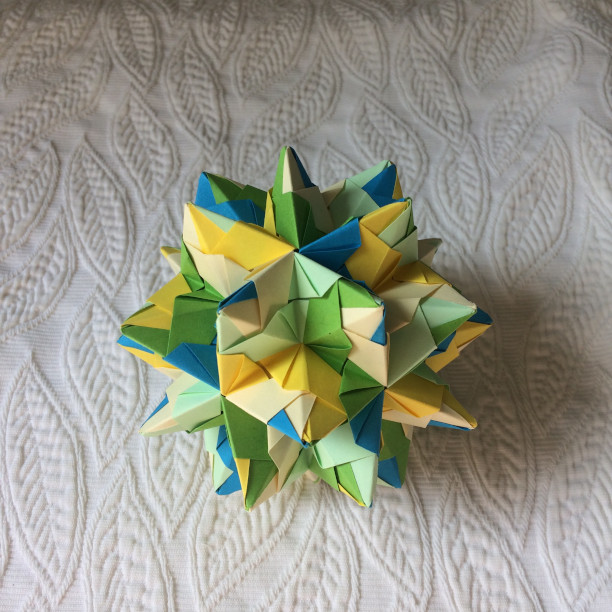
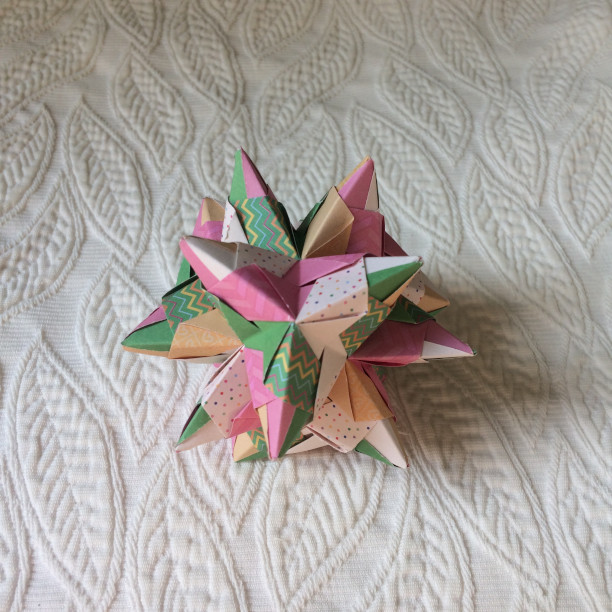
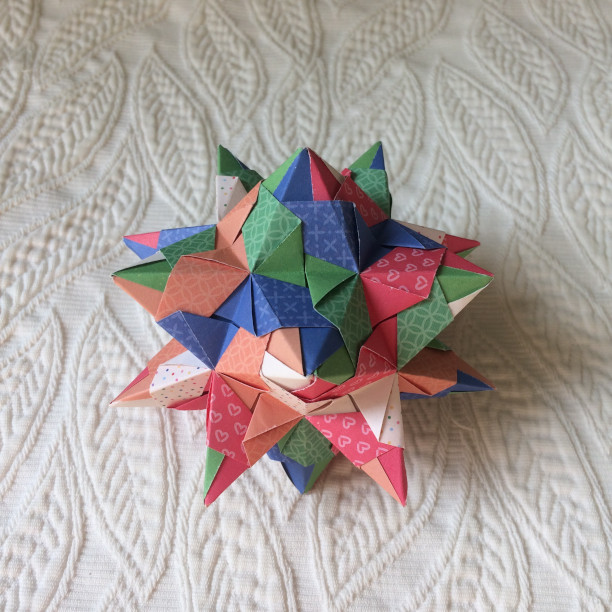
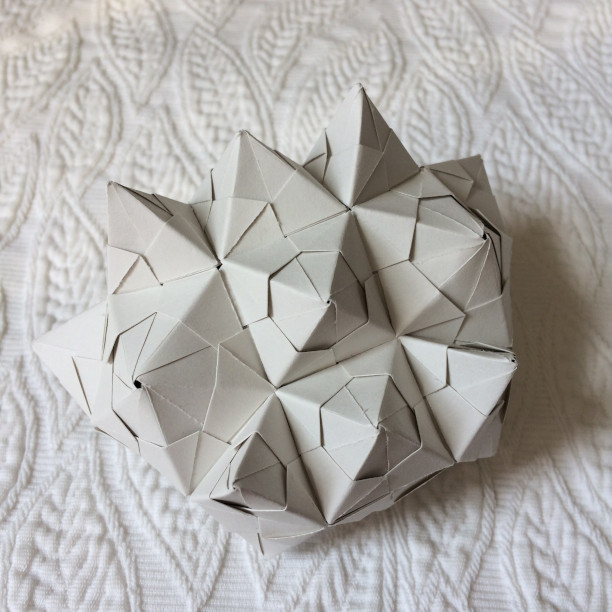
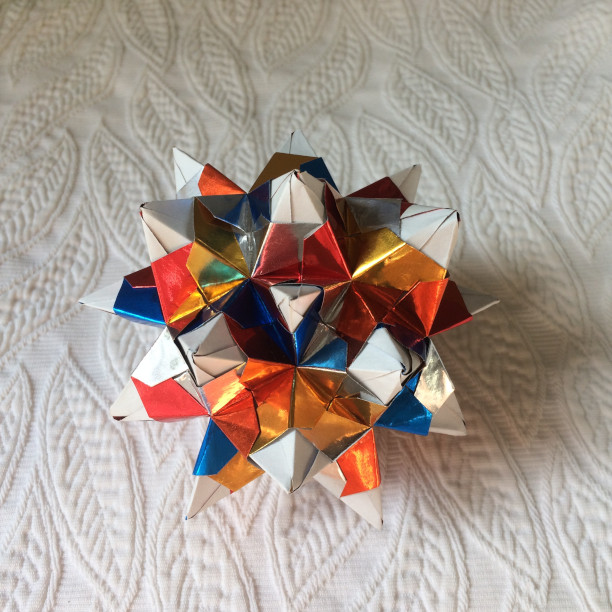
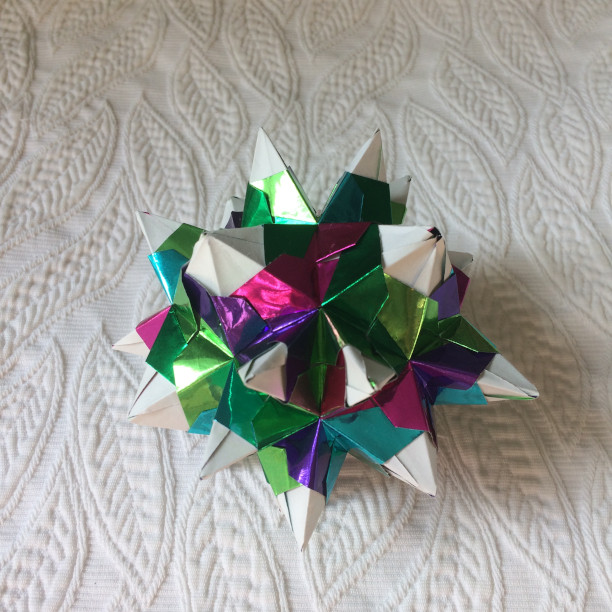
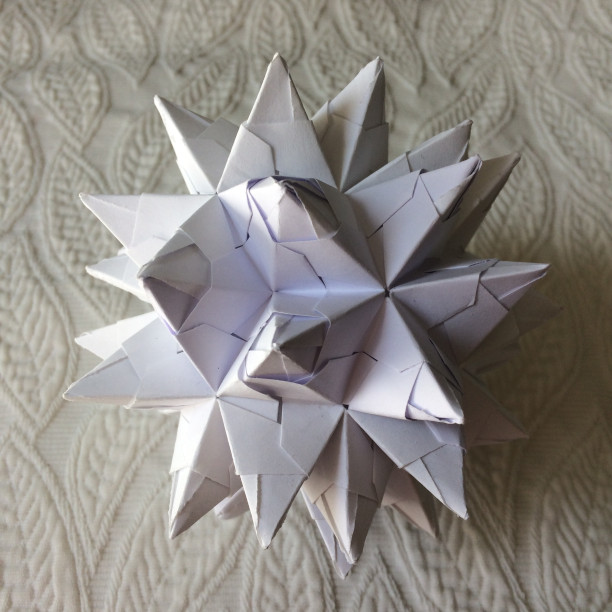
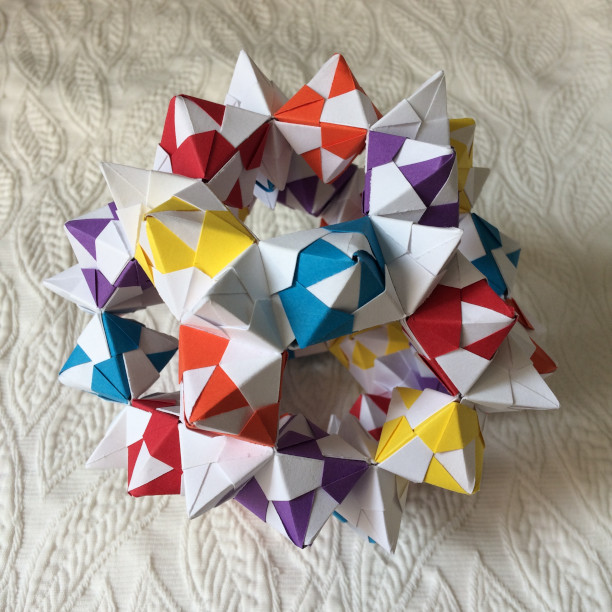
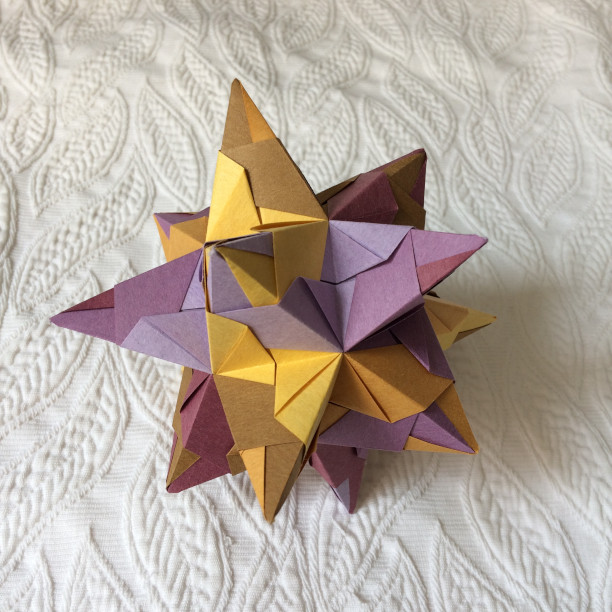
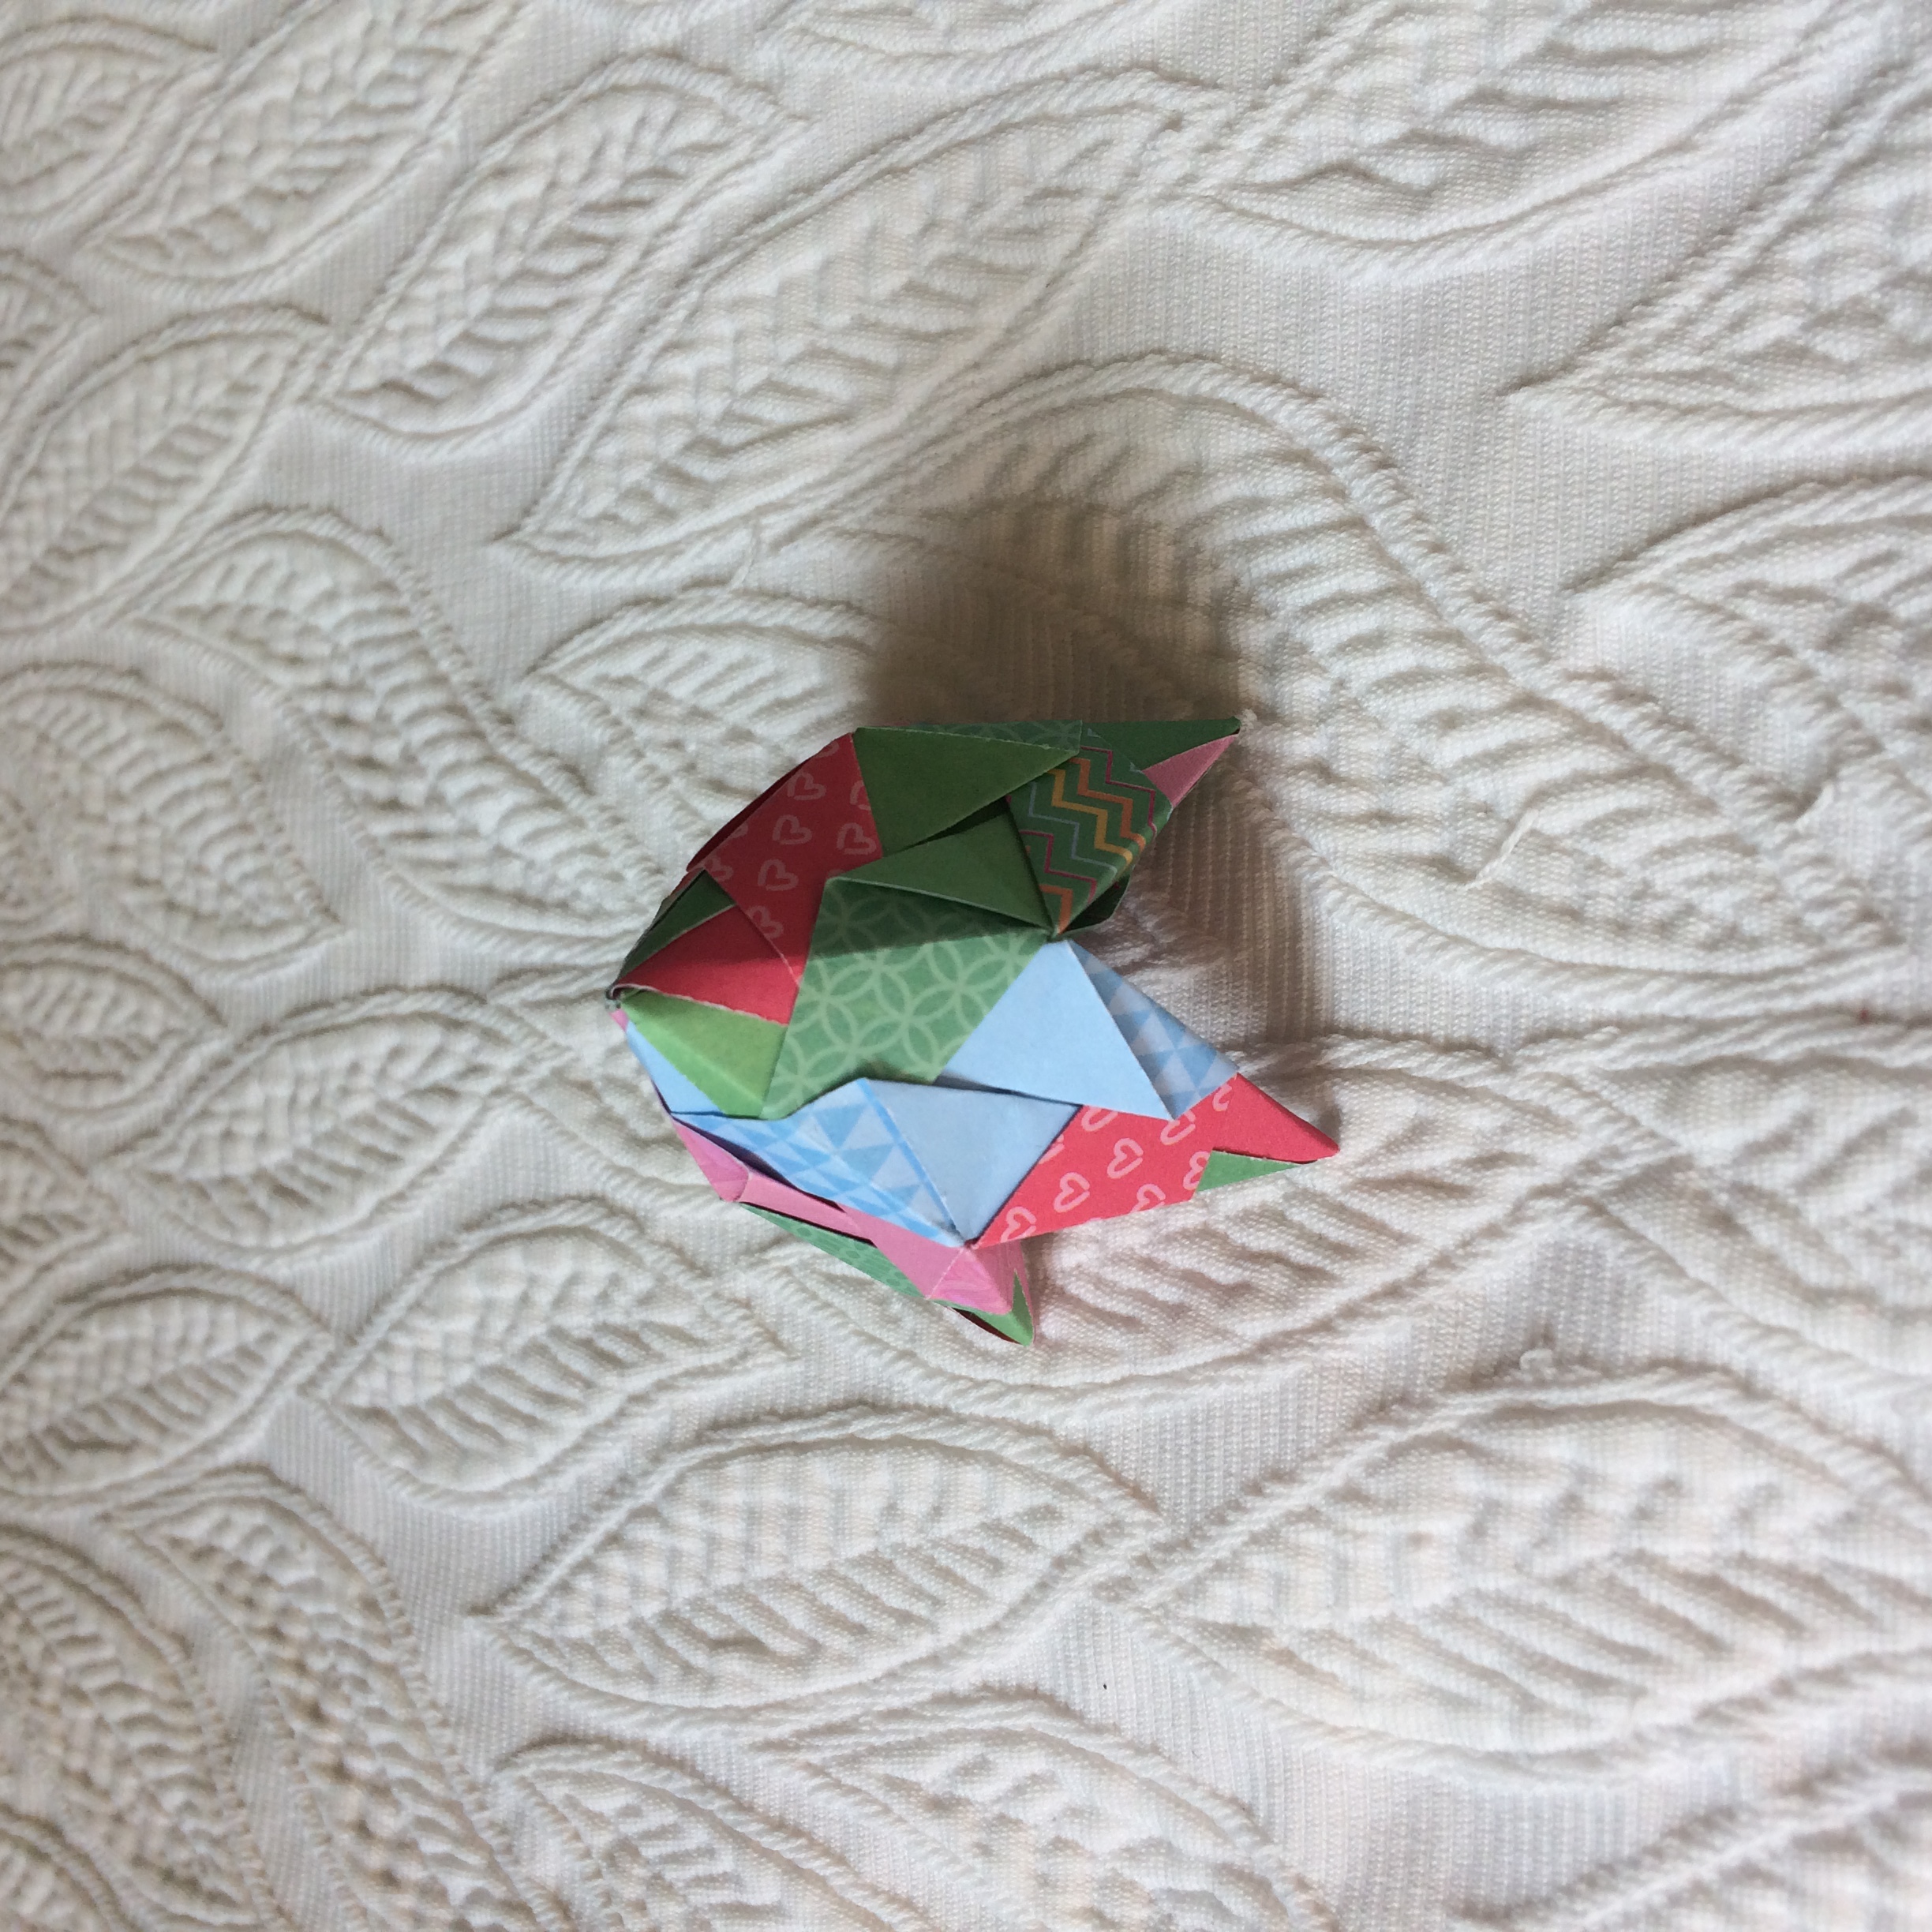
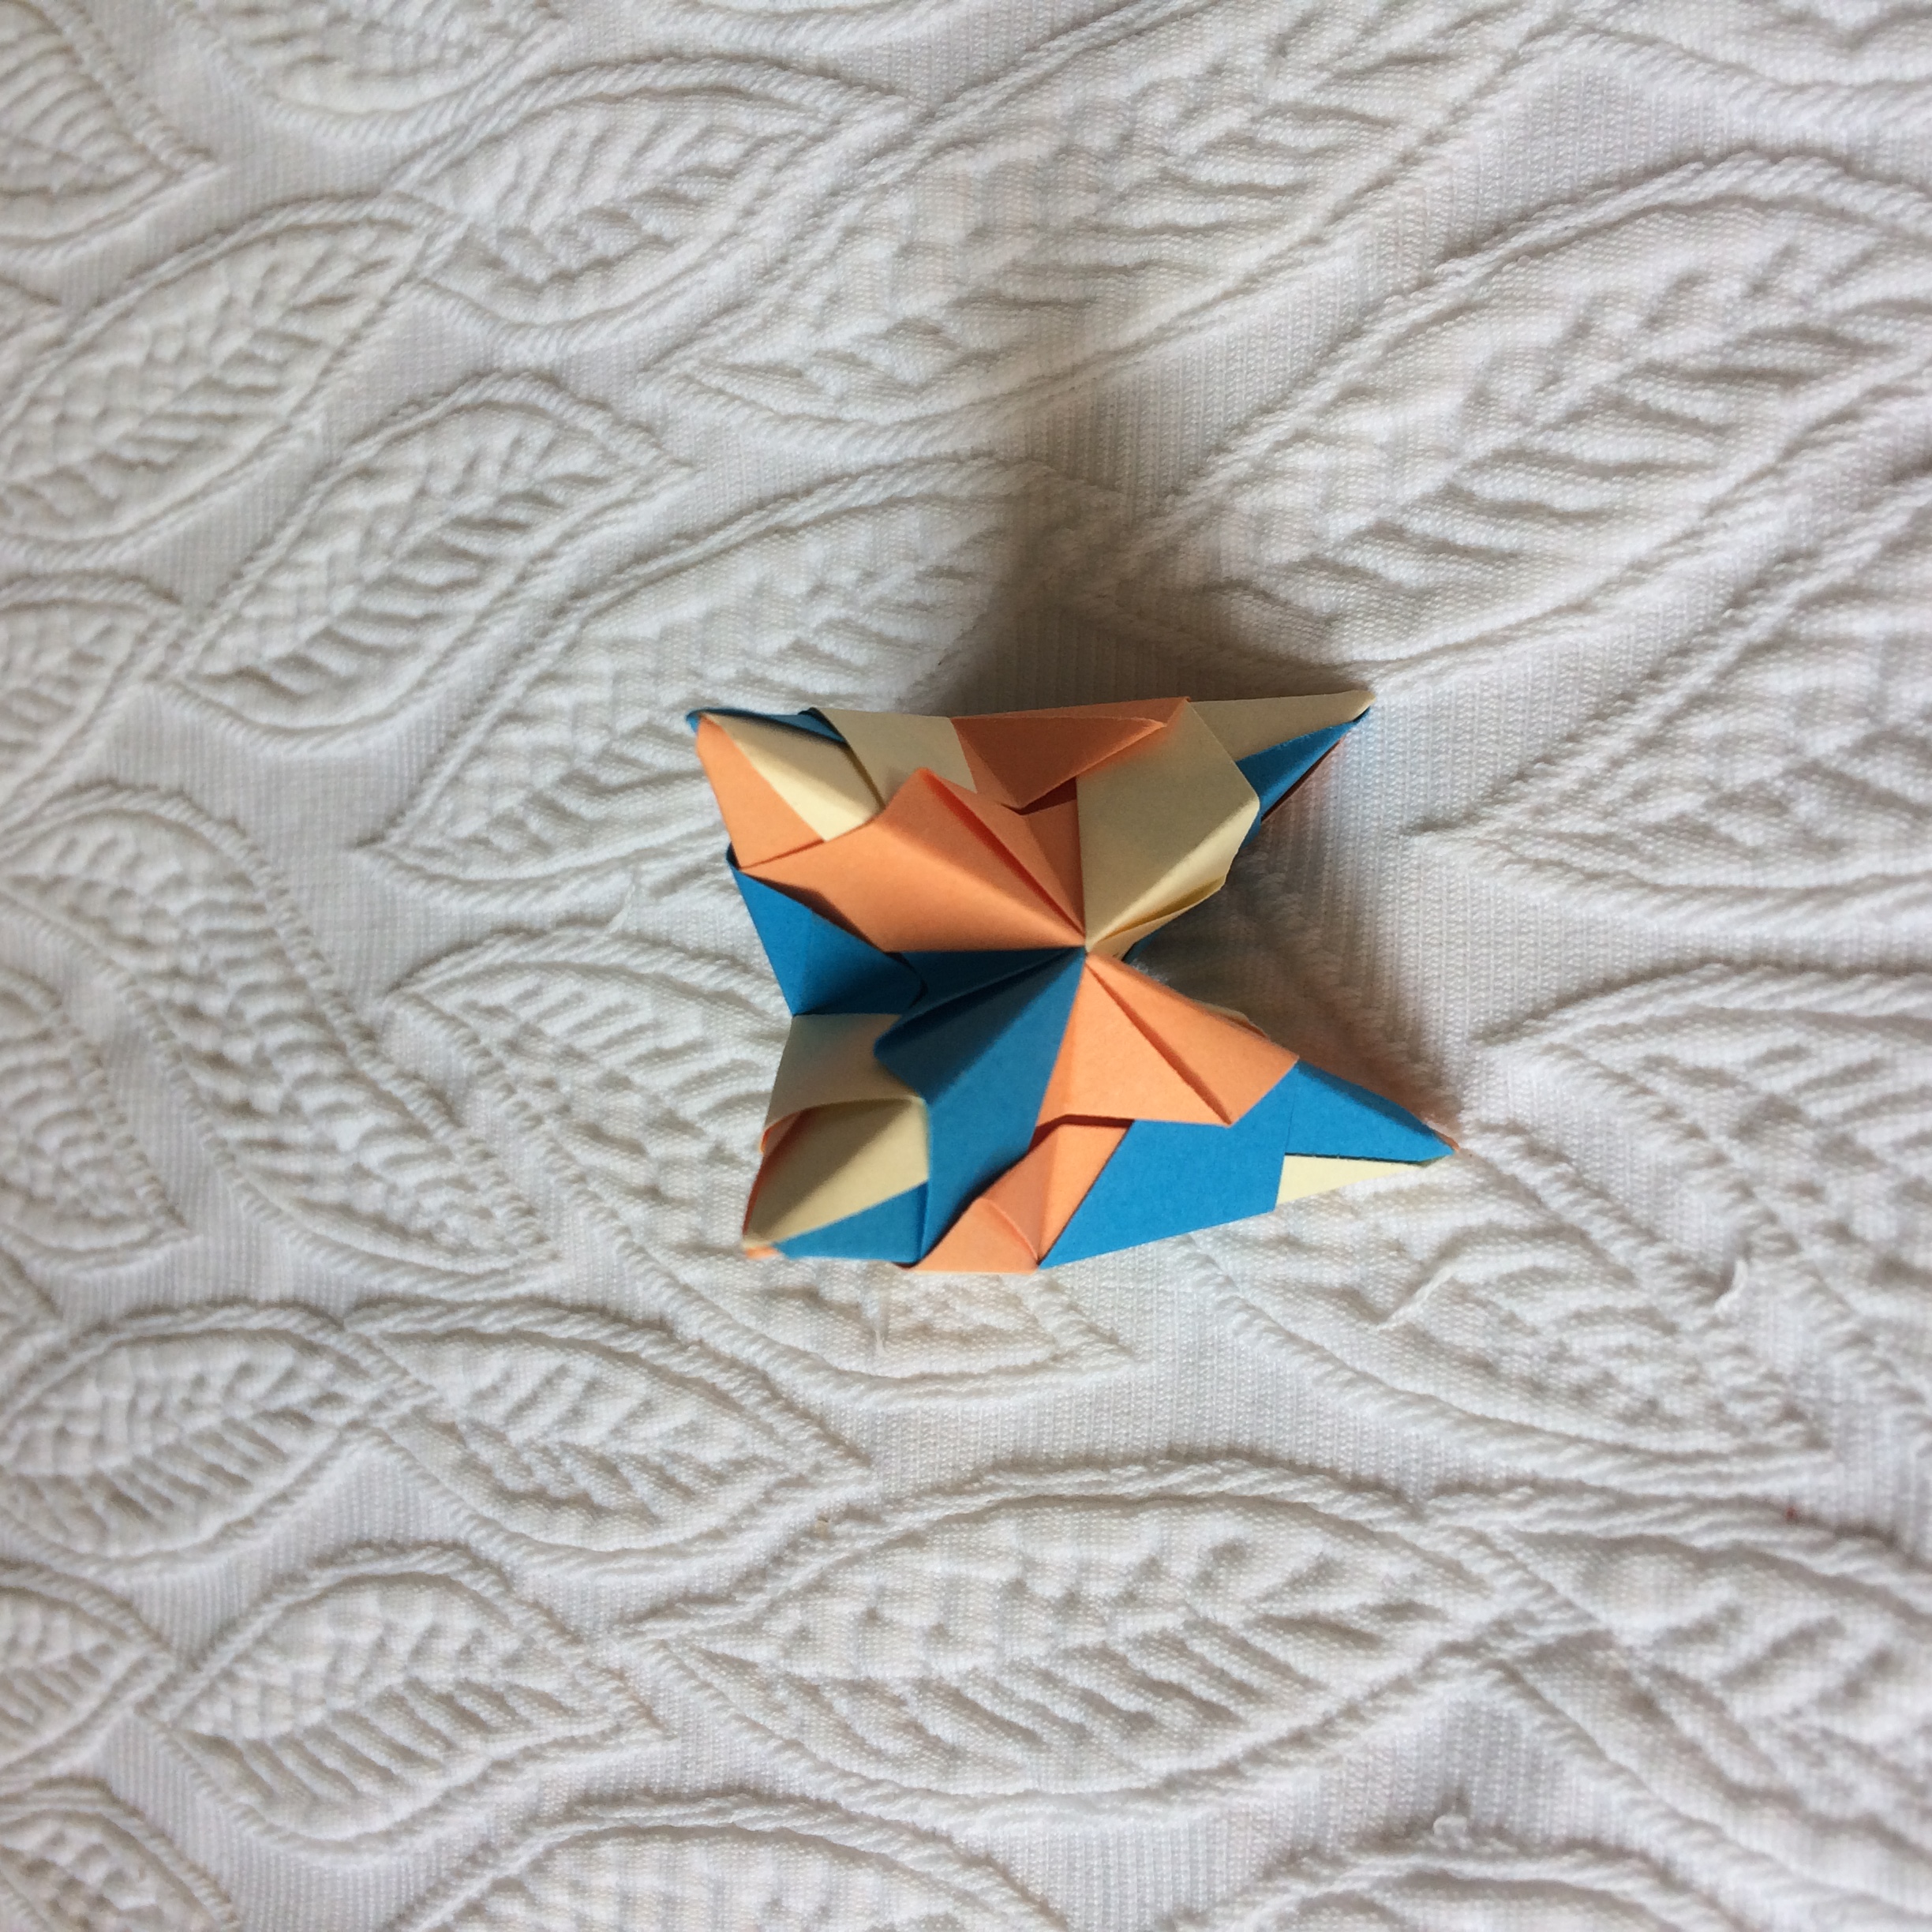
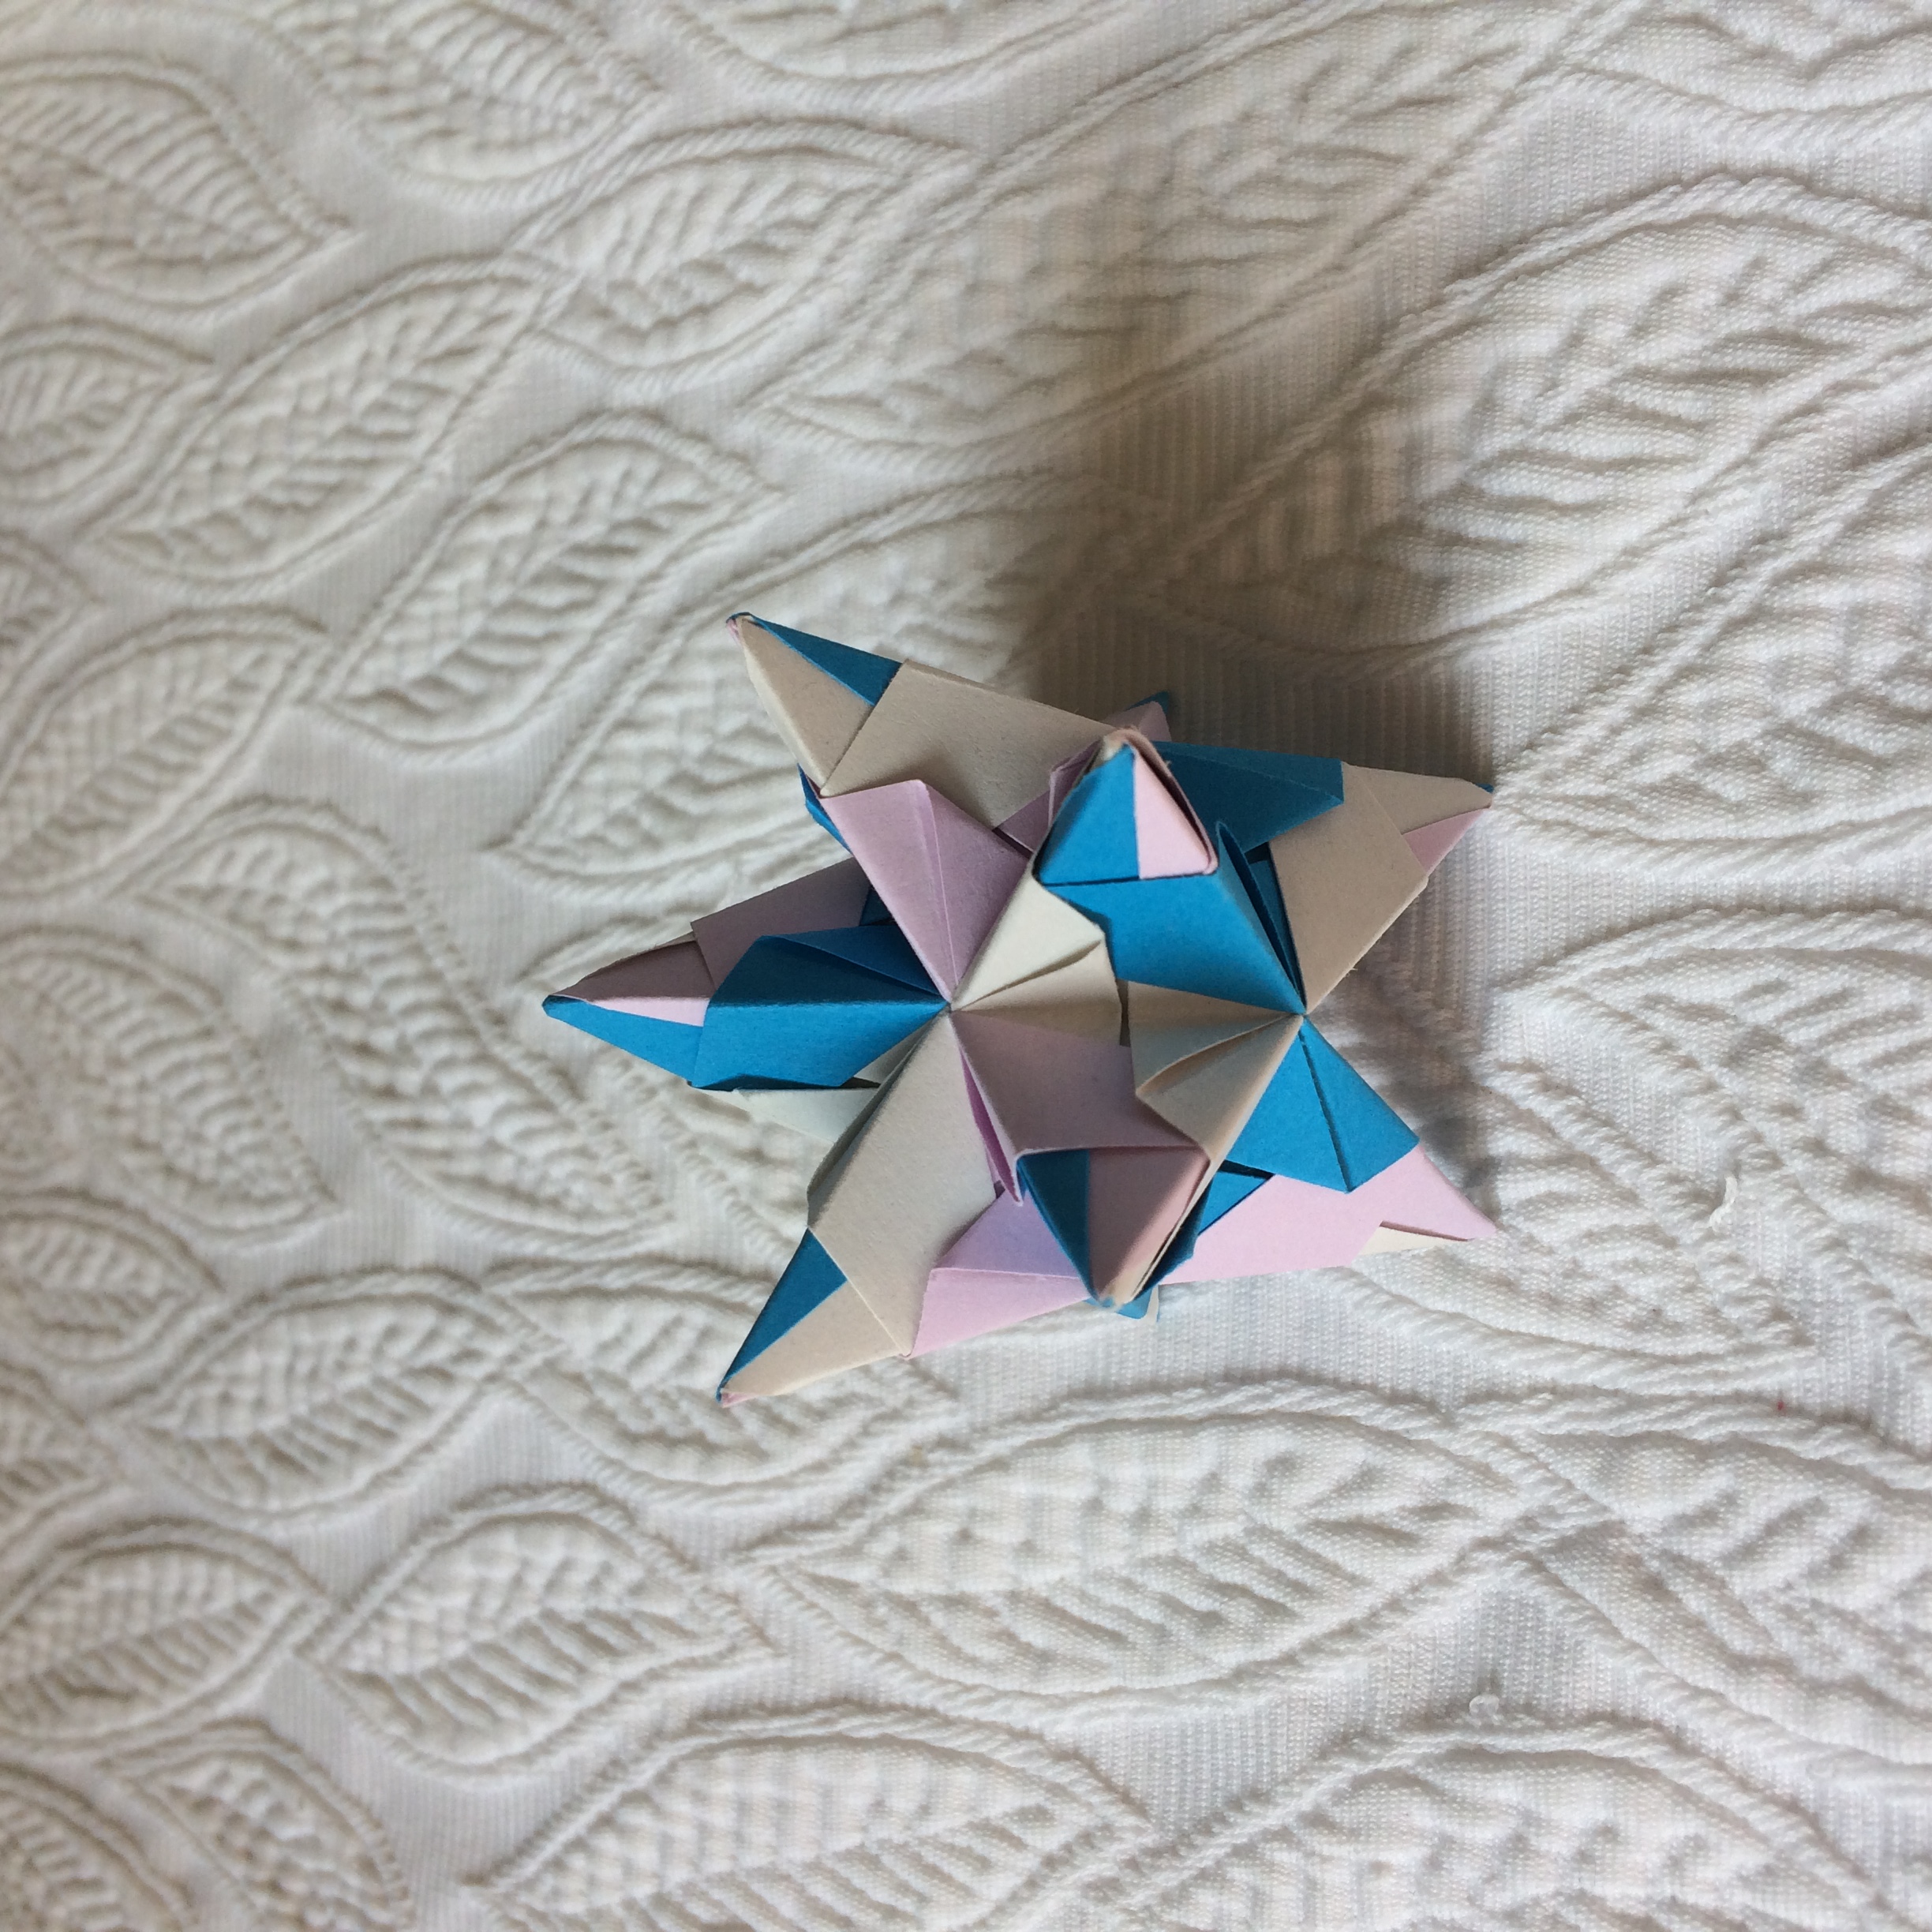
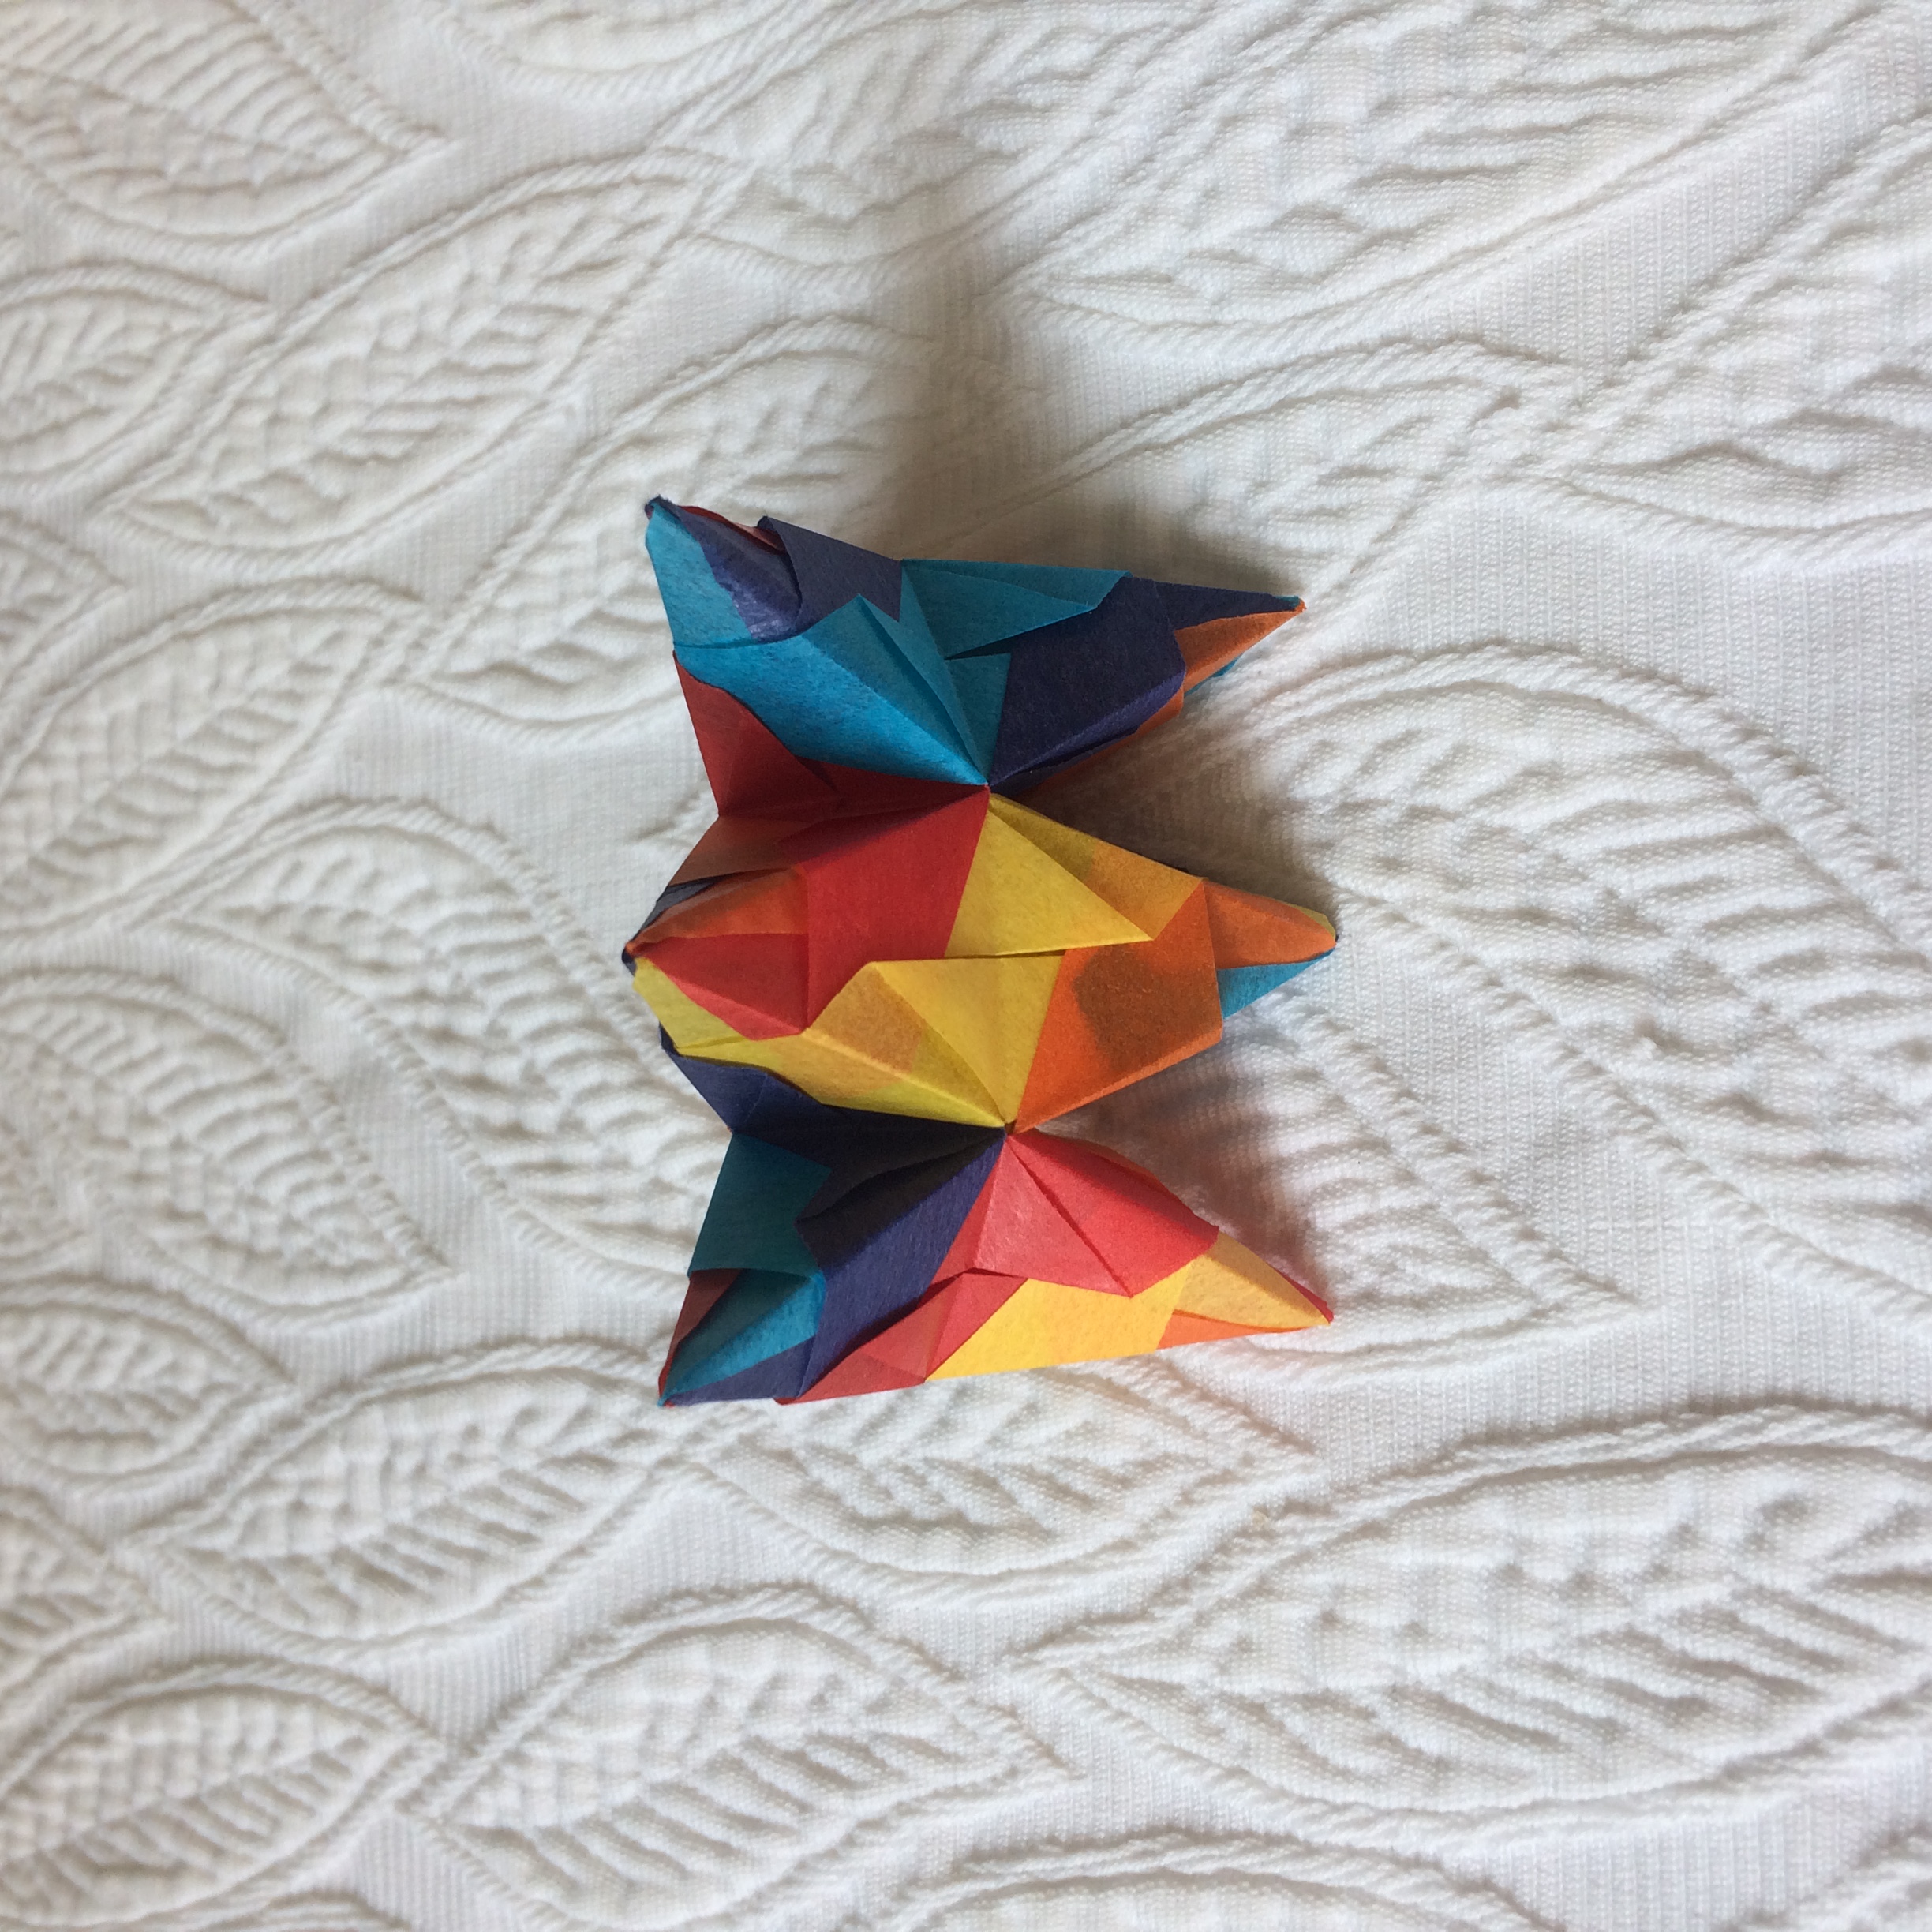
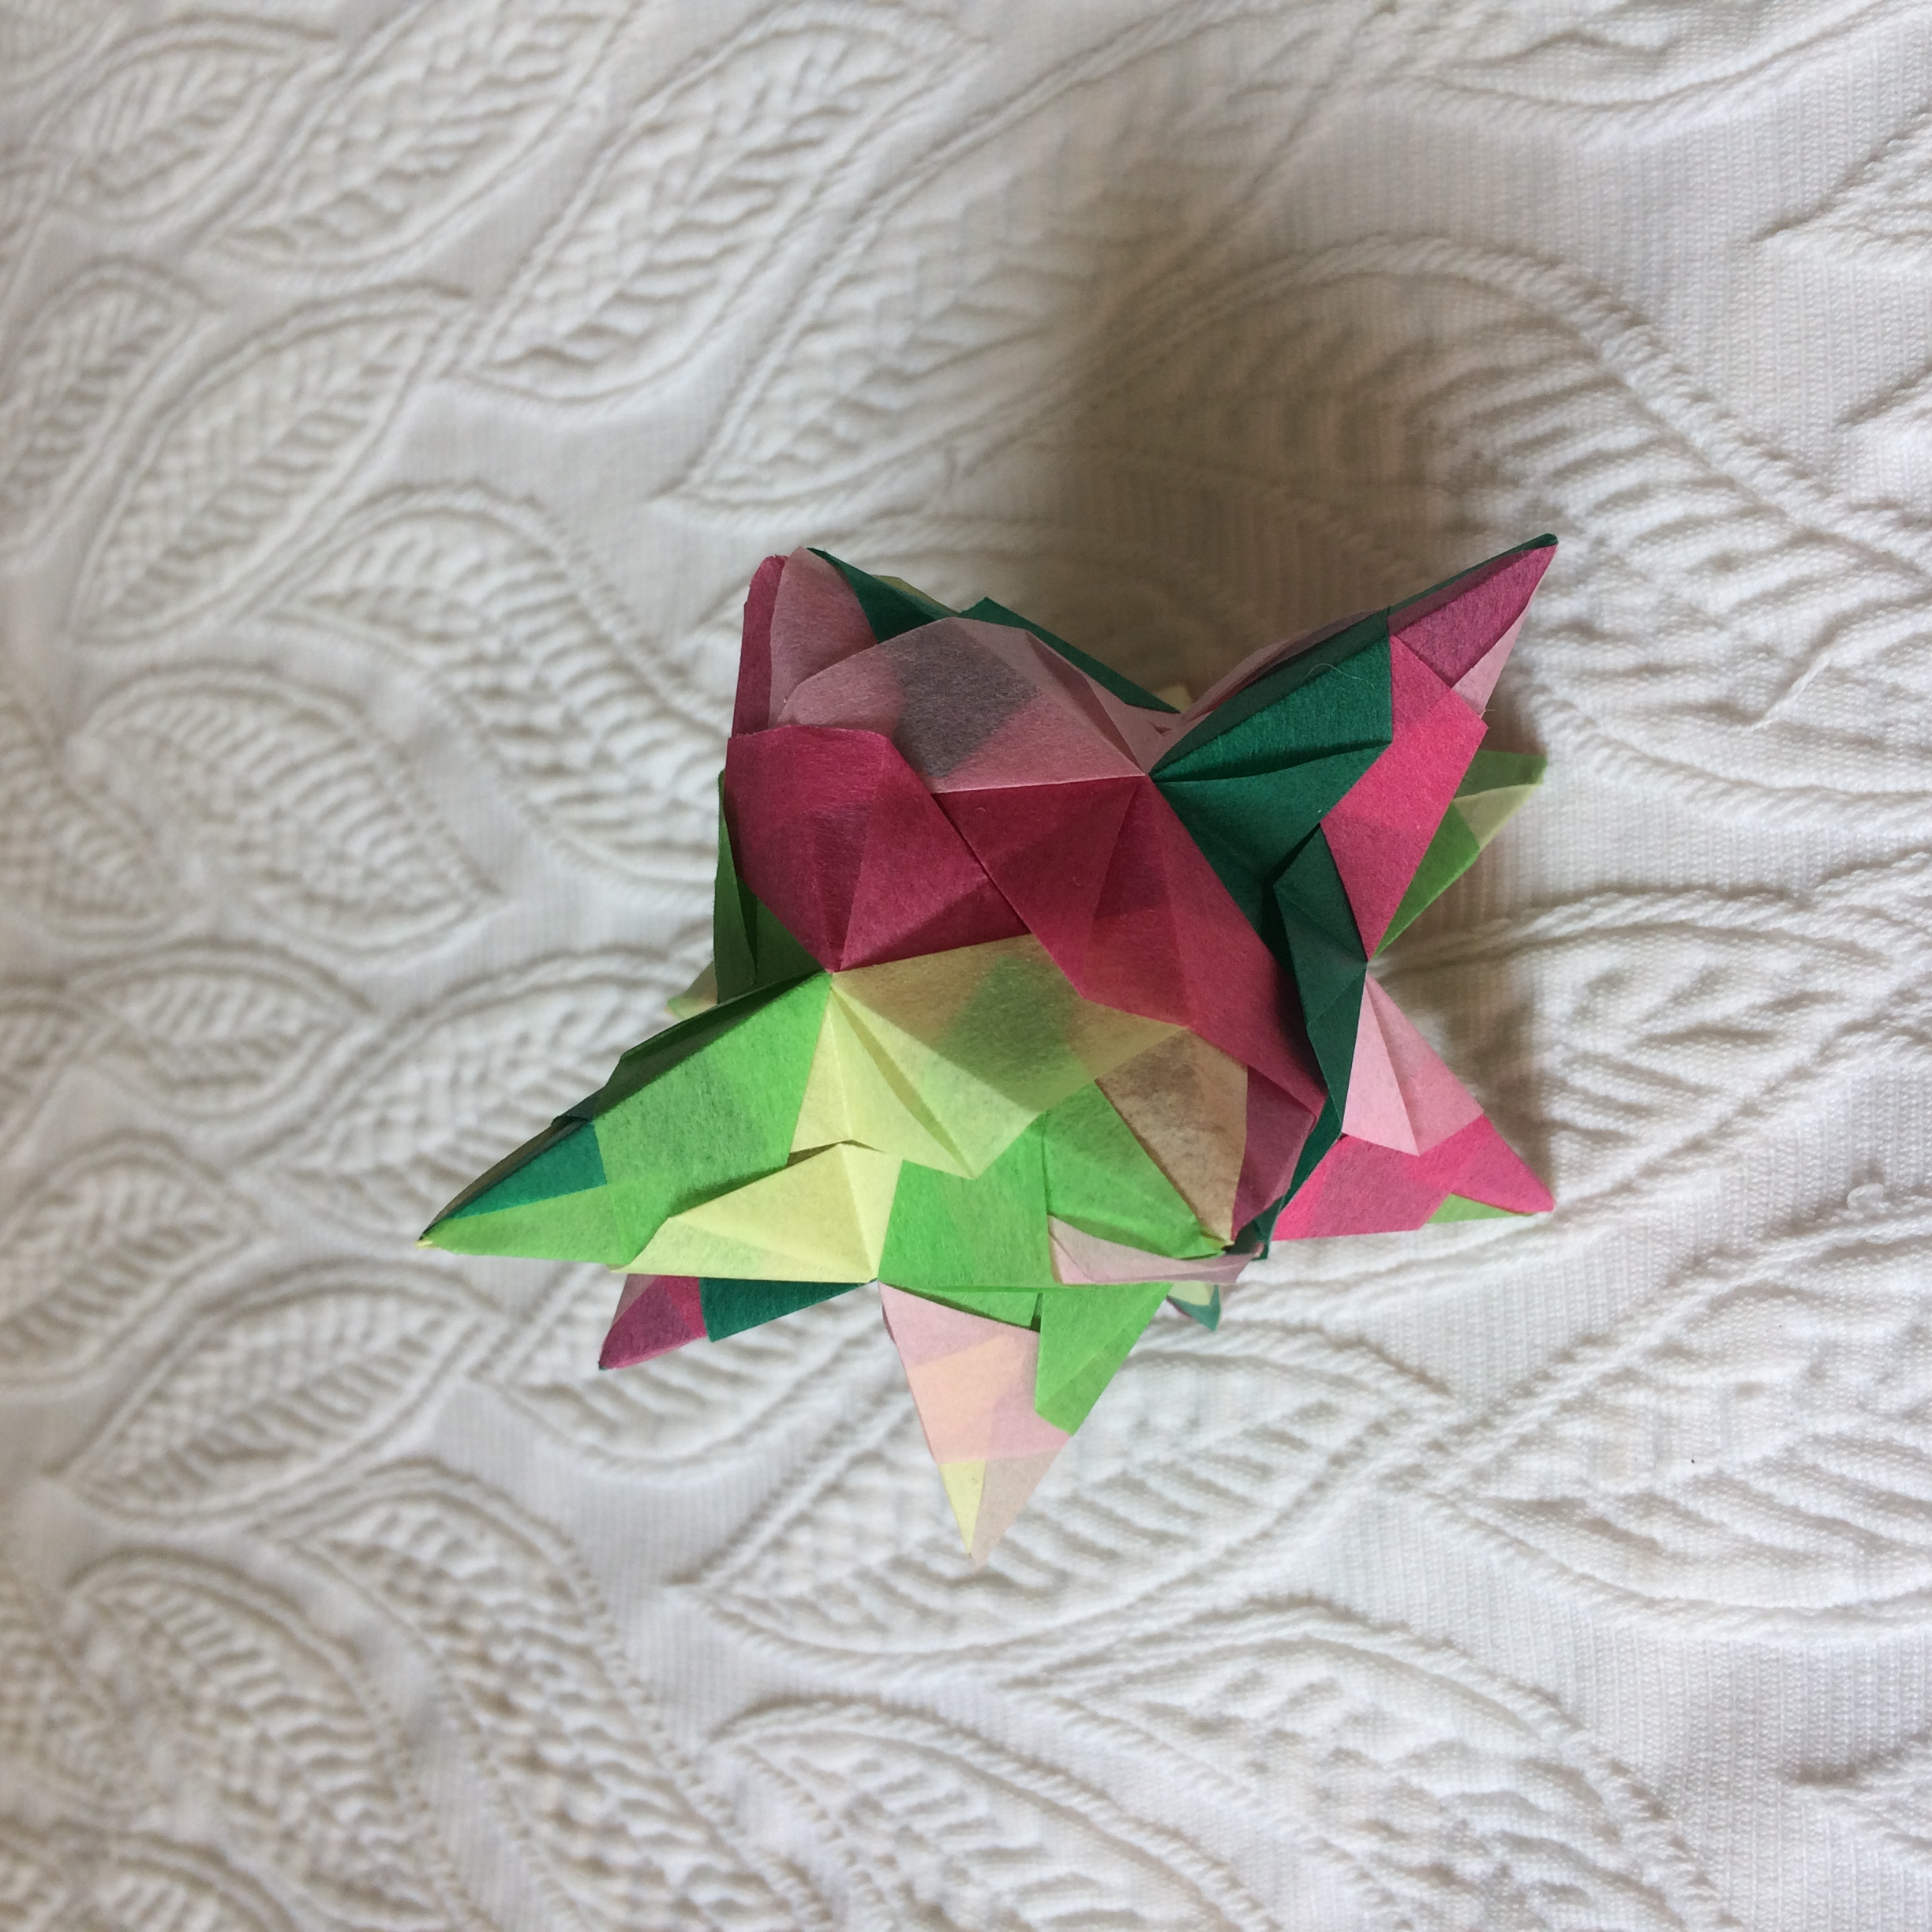
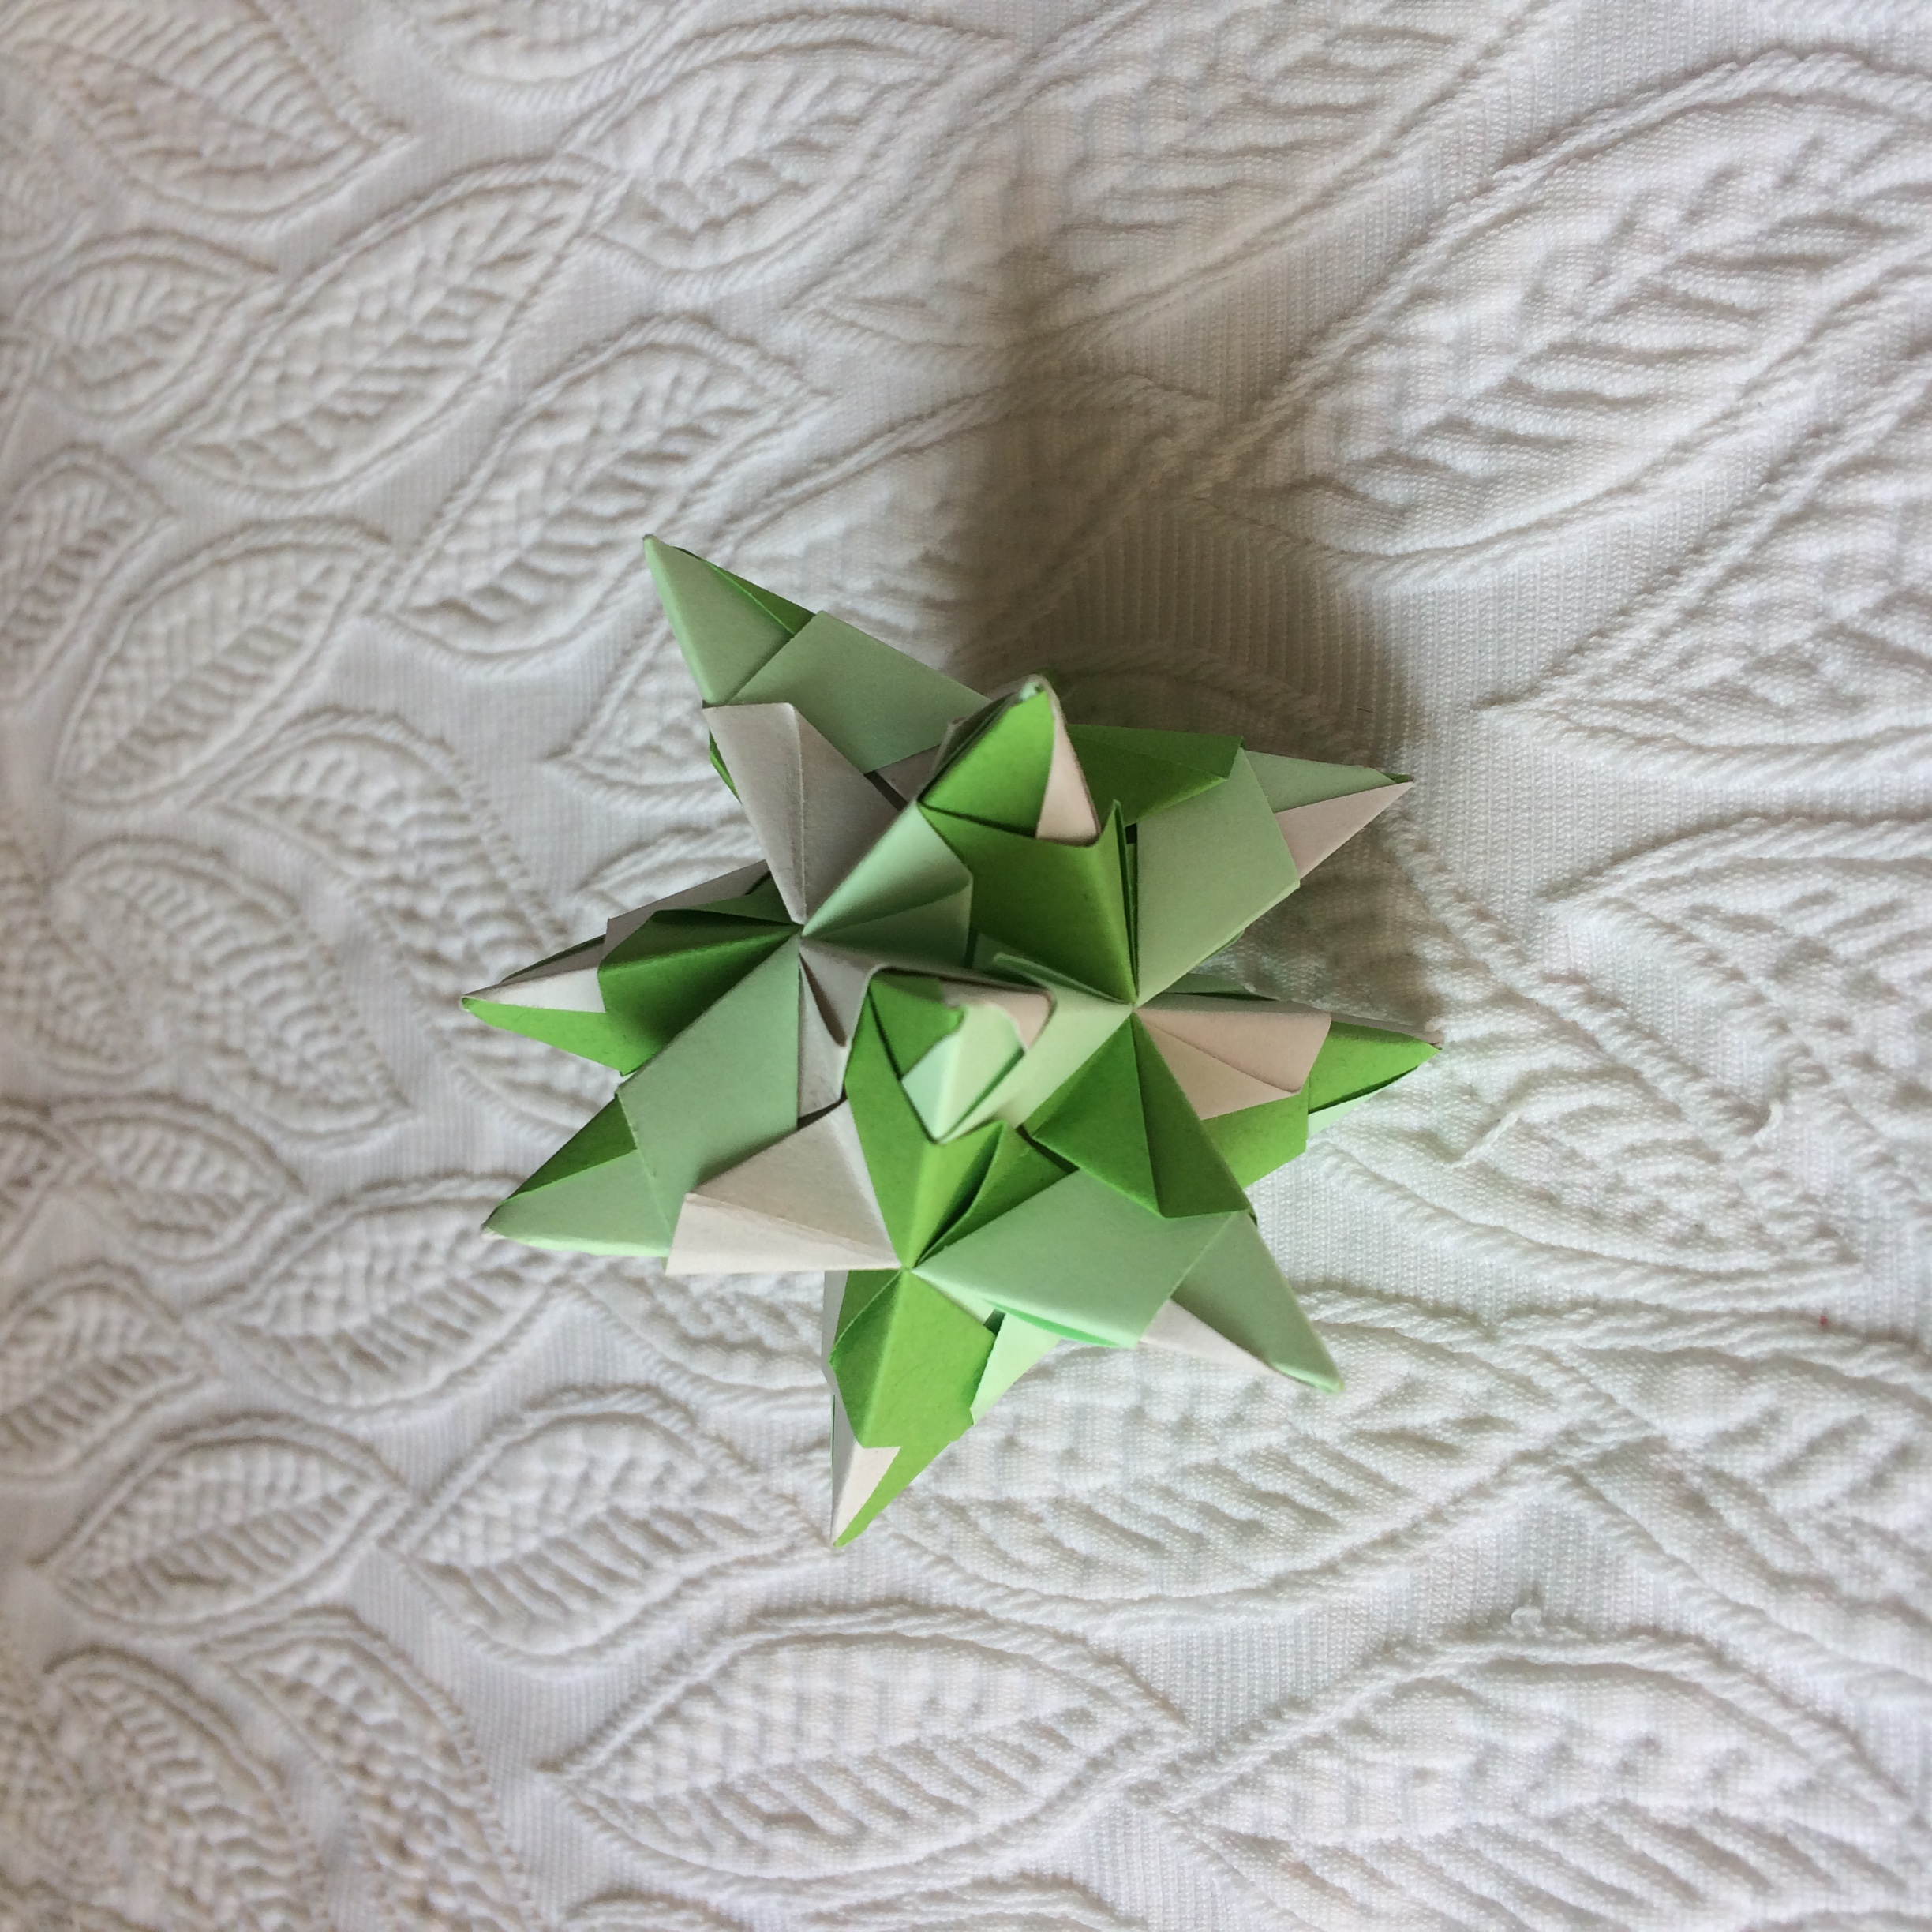
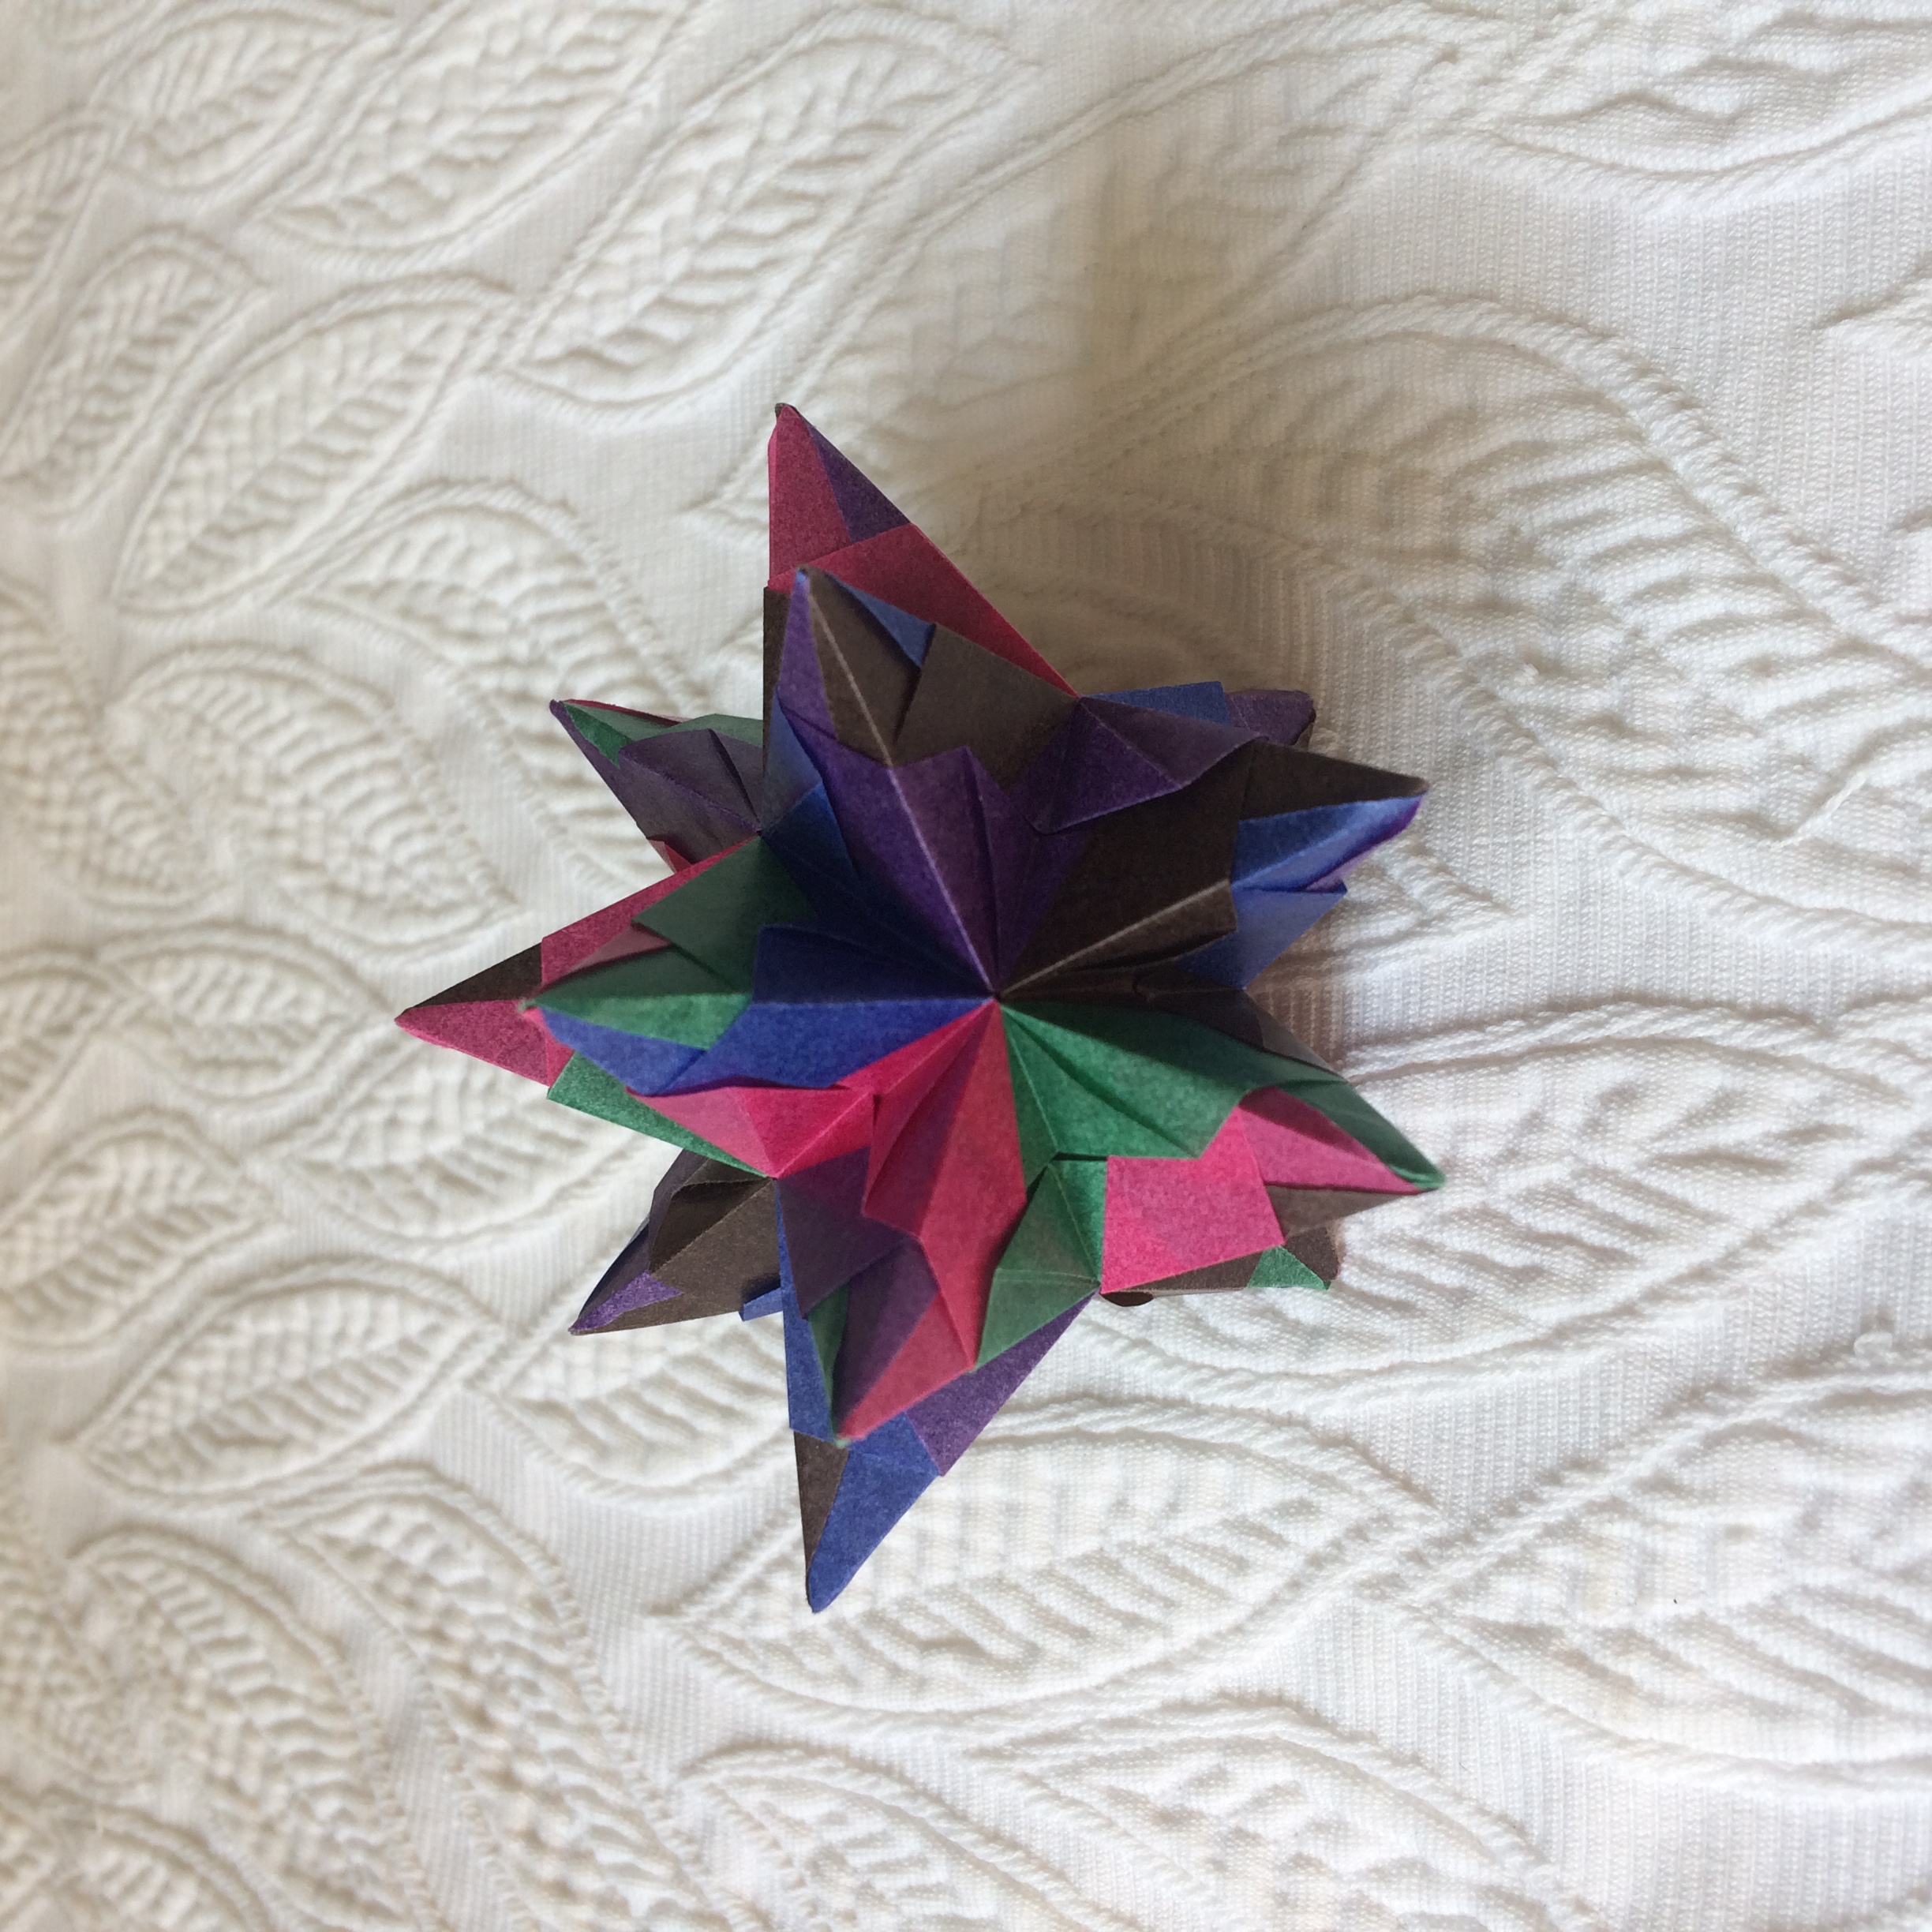
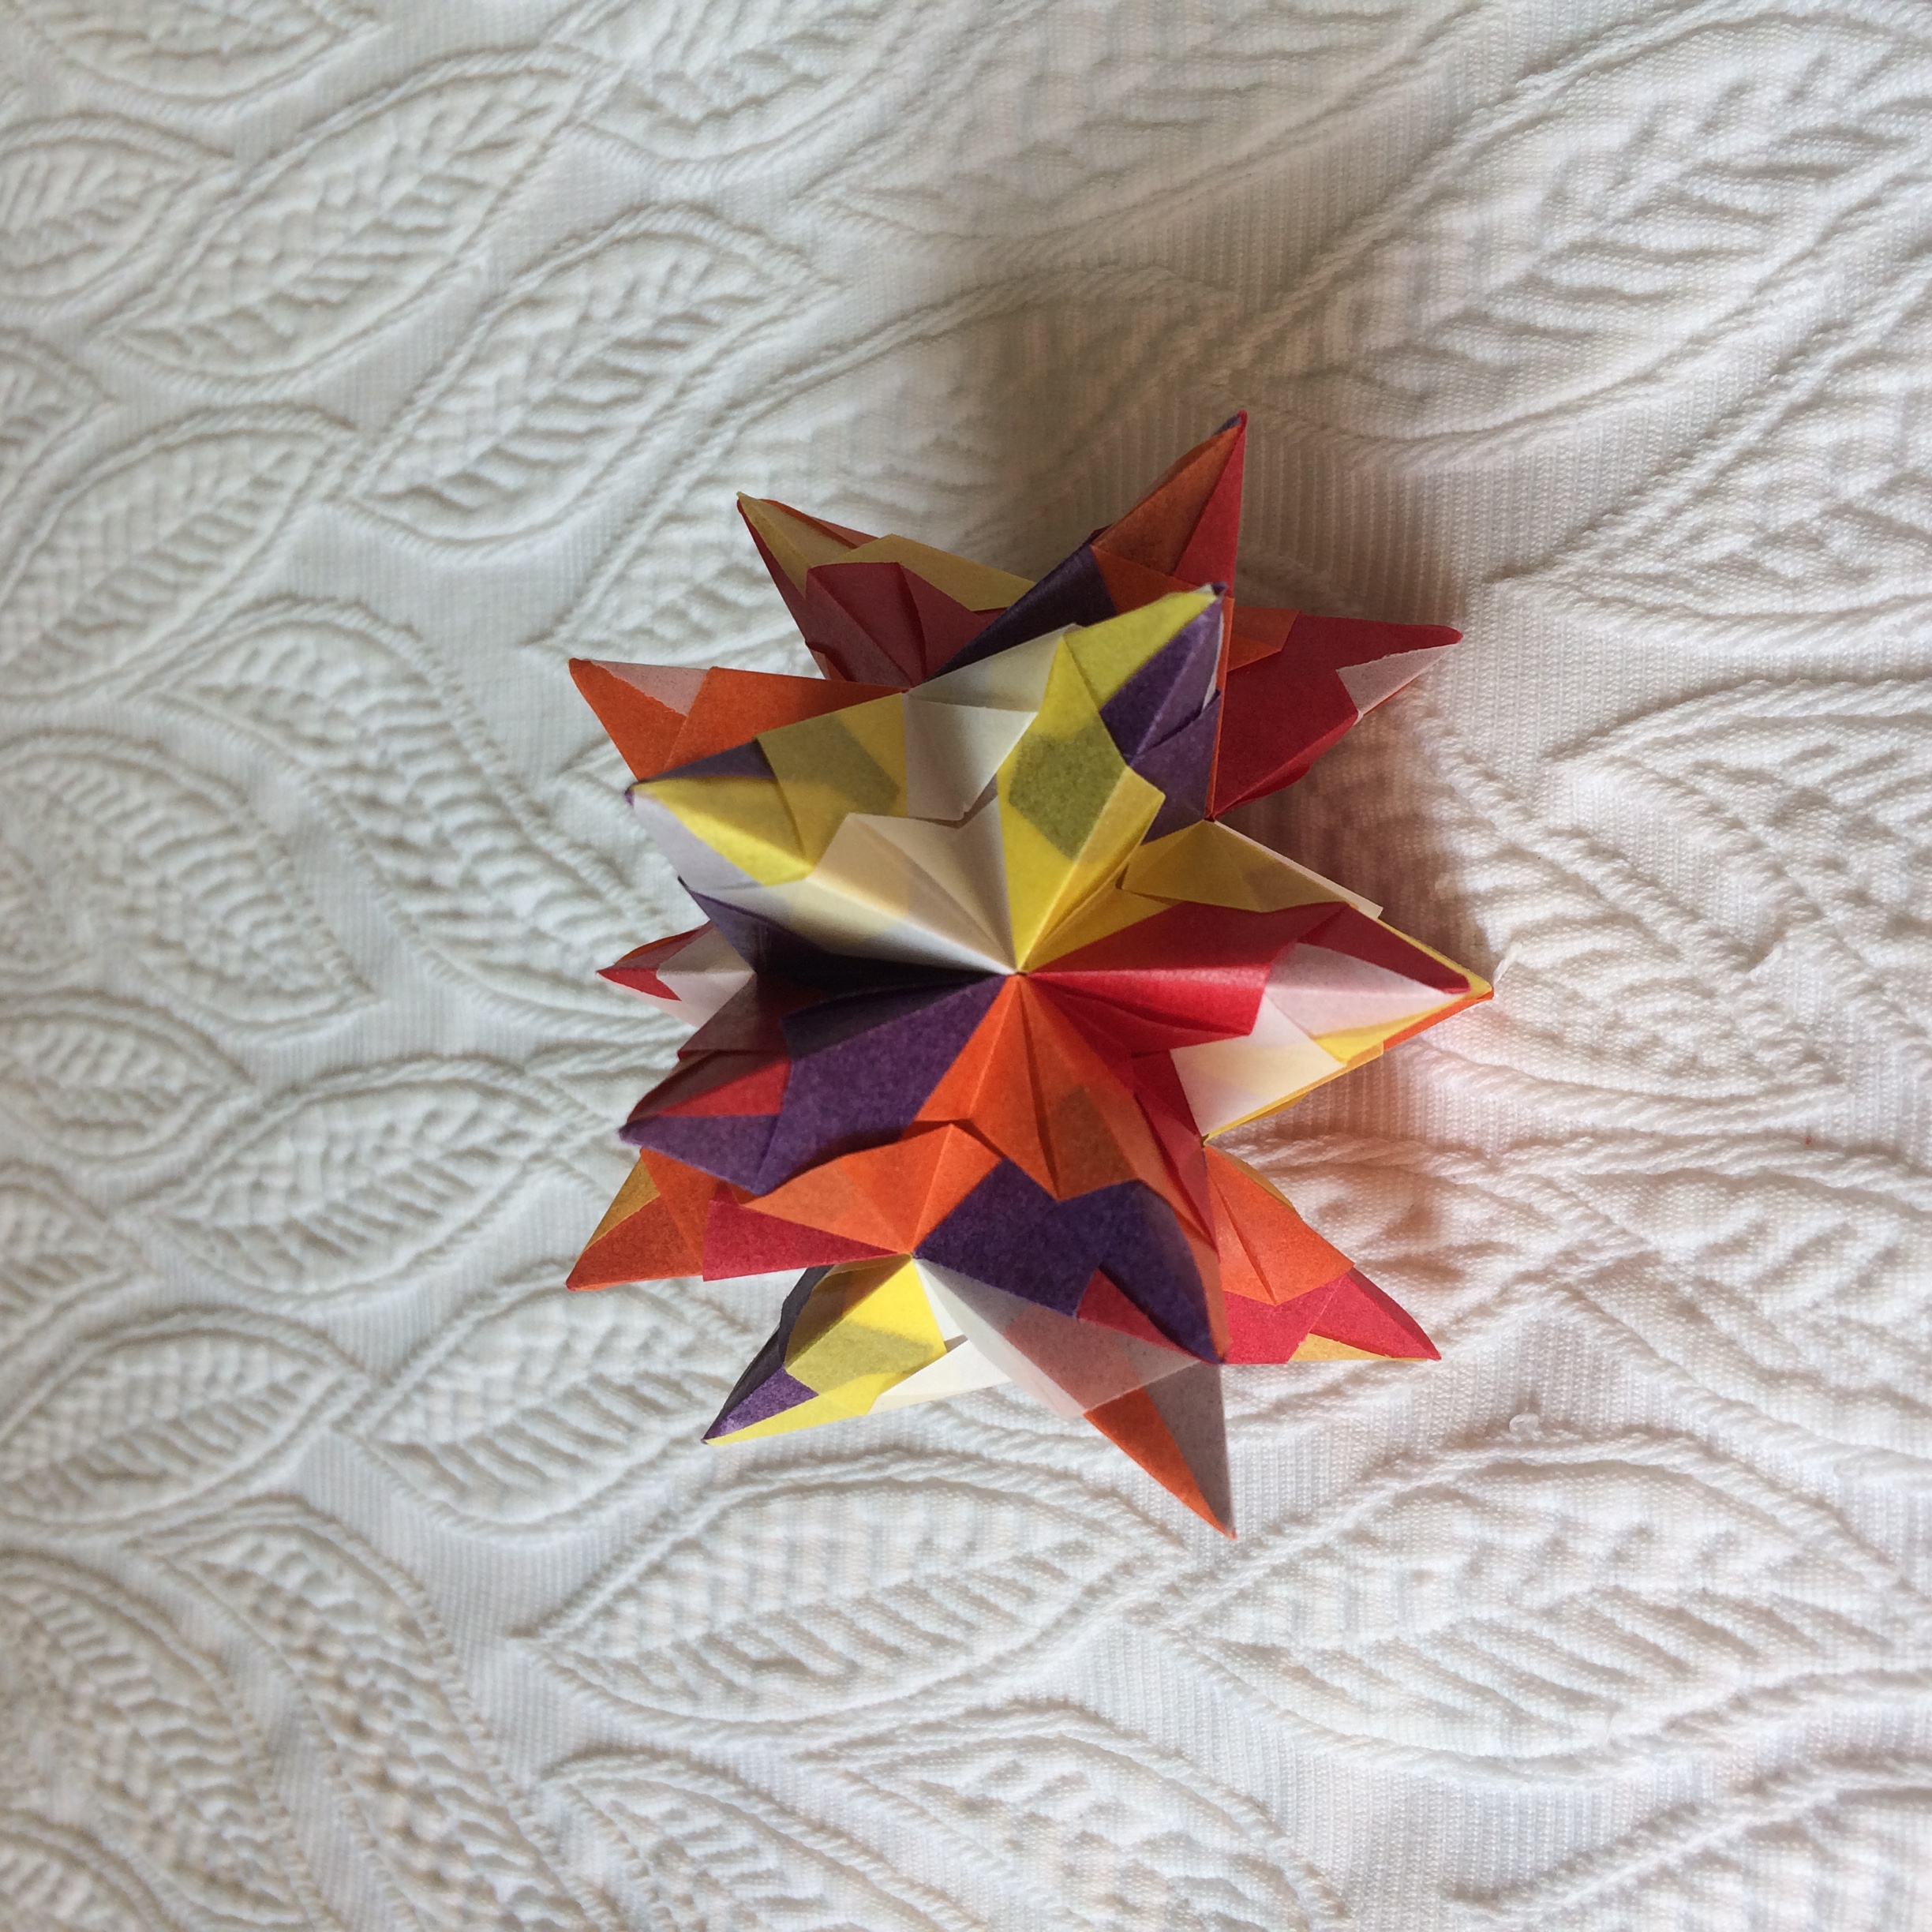
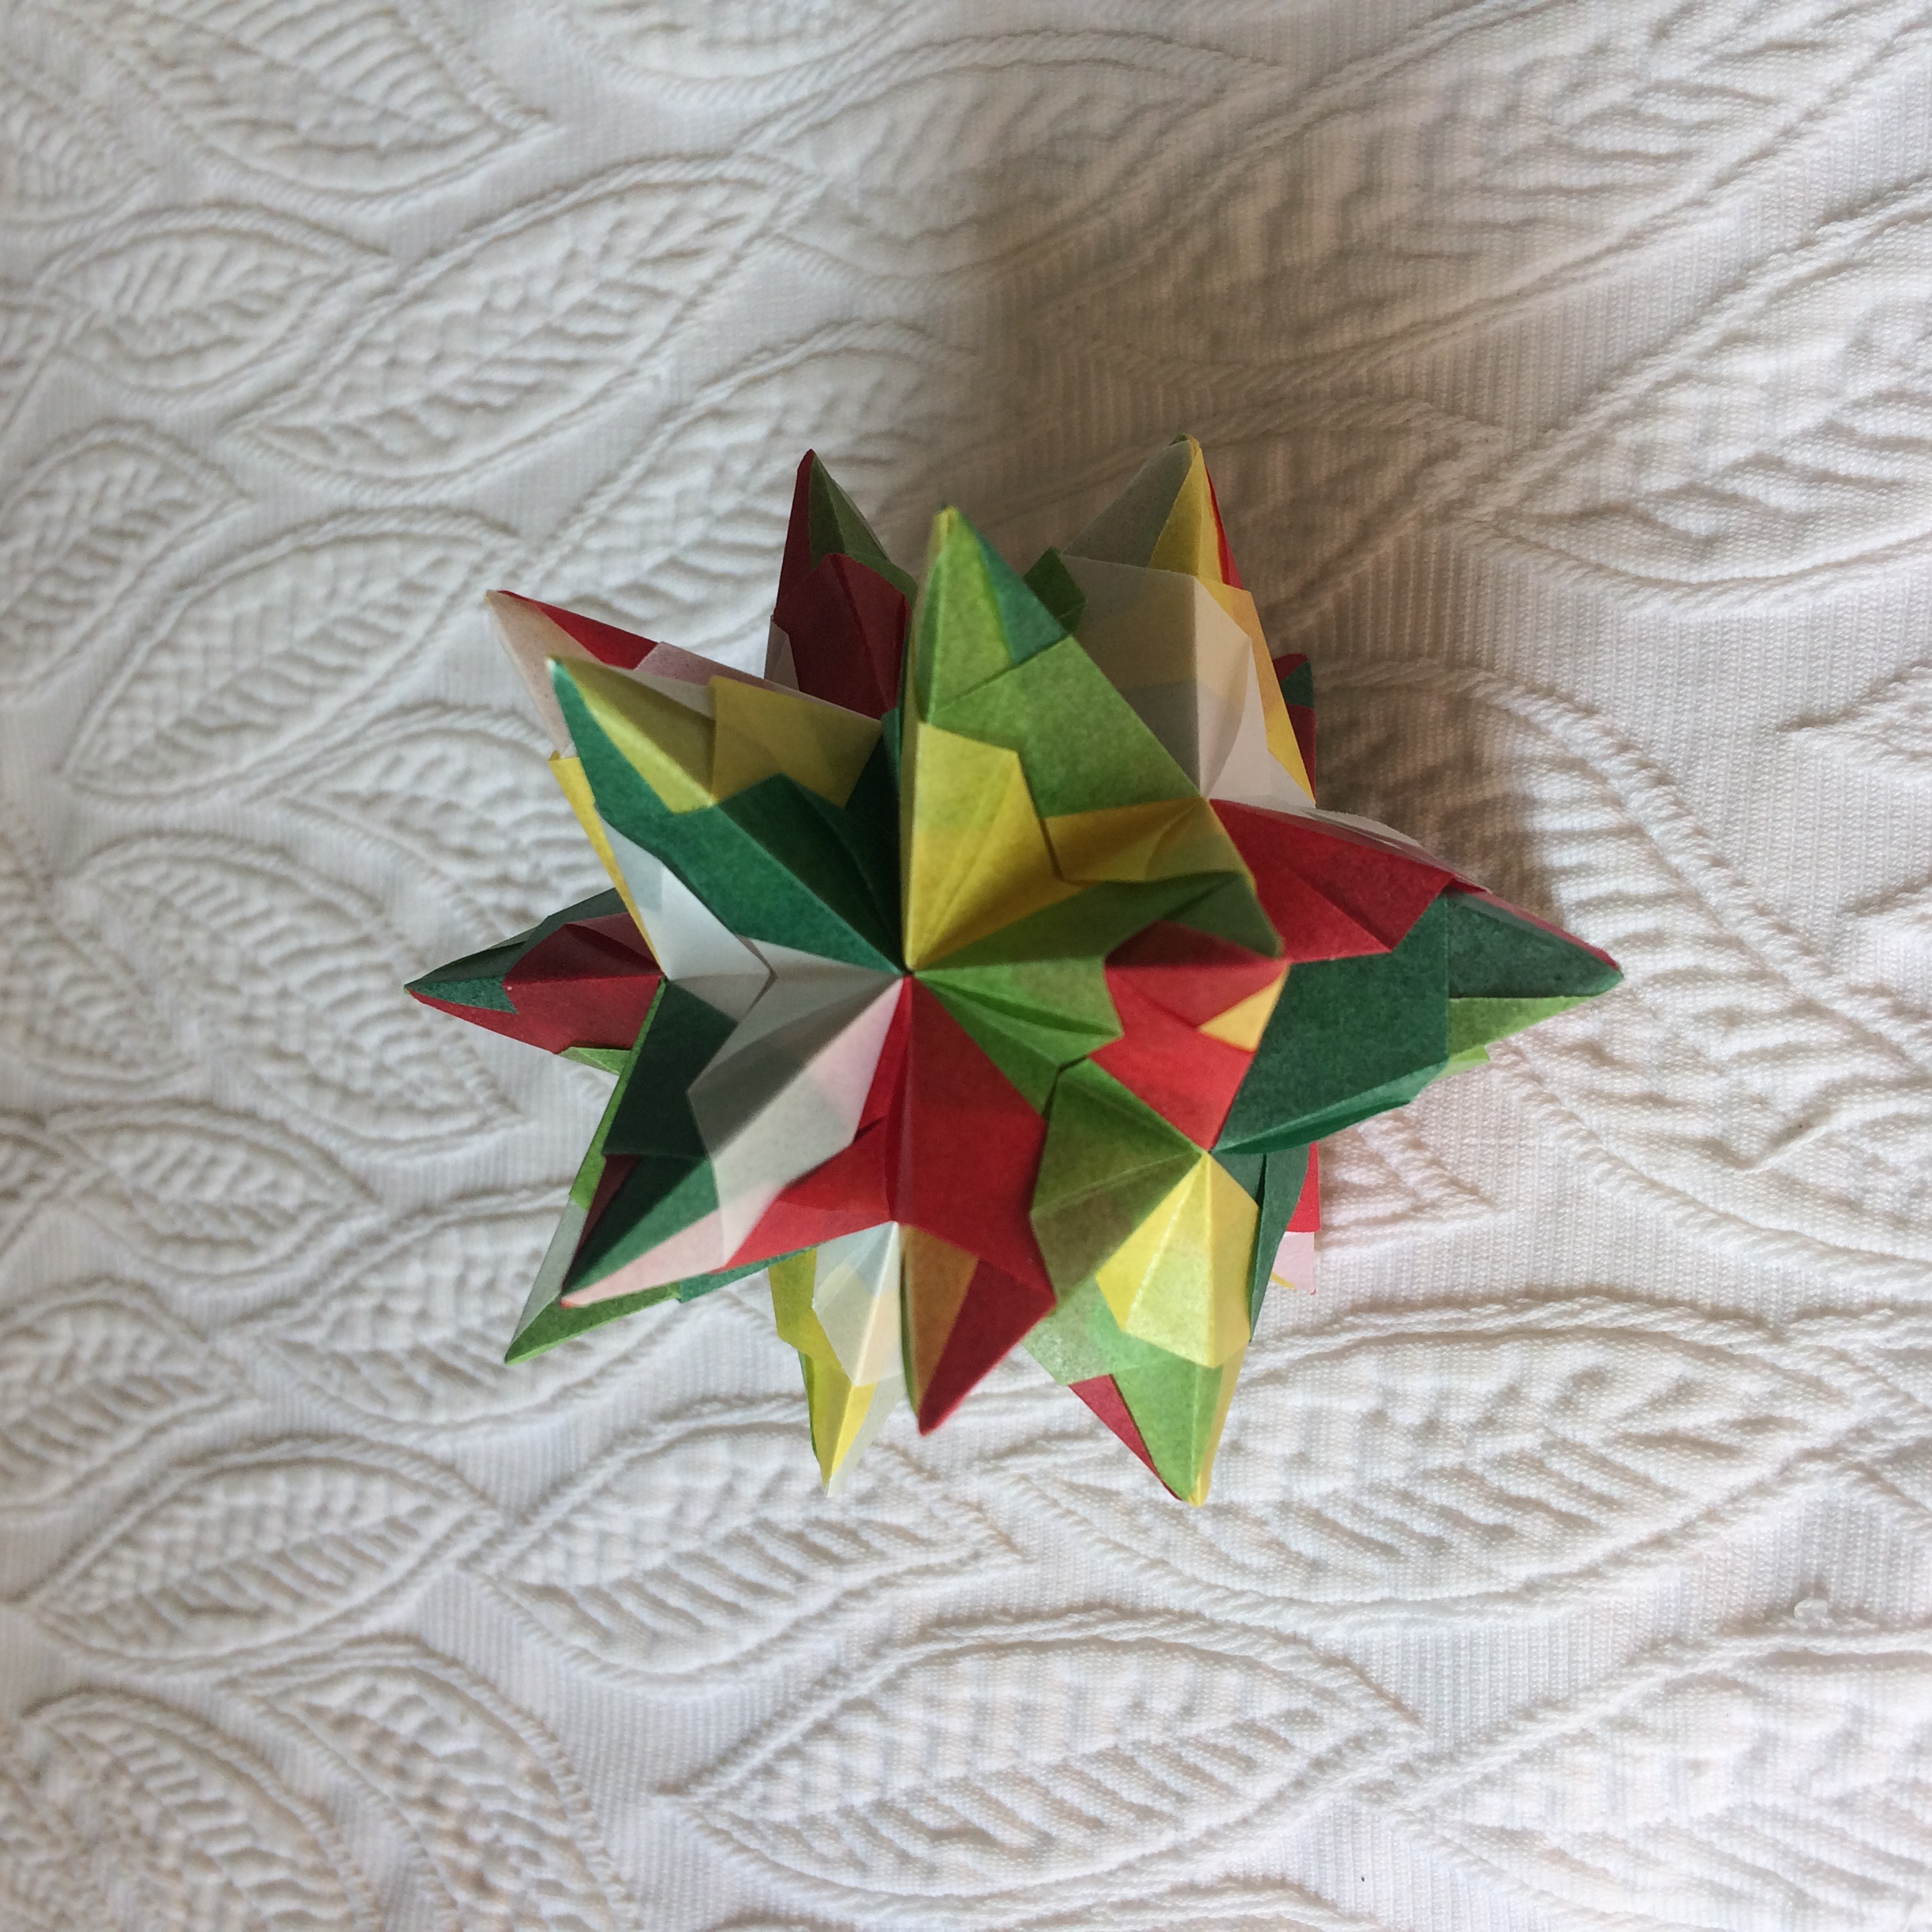
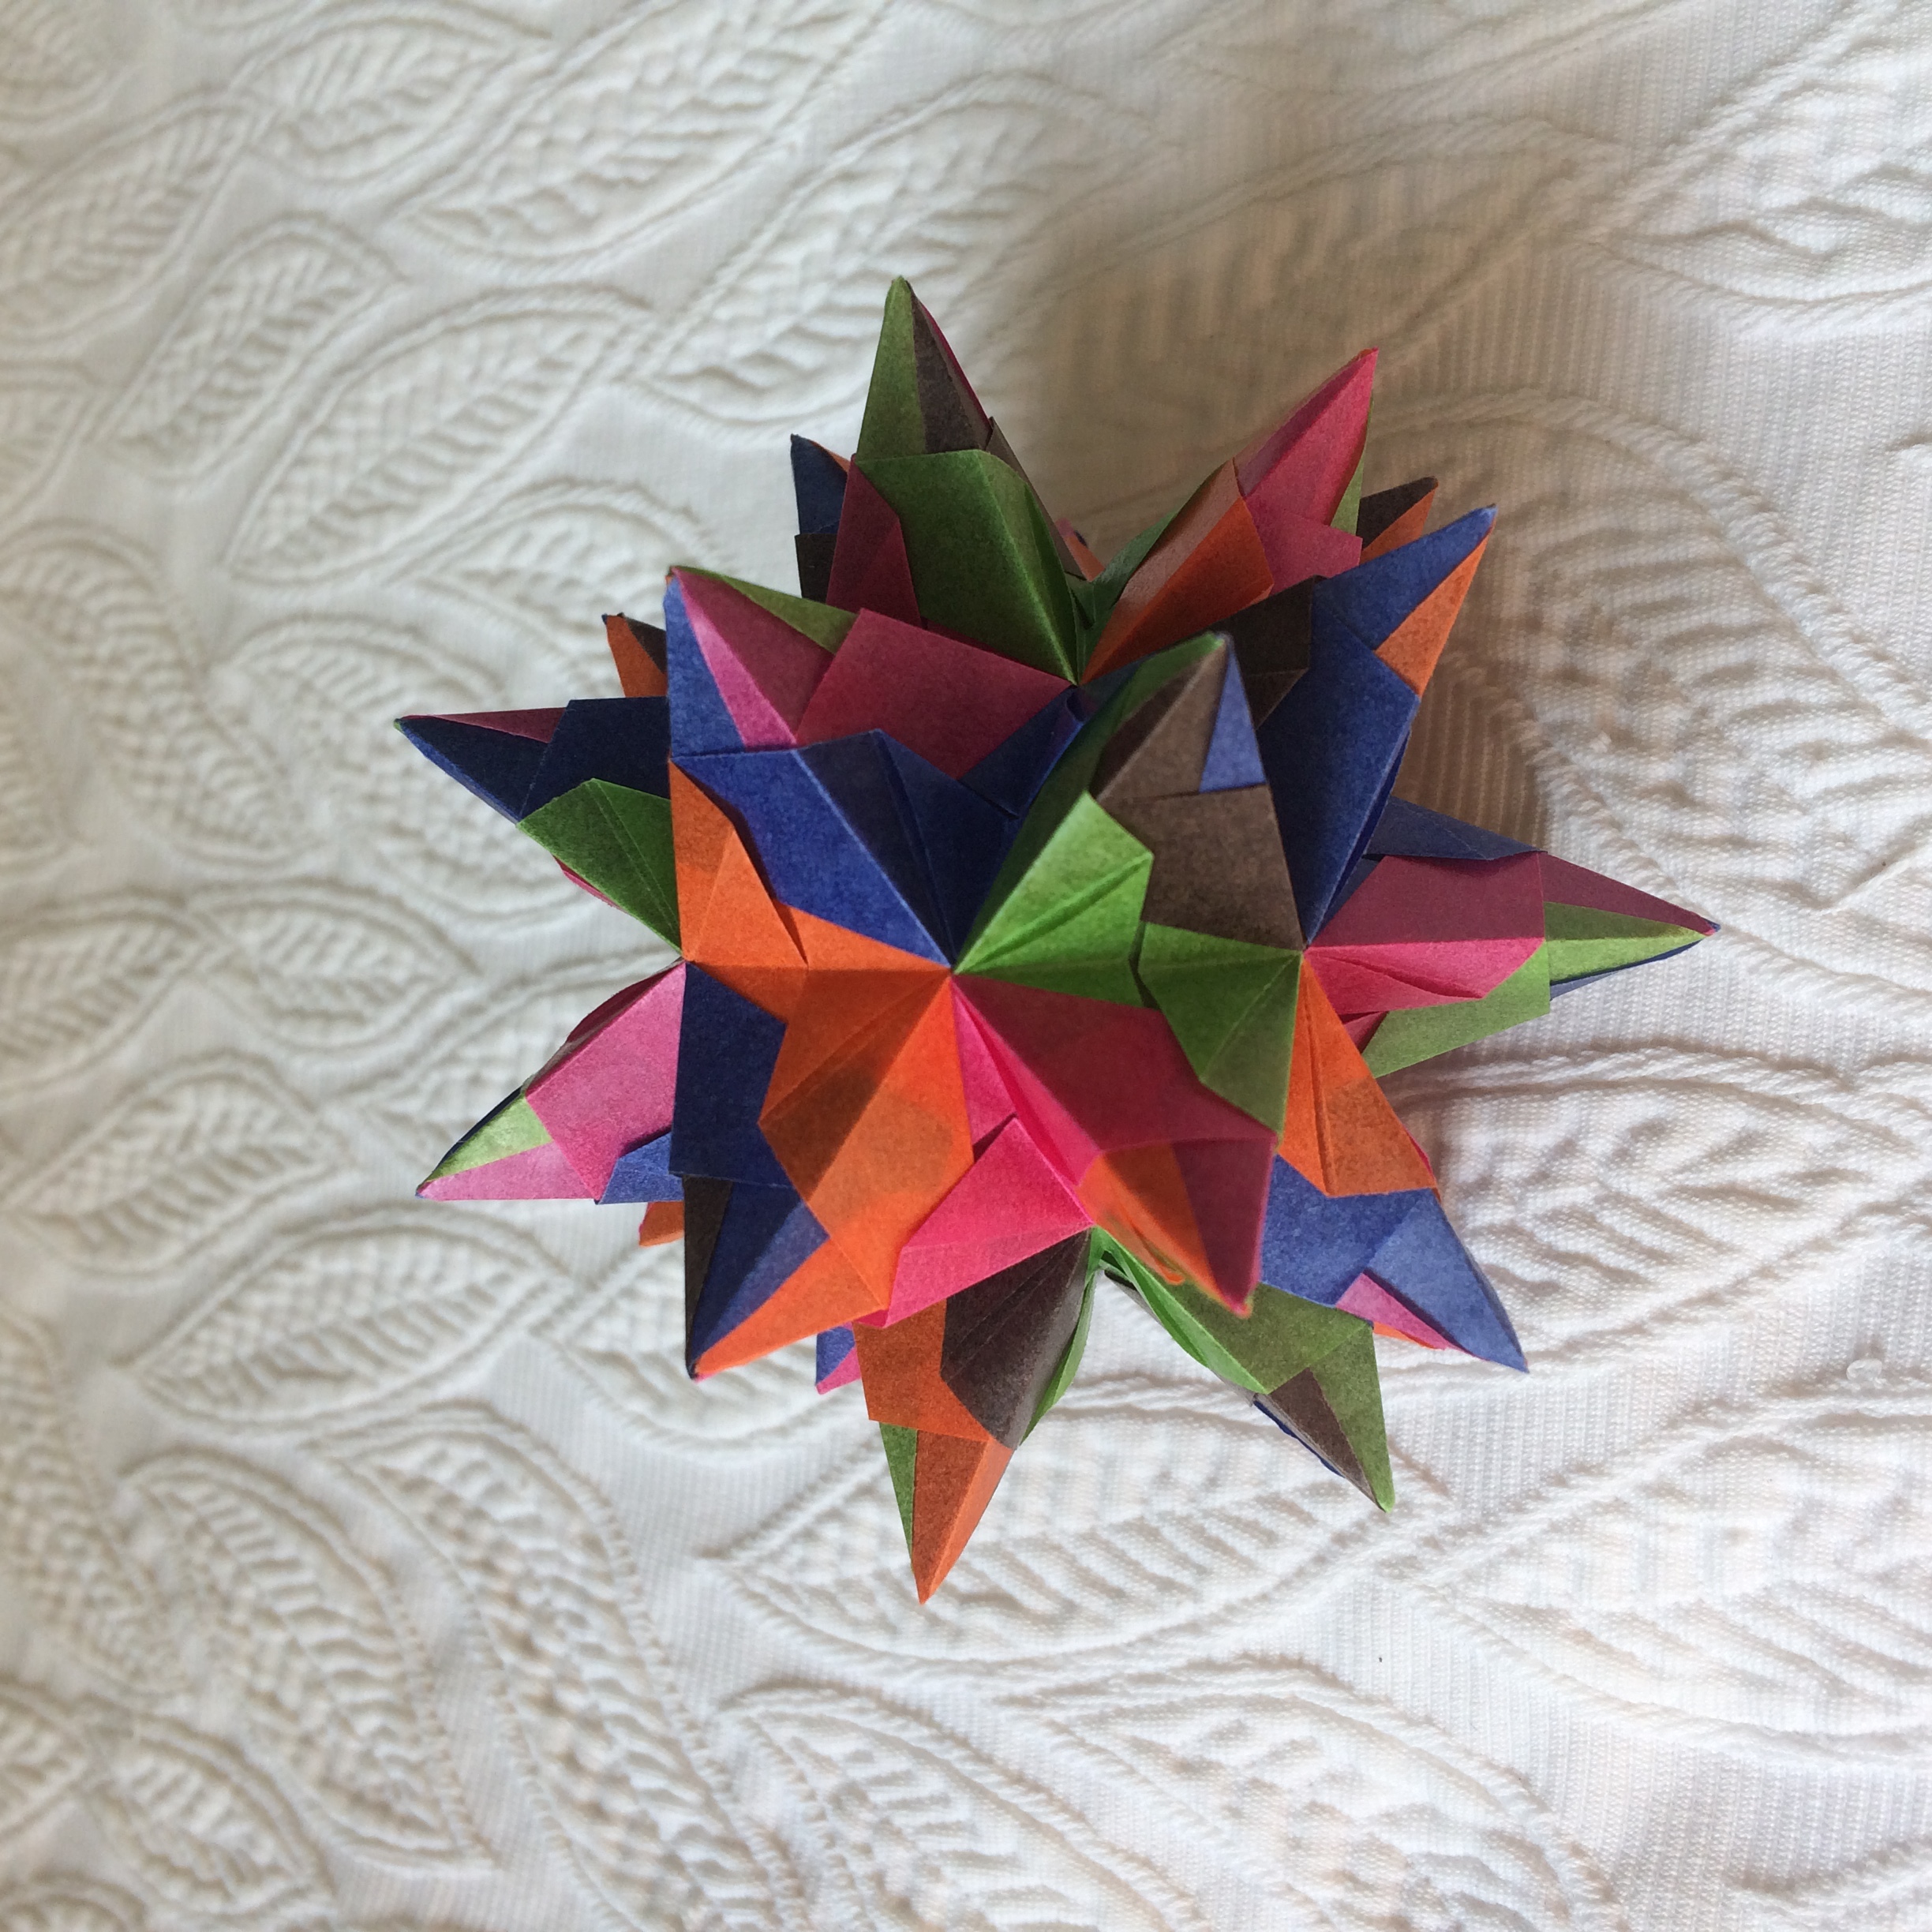
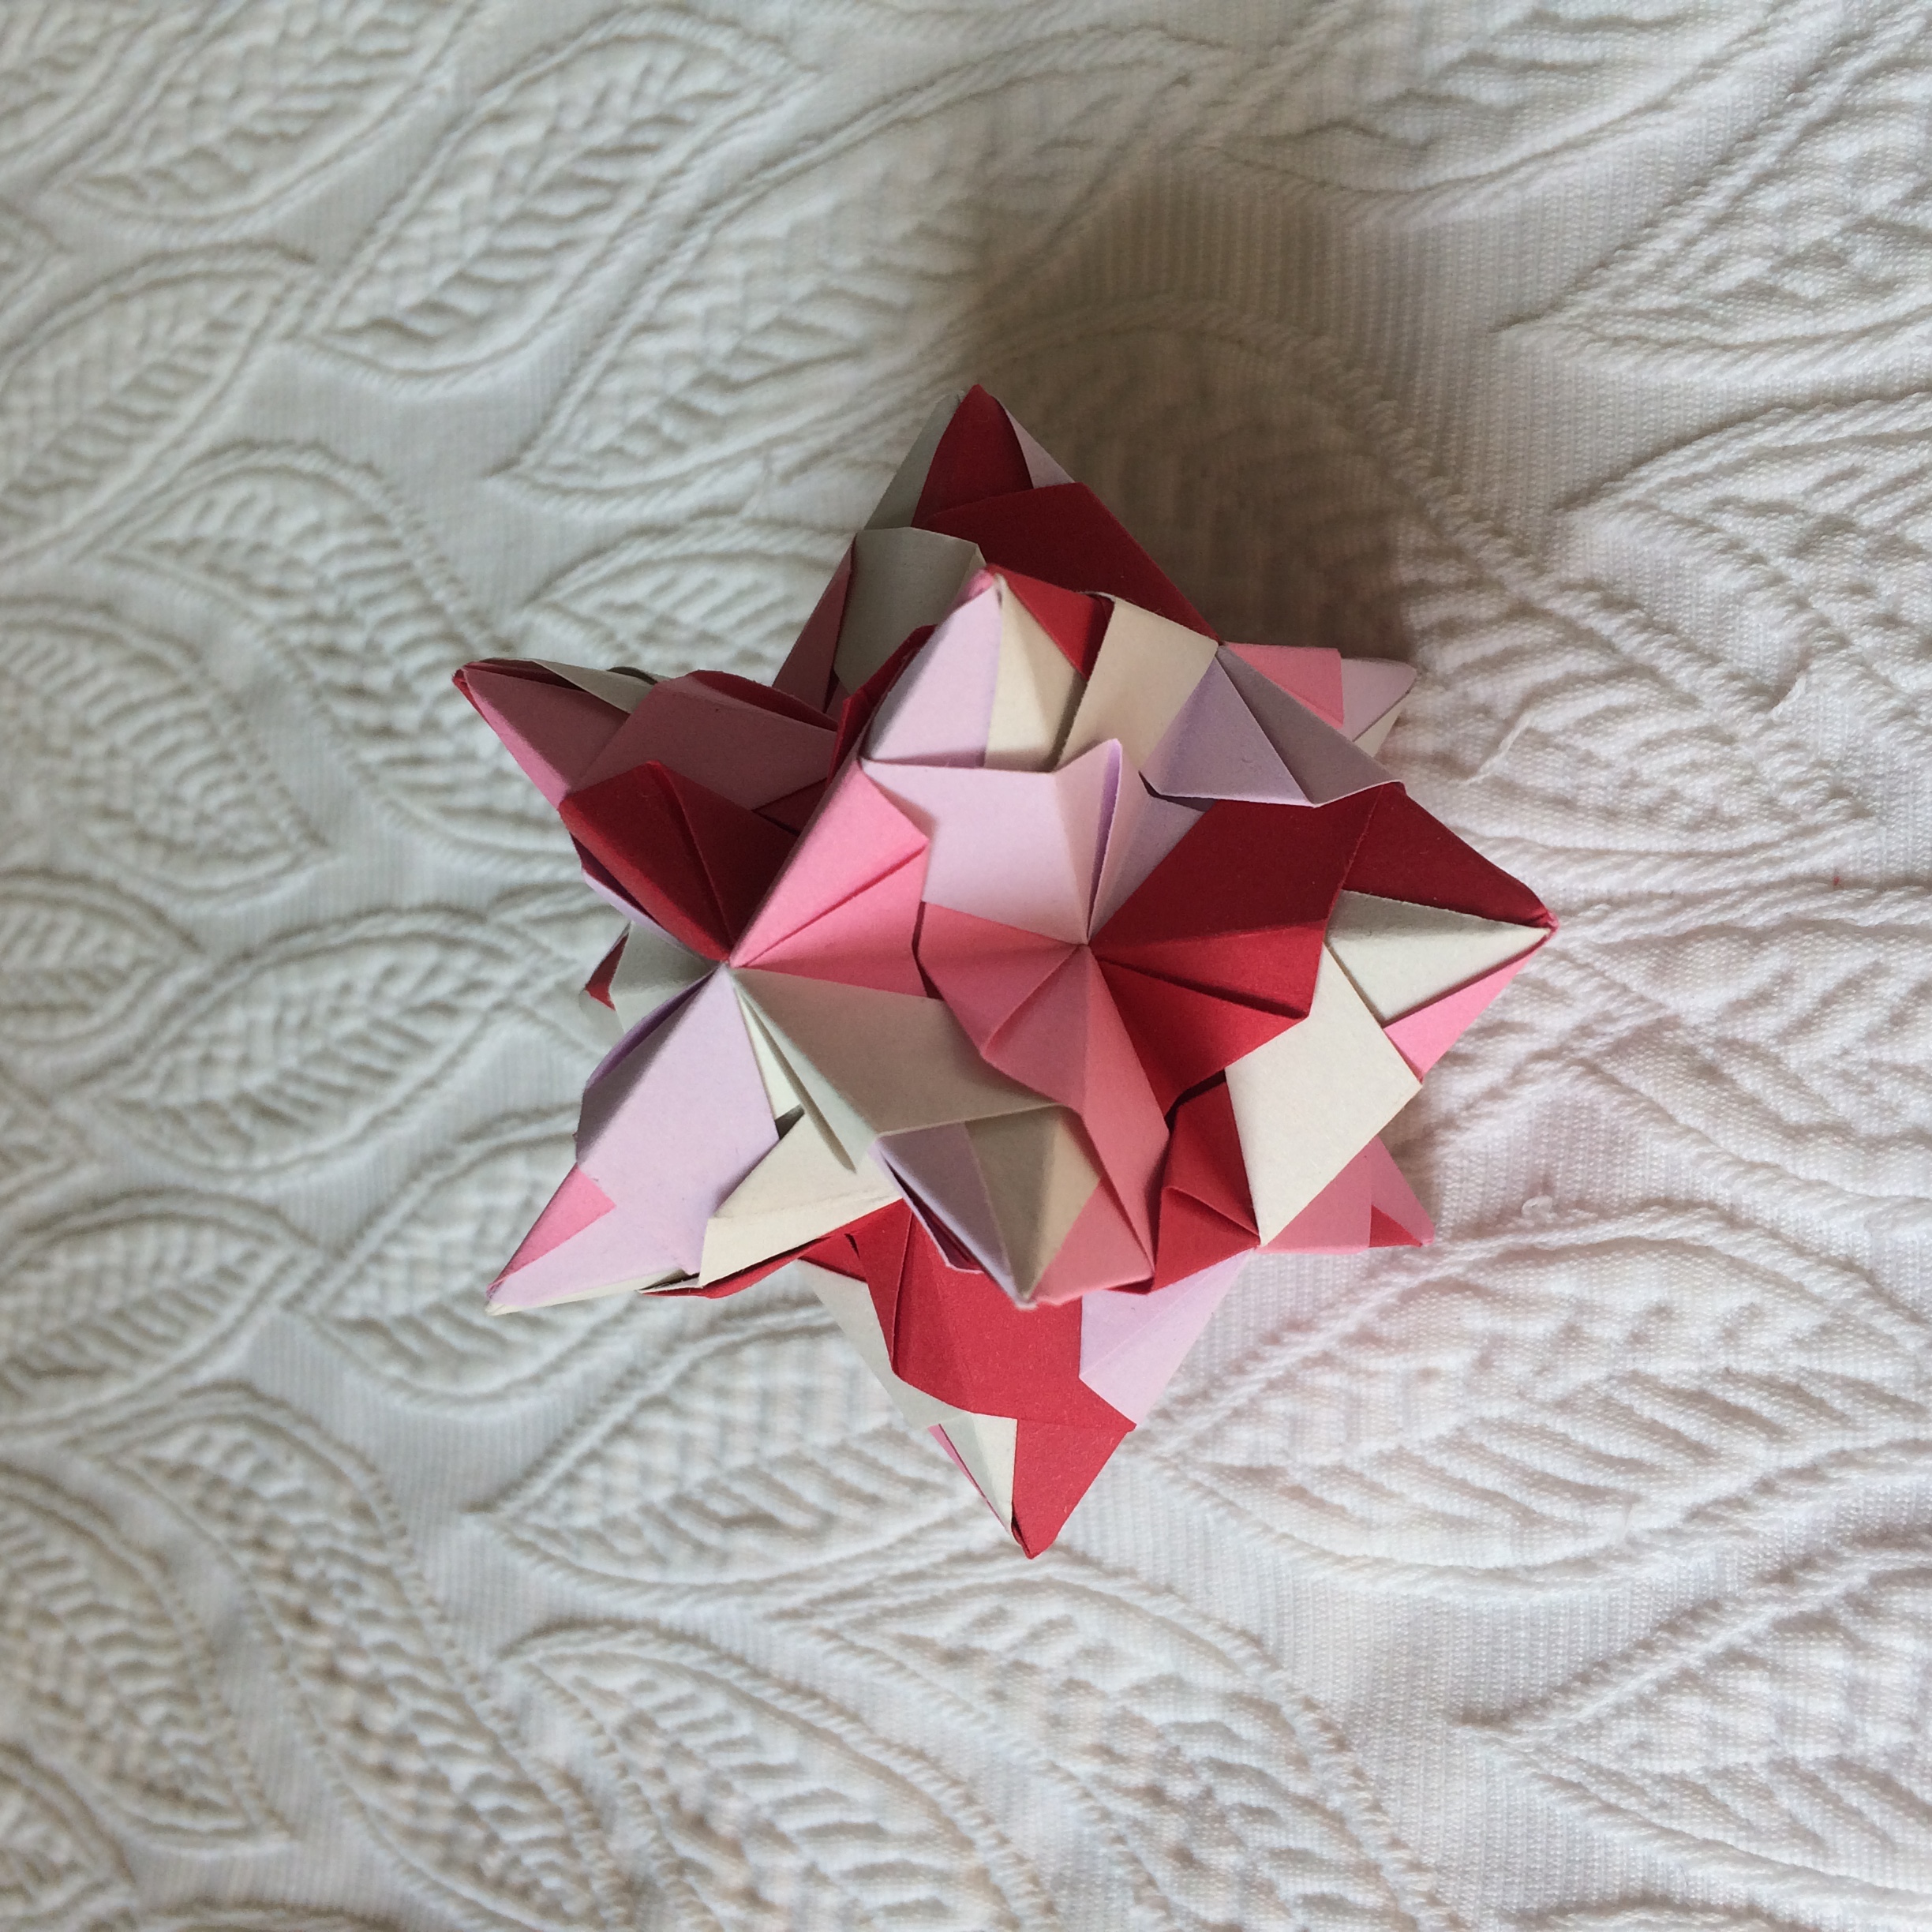
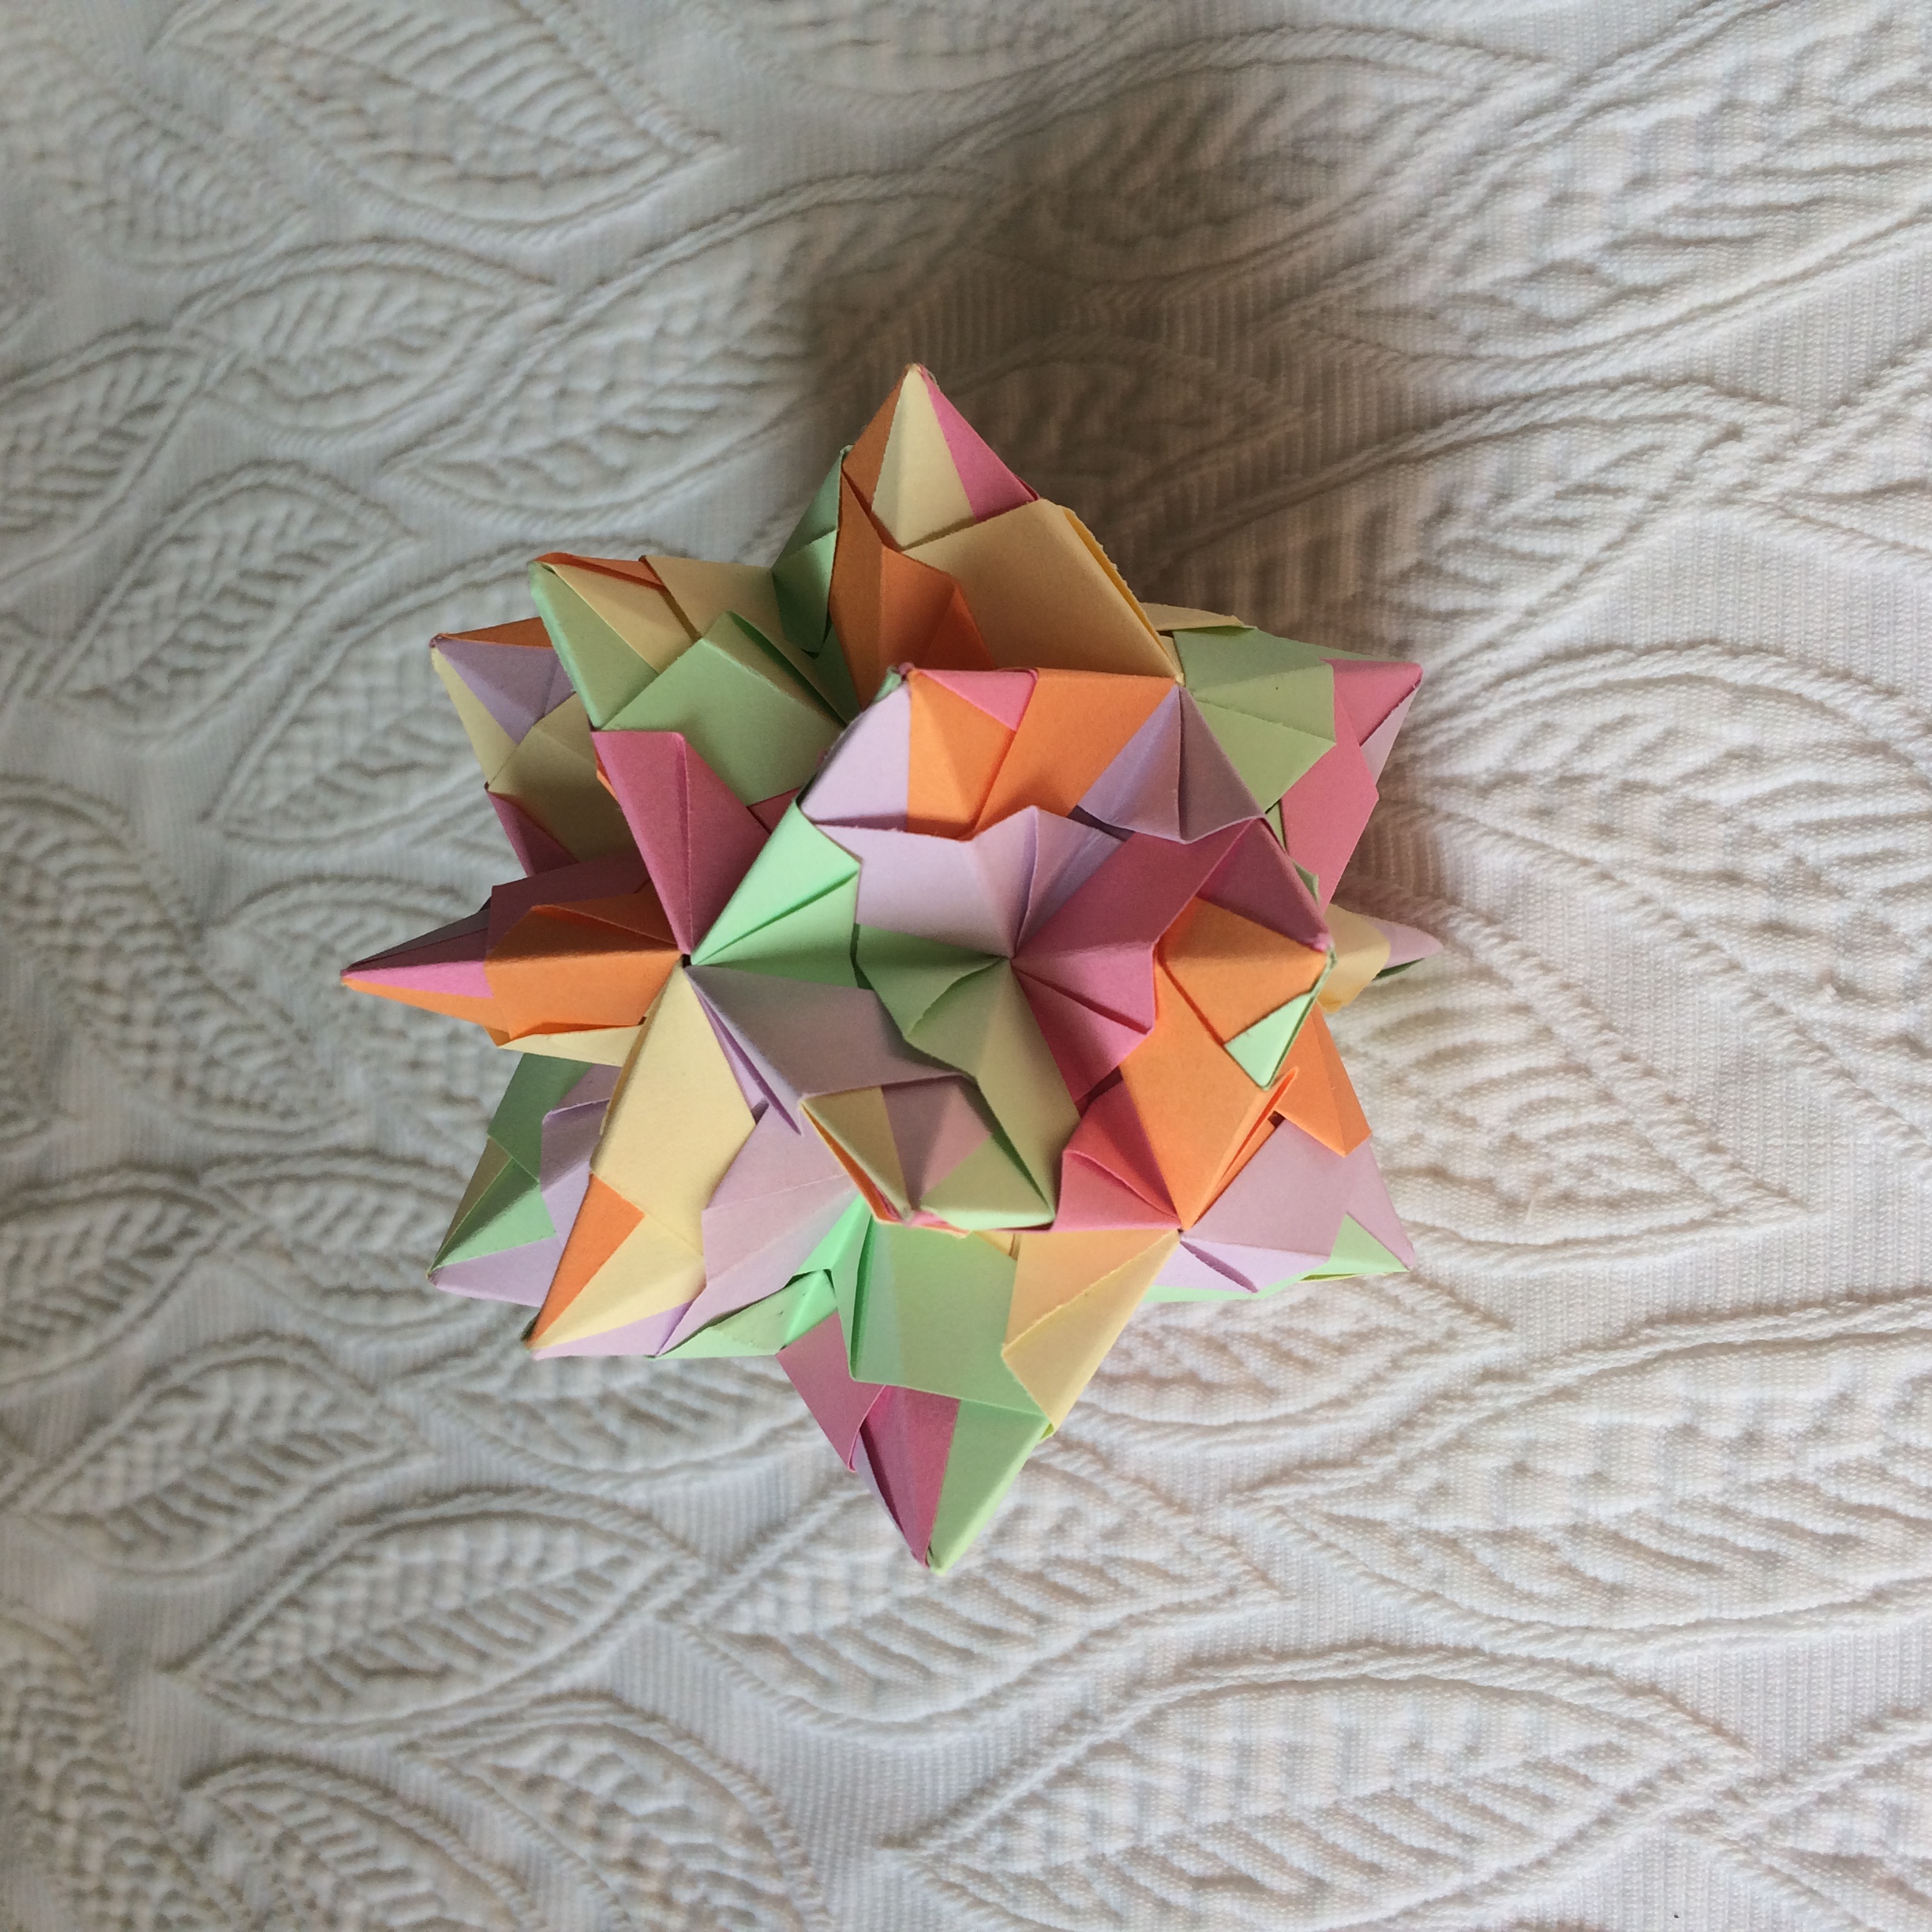
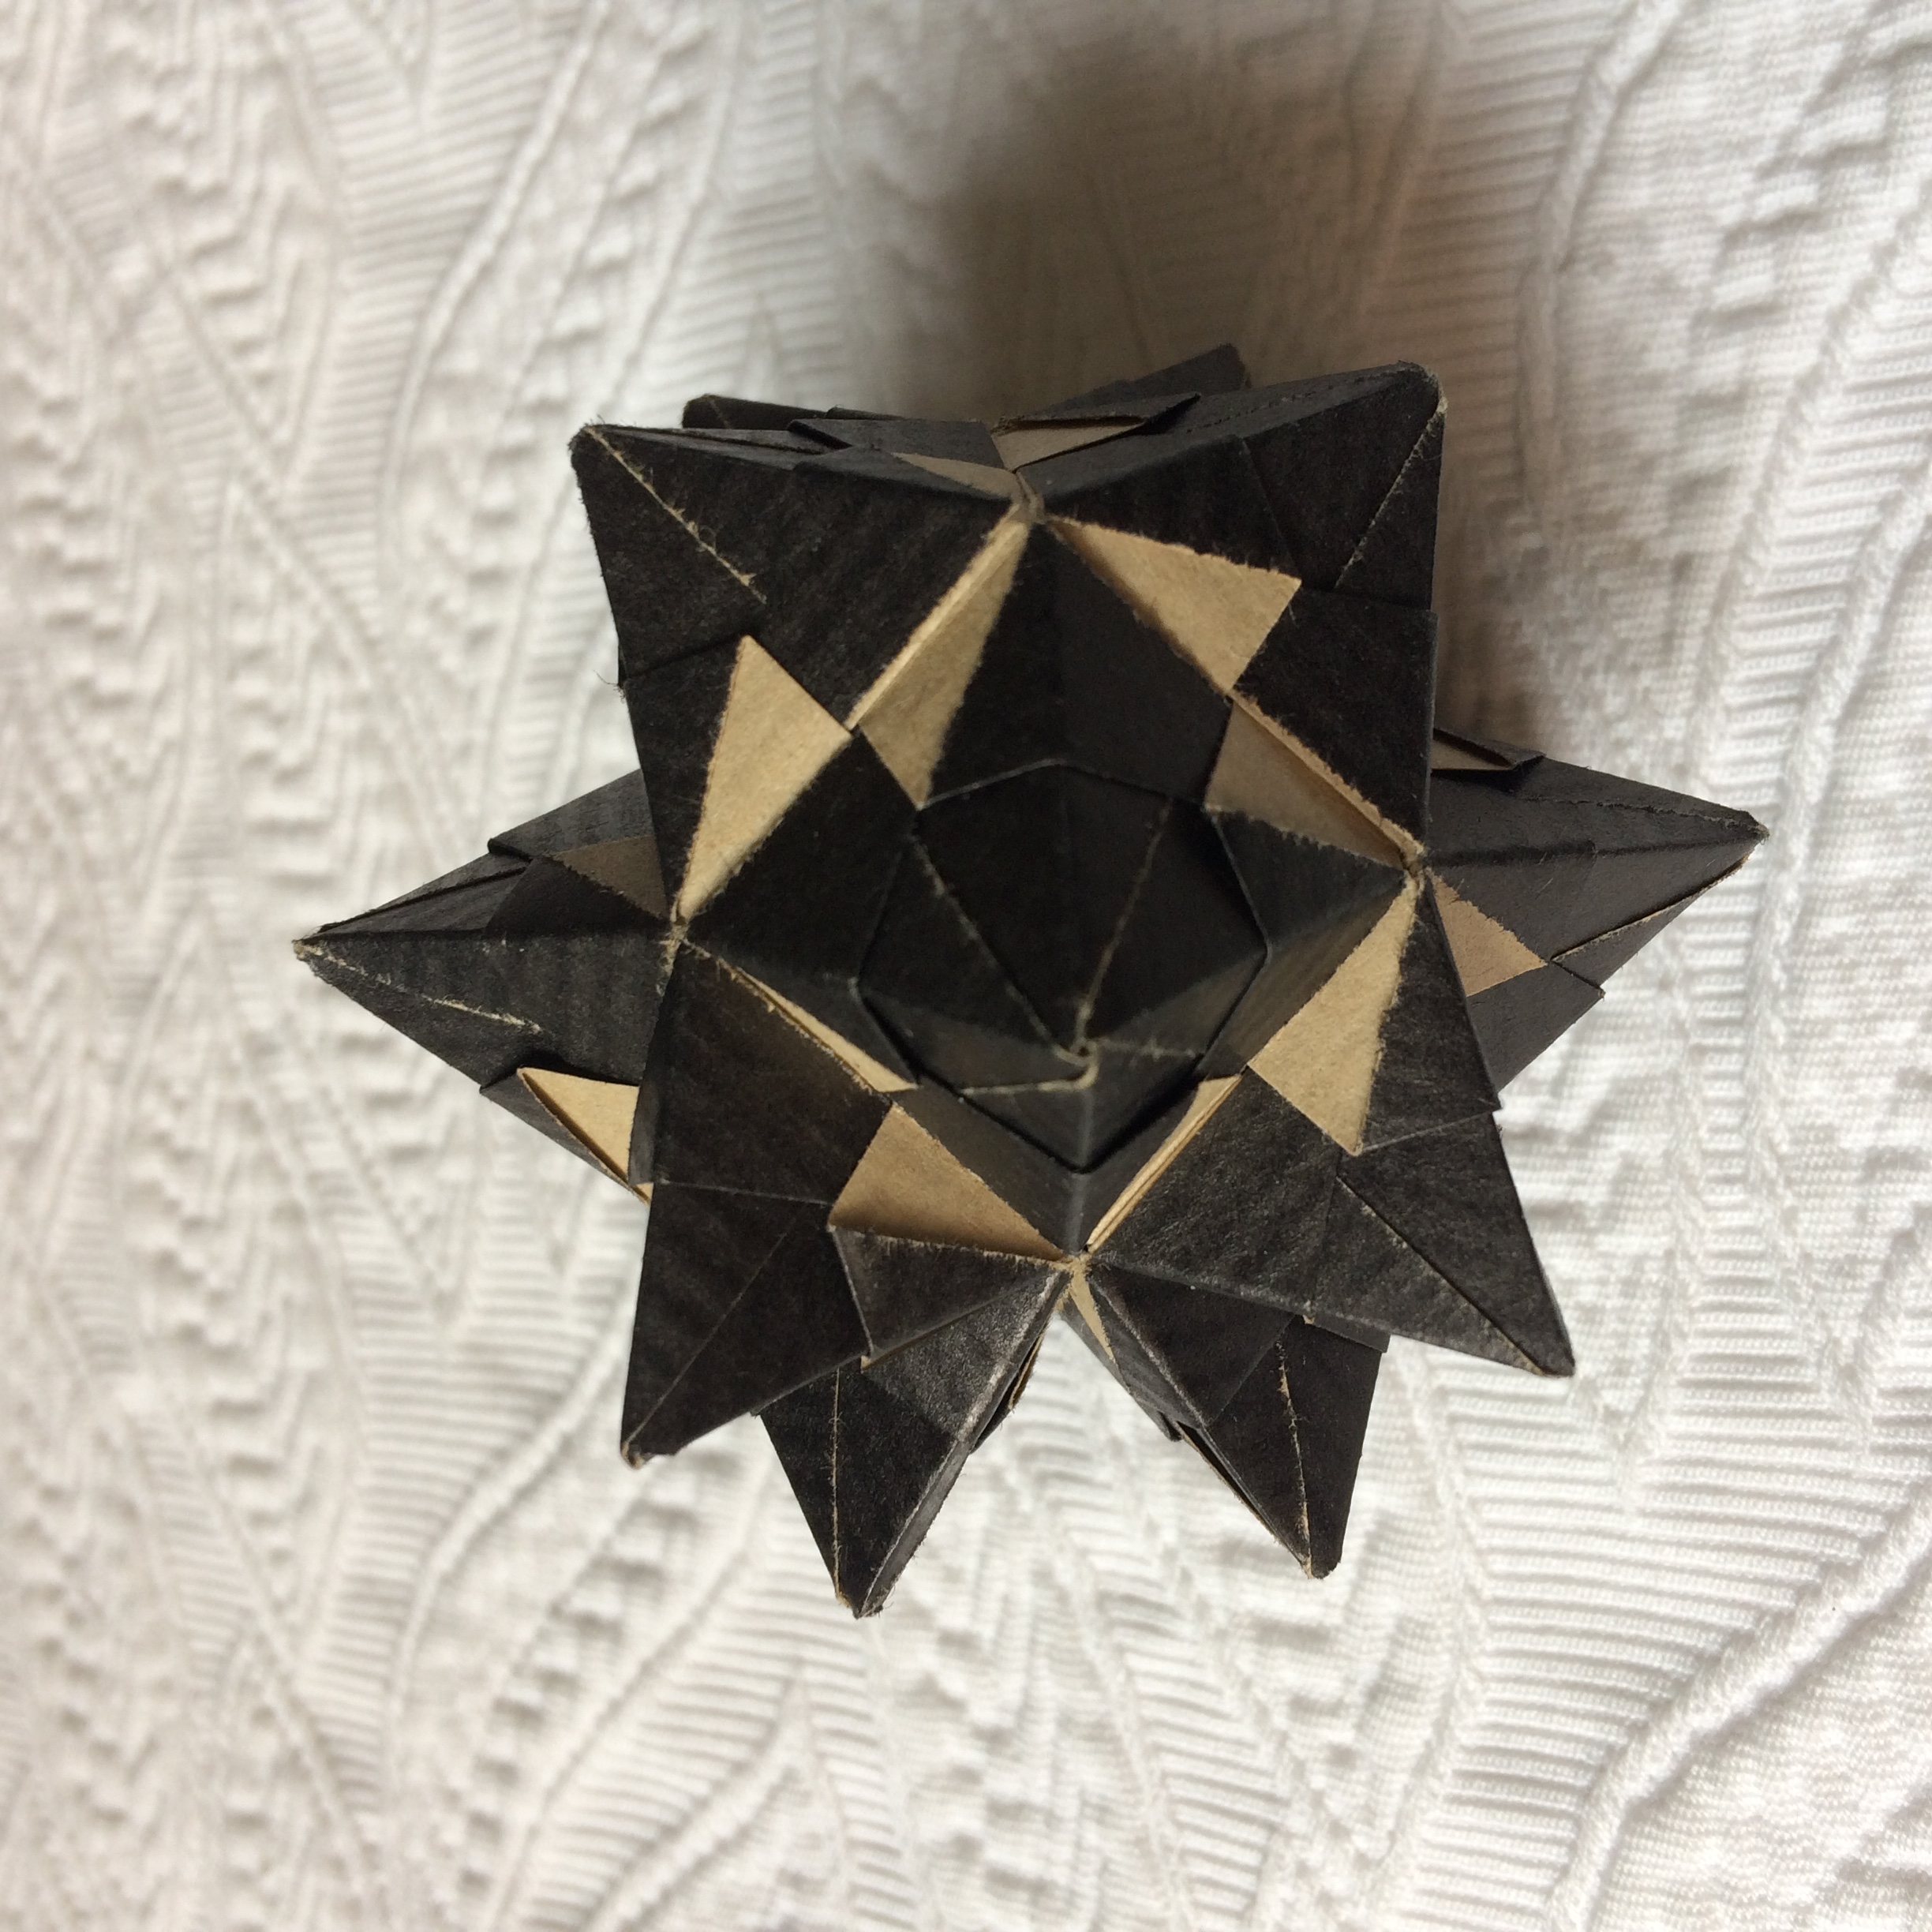
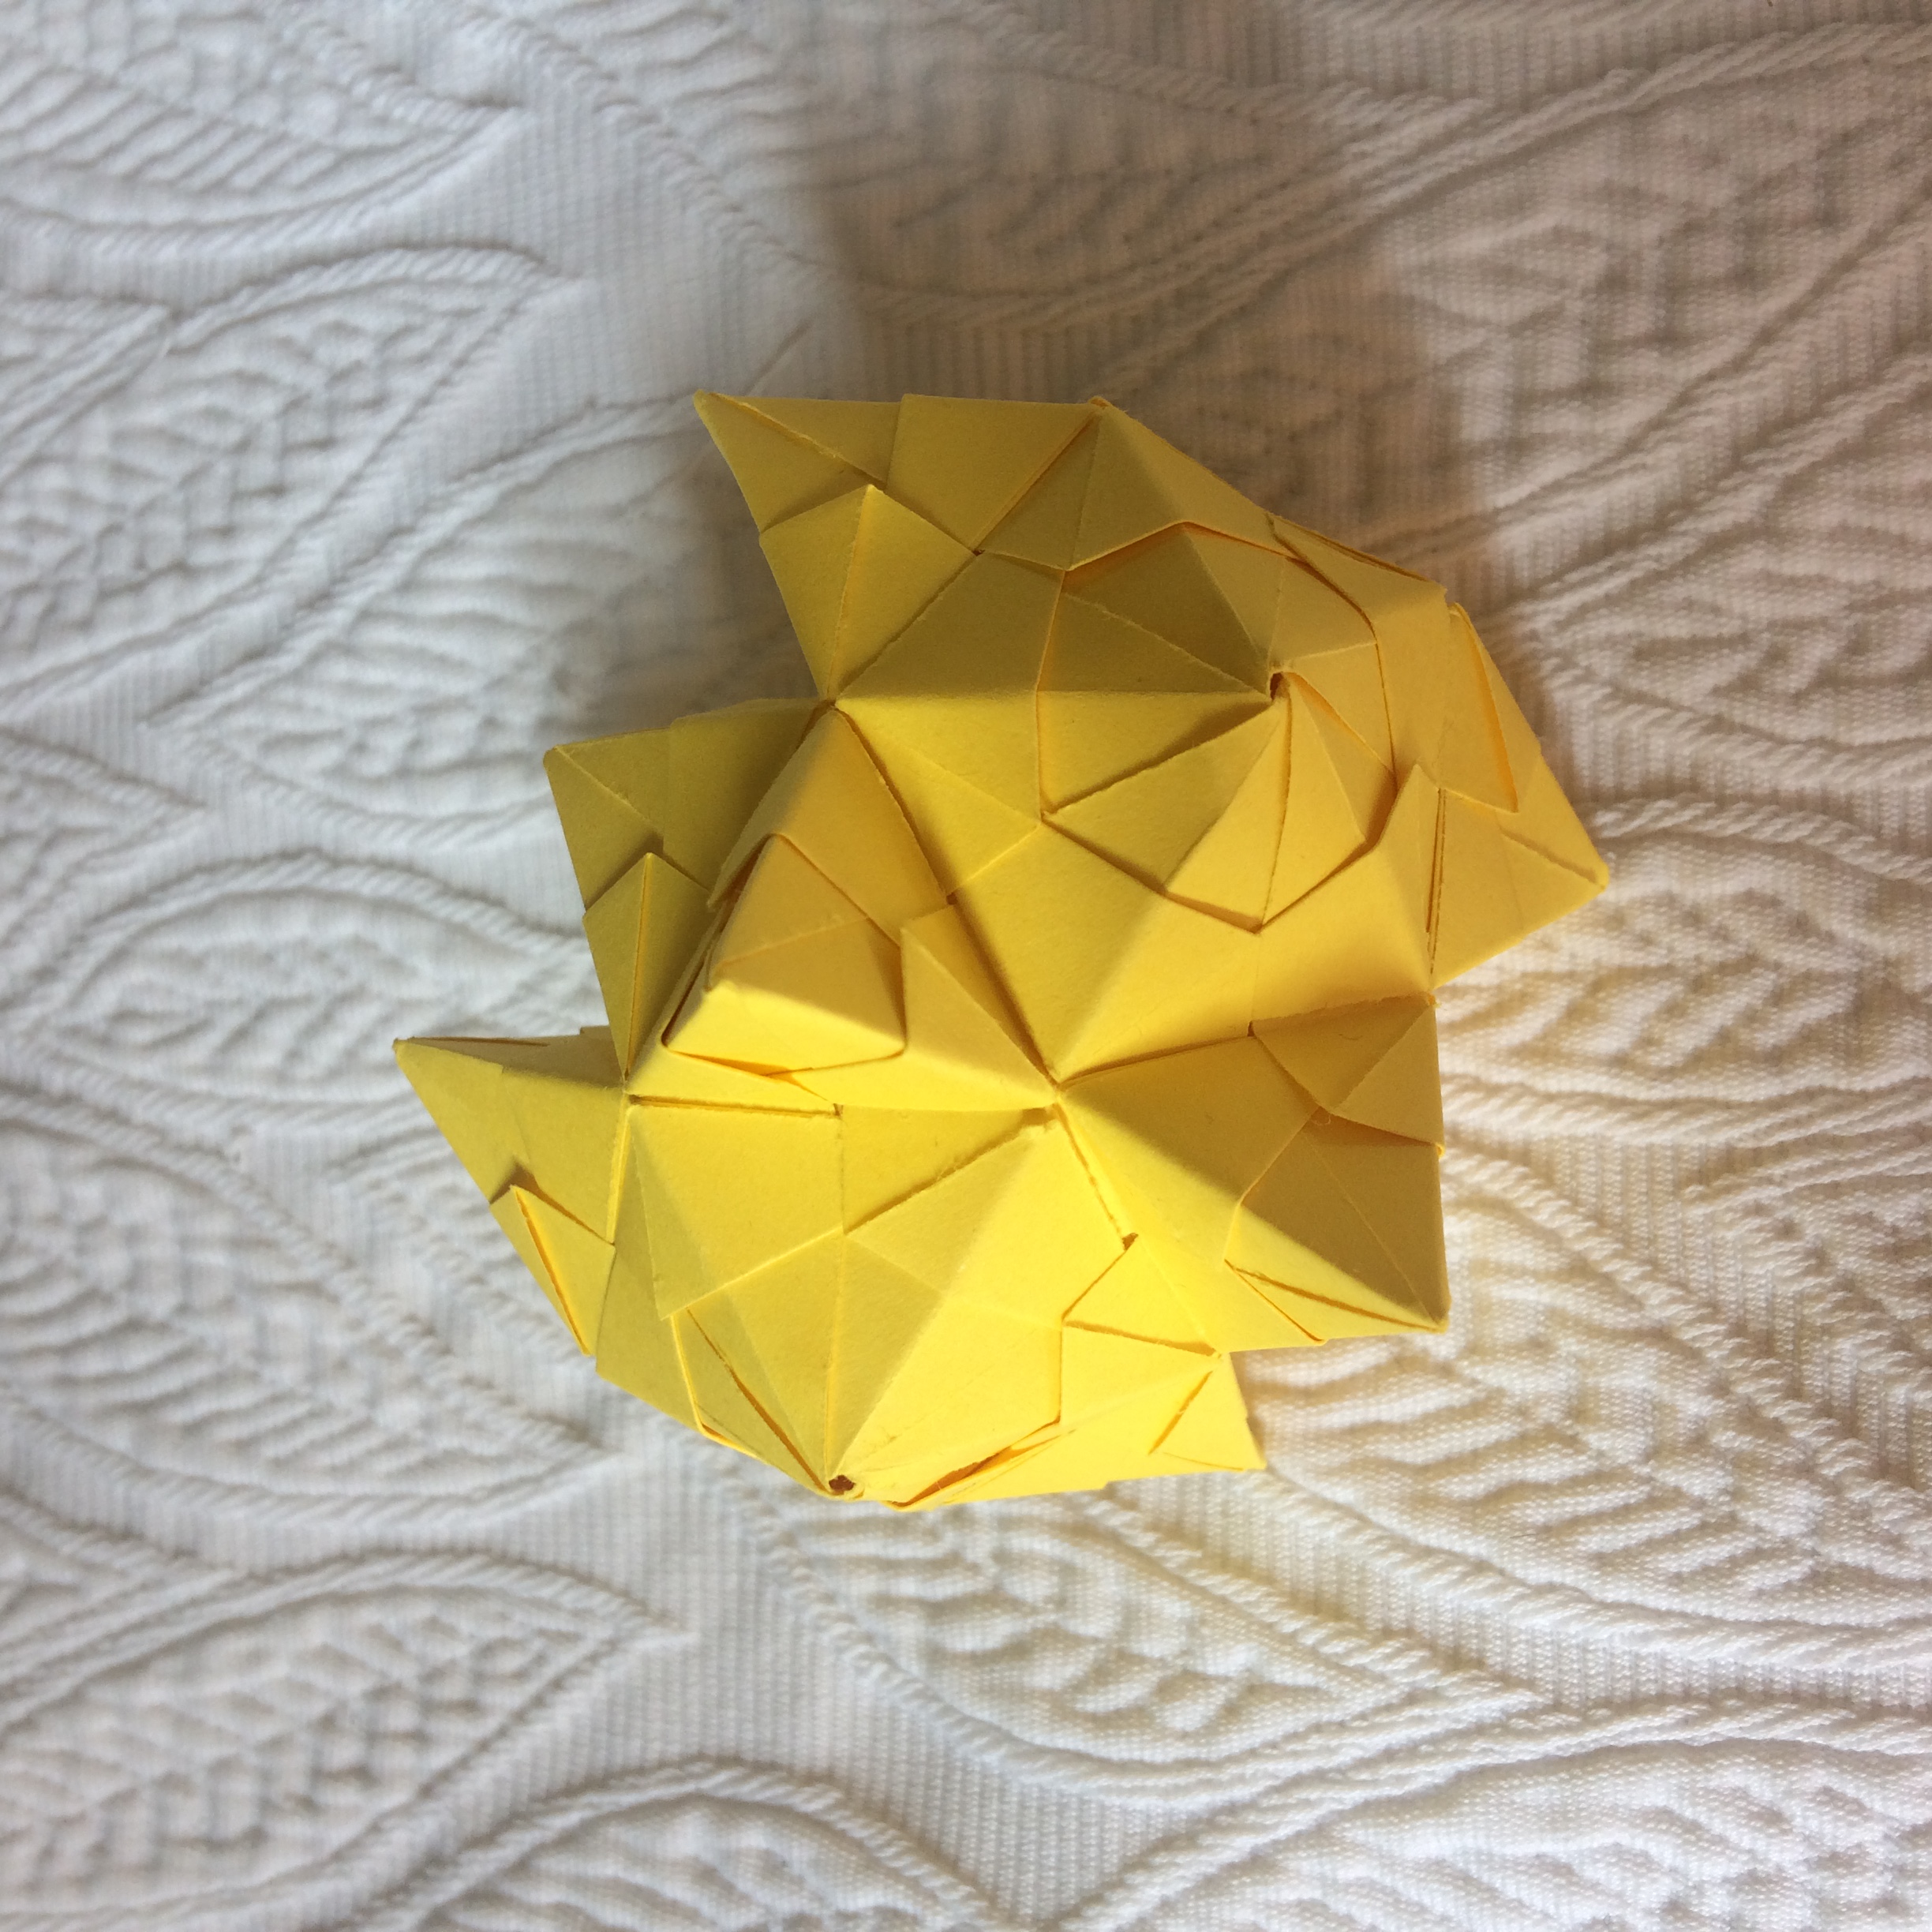
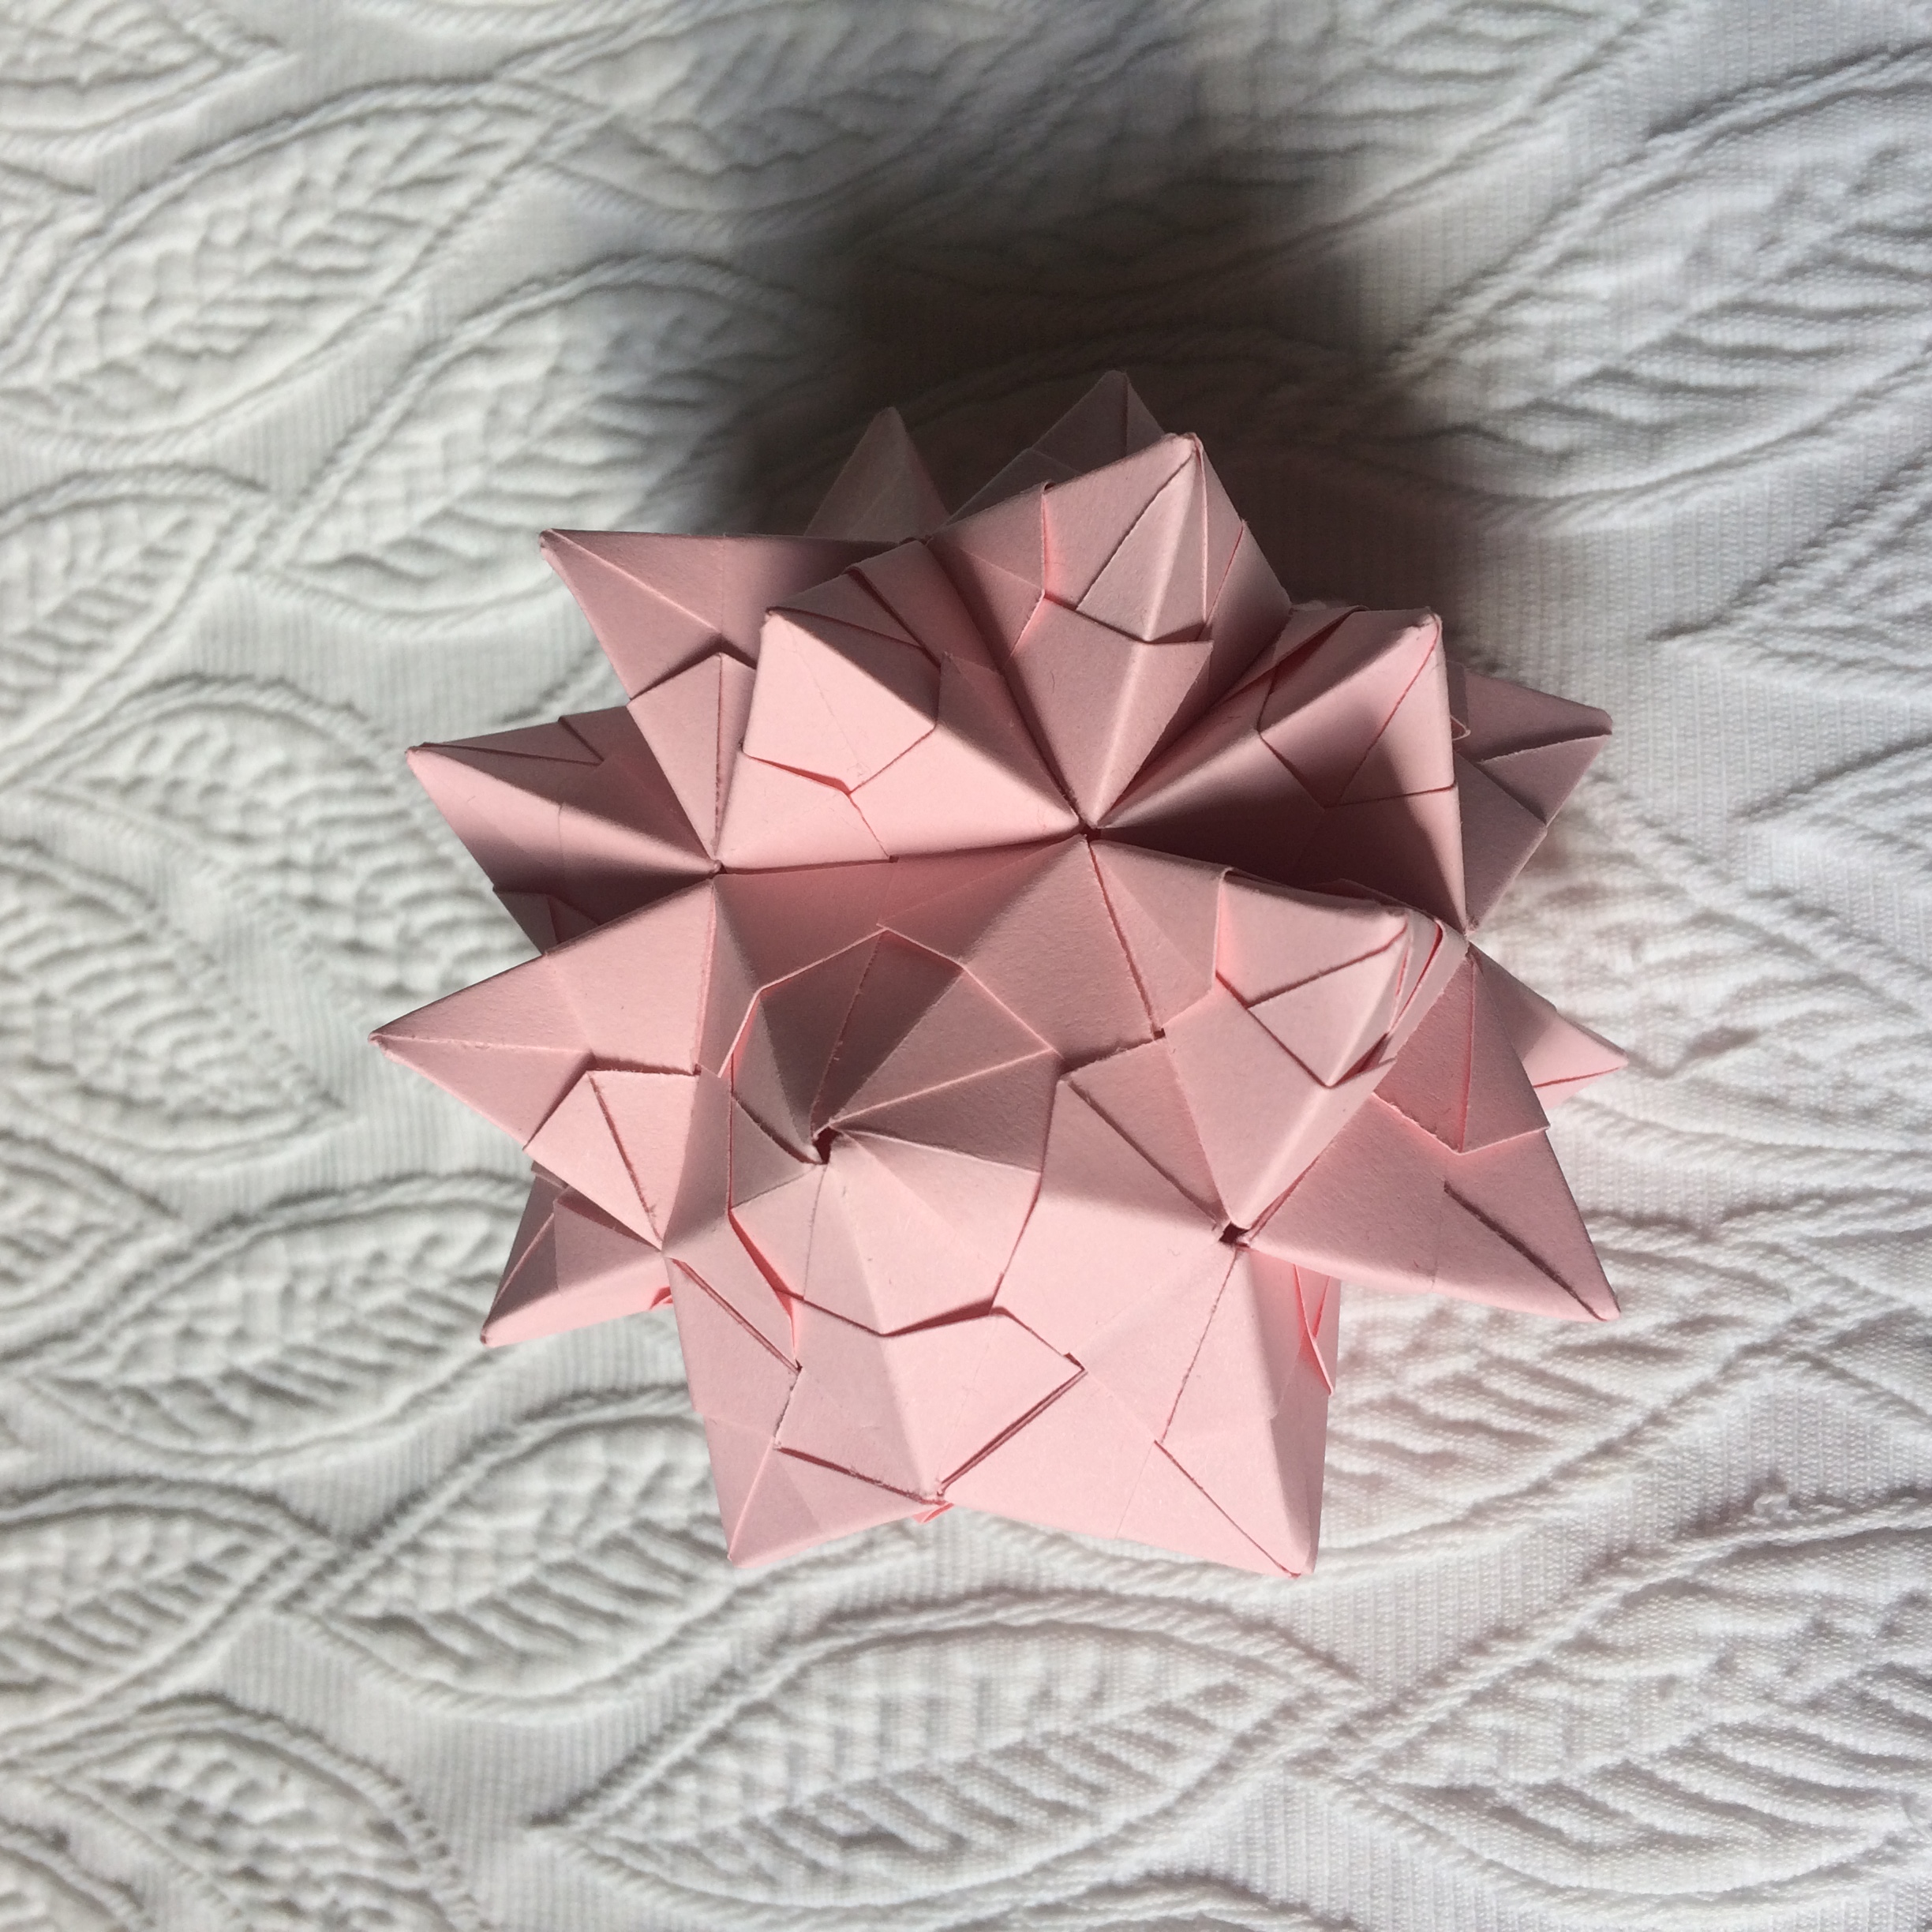
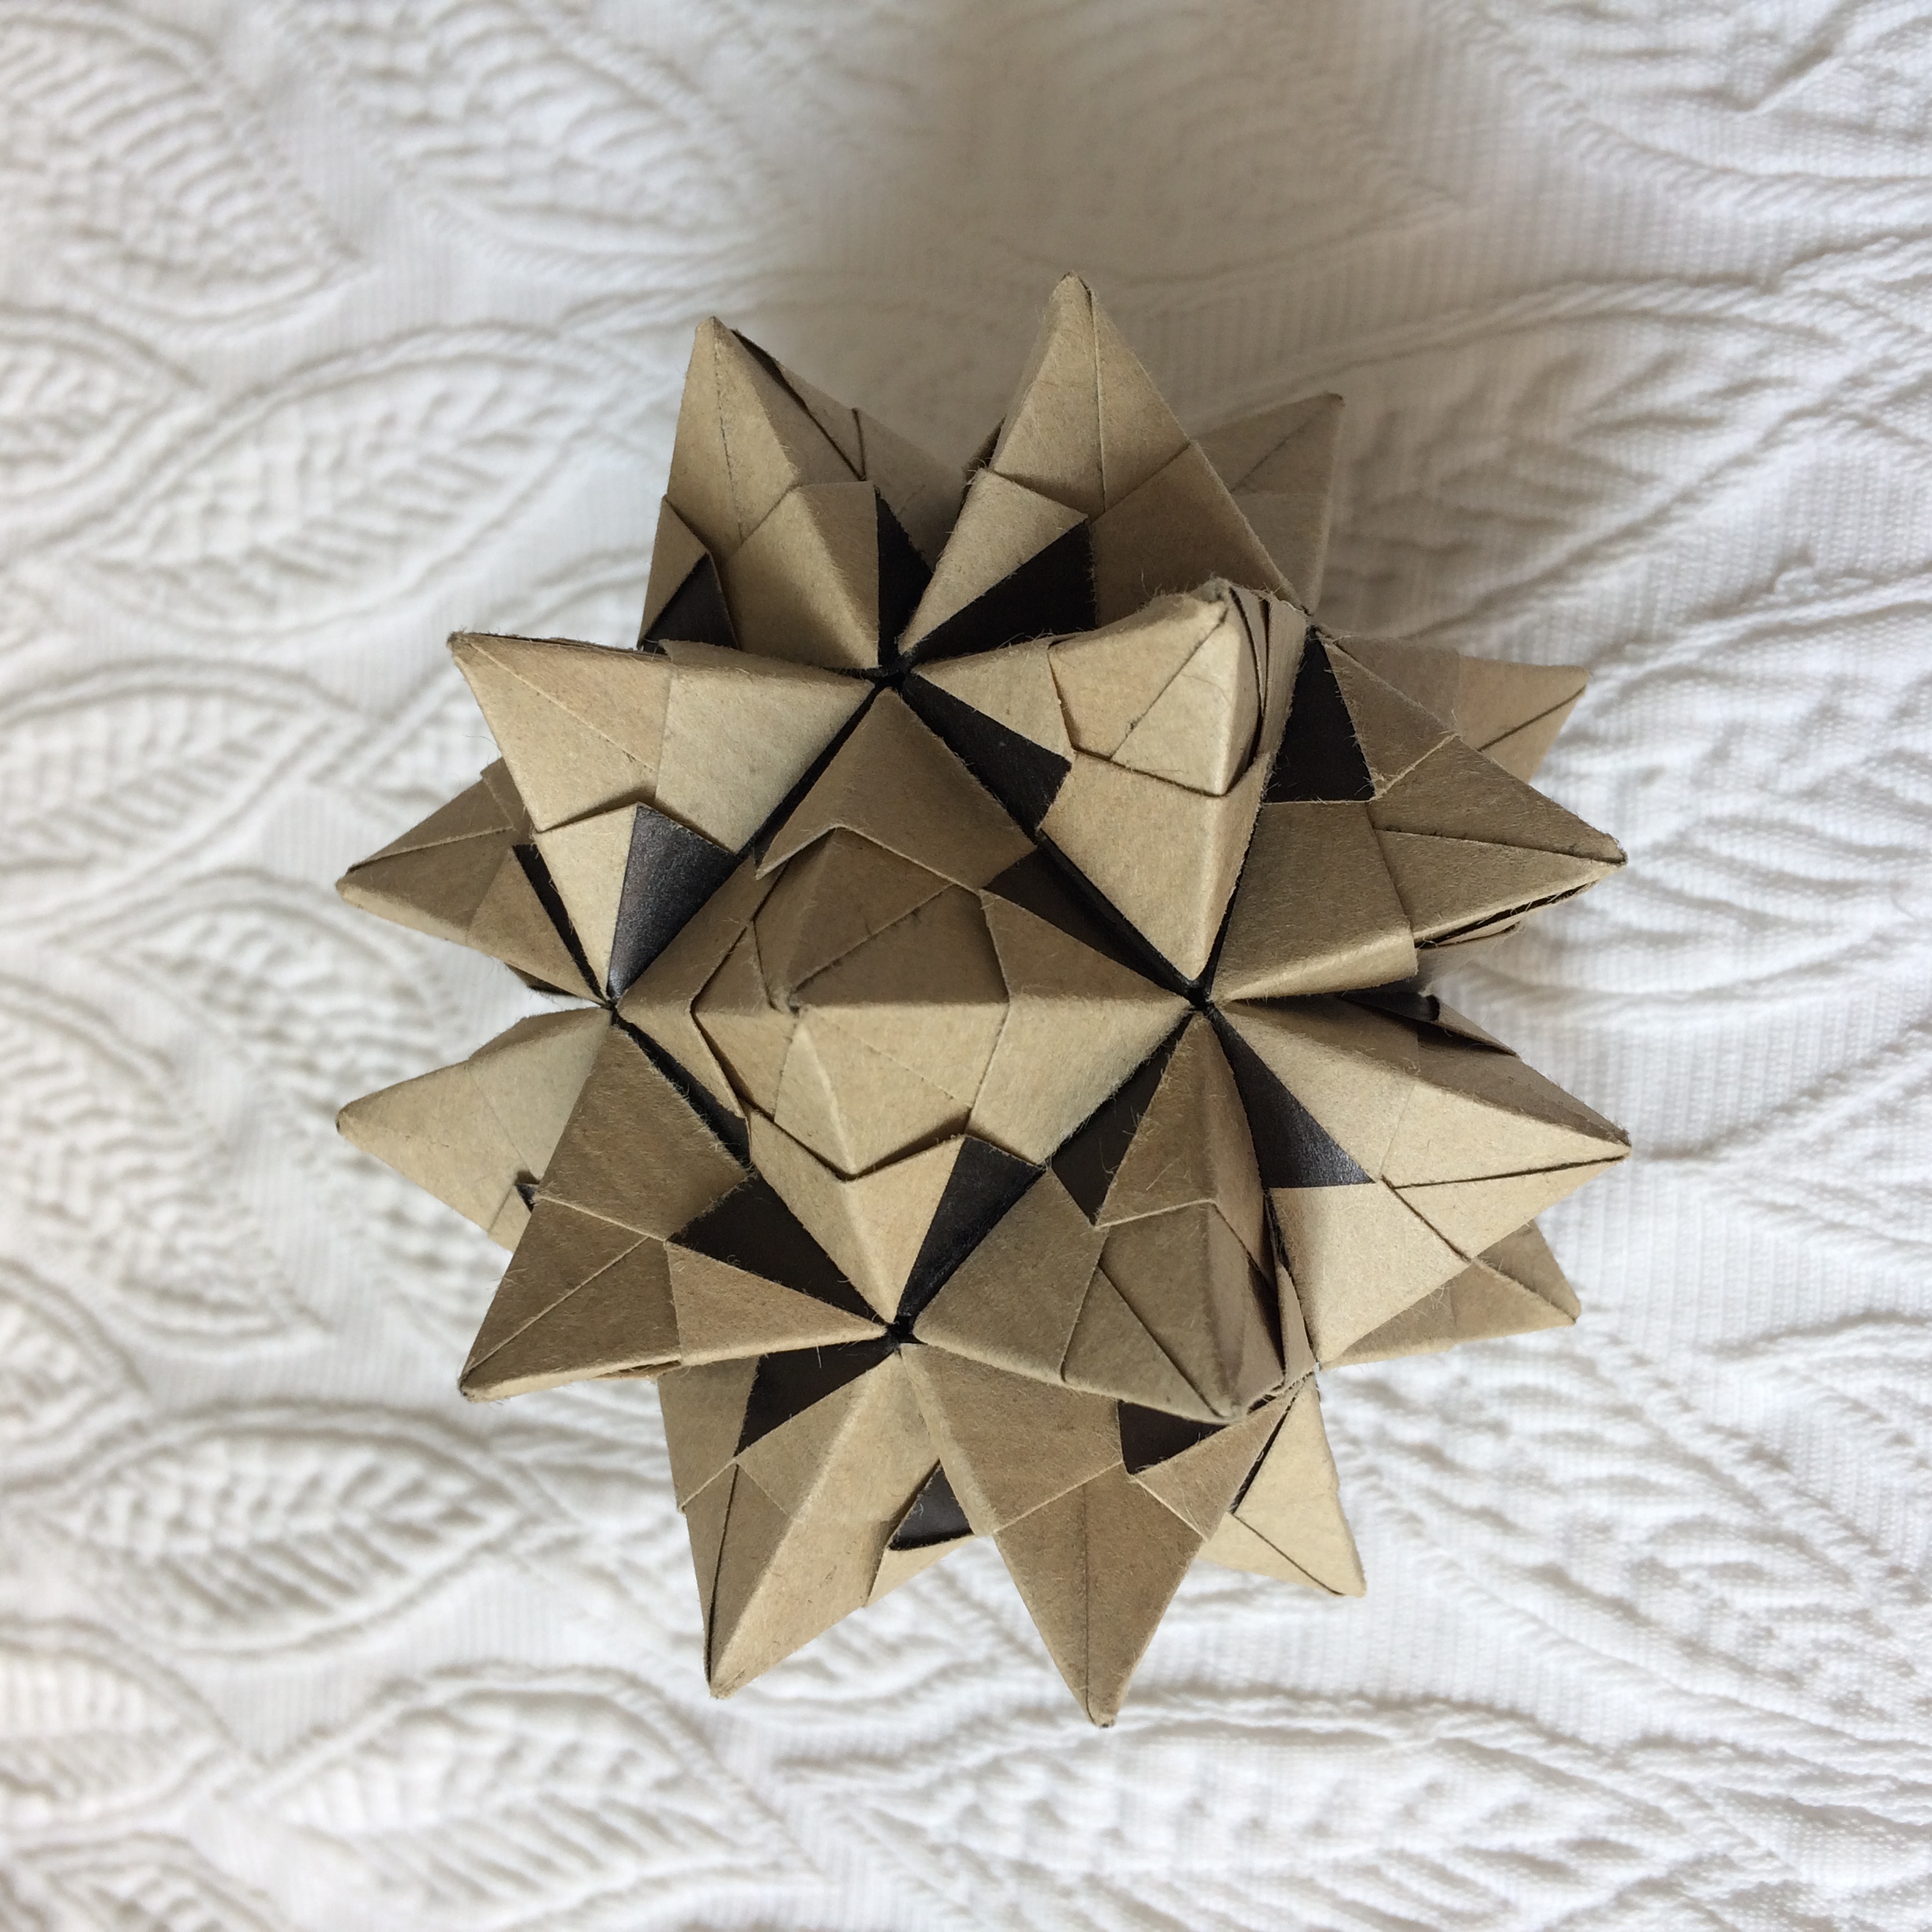
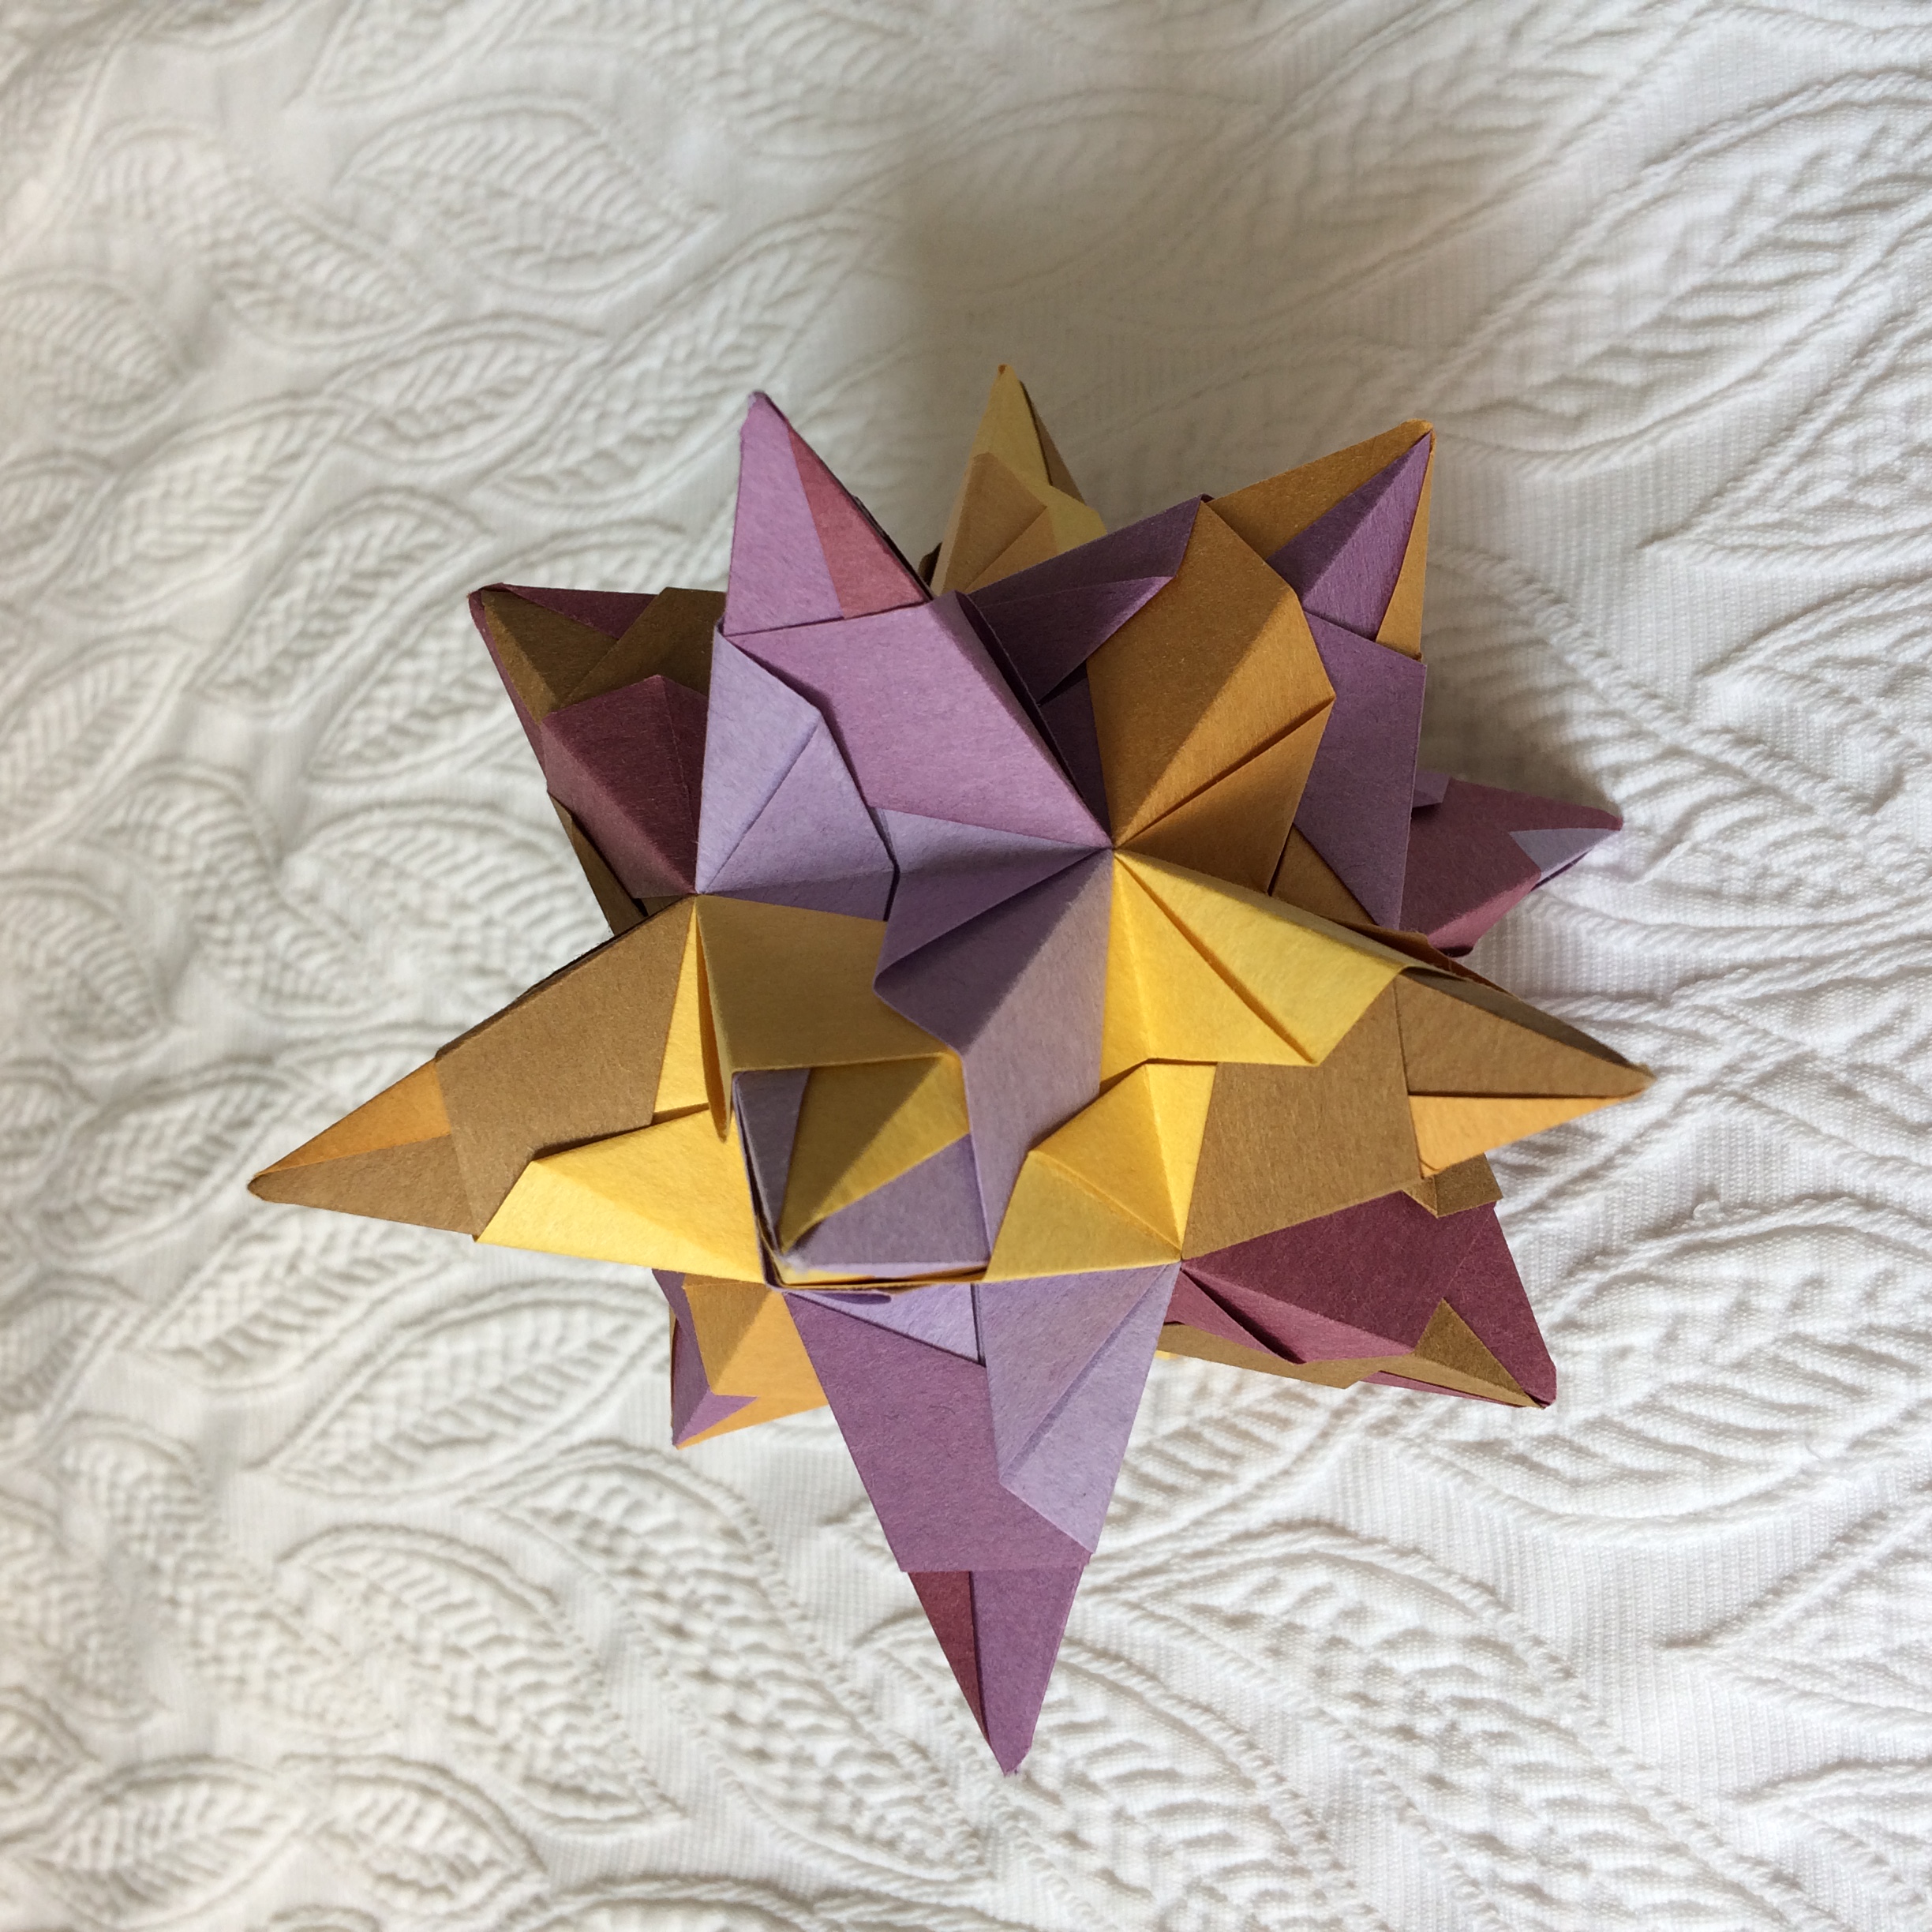
Figure 1: All the (31) models made during the summer of 2025. Some are smaller version of already posted models, the others are new.
One is missing since it is still a work in progress. (Click on the picture to enlarge)
Introduction
In May 2025, I participated in some Maths event where I could present my origami stuff so I prepared some documents:
and one for dividing a paper sheet into smaller sheet of a given aspect ratio PaperRatios
I'd like to thank Cursor and Claude AI for helping in putting this up so quickly.
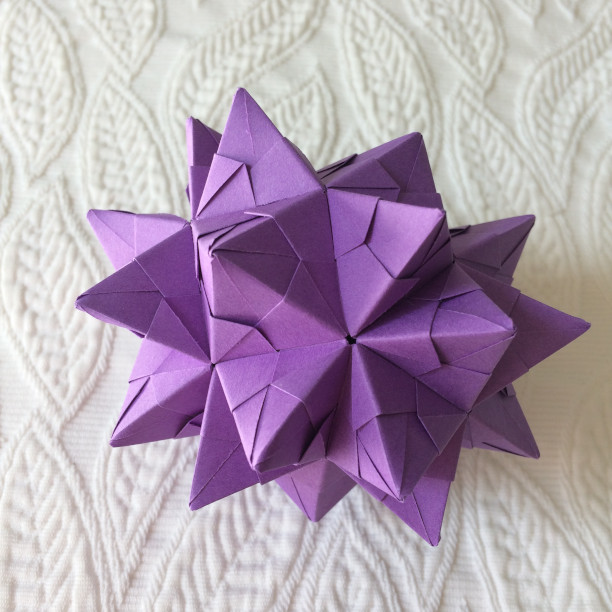
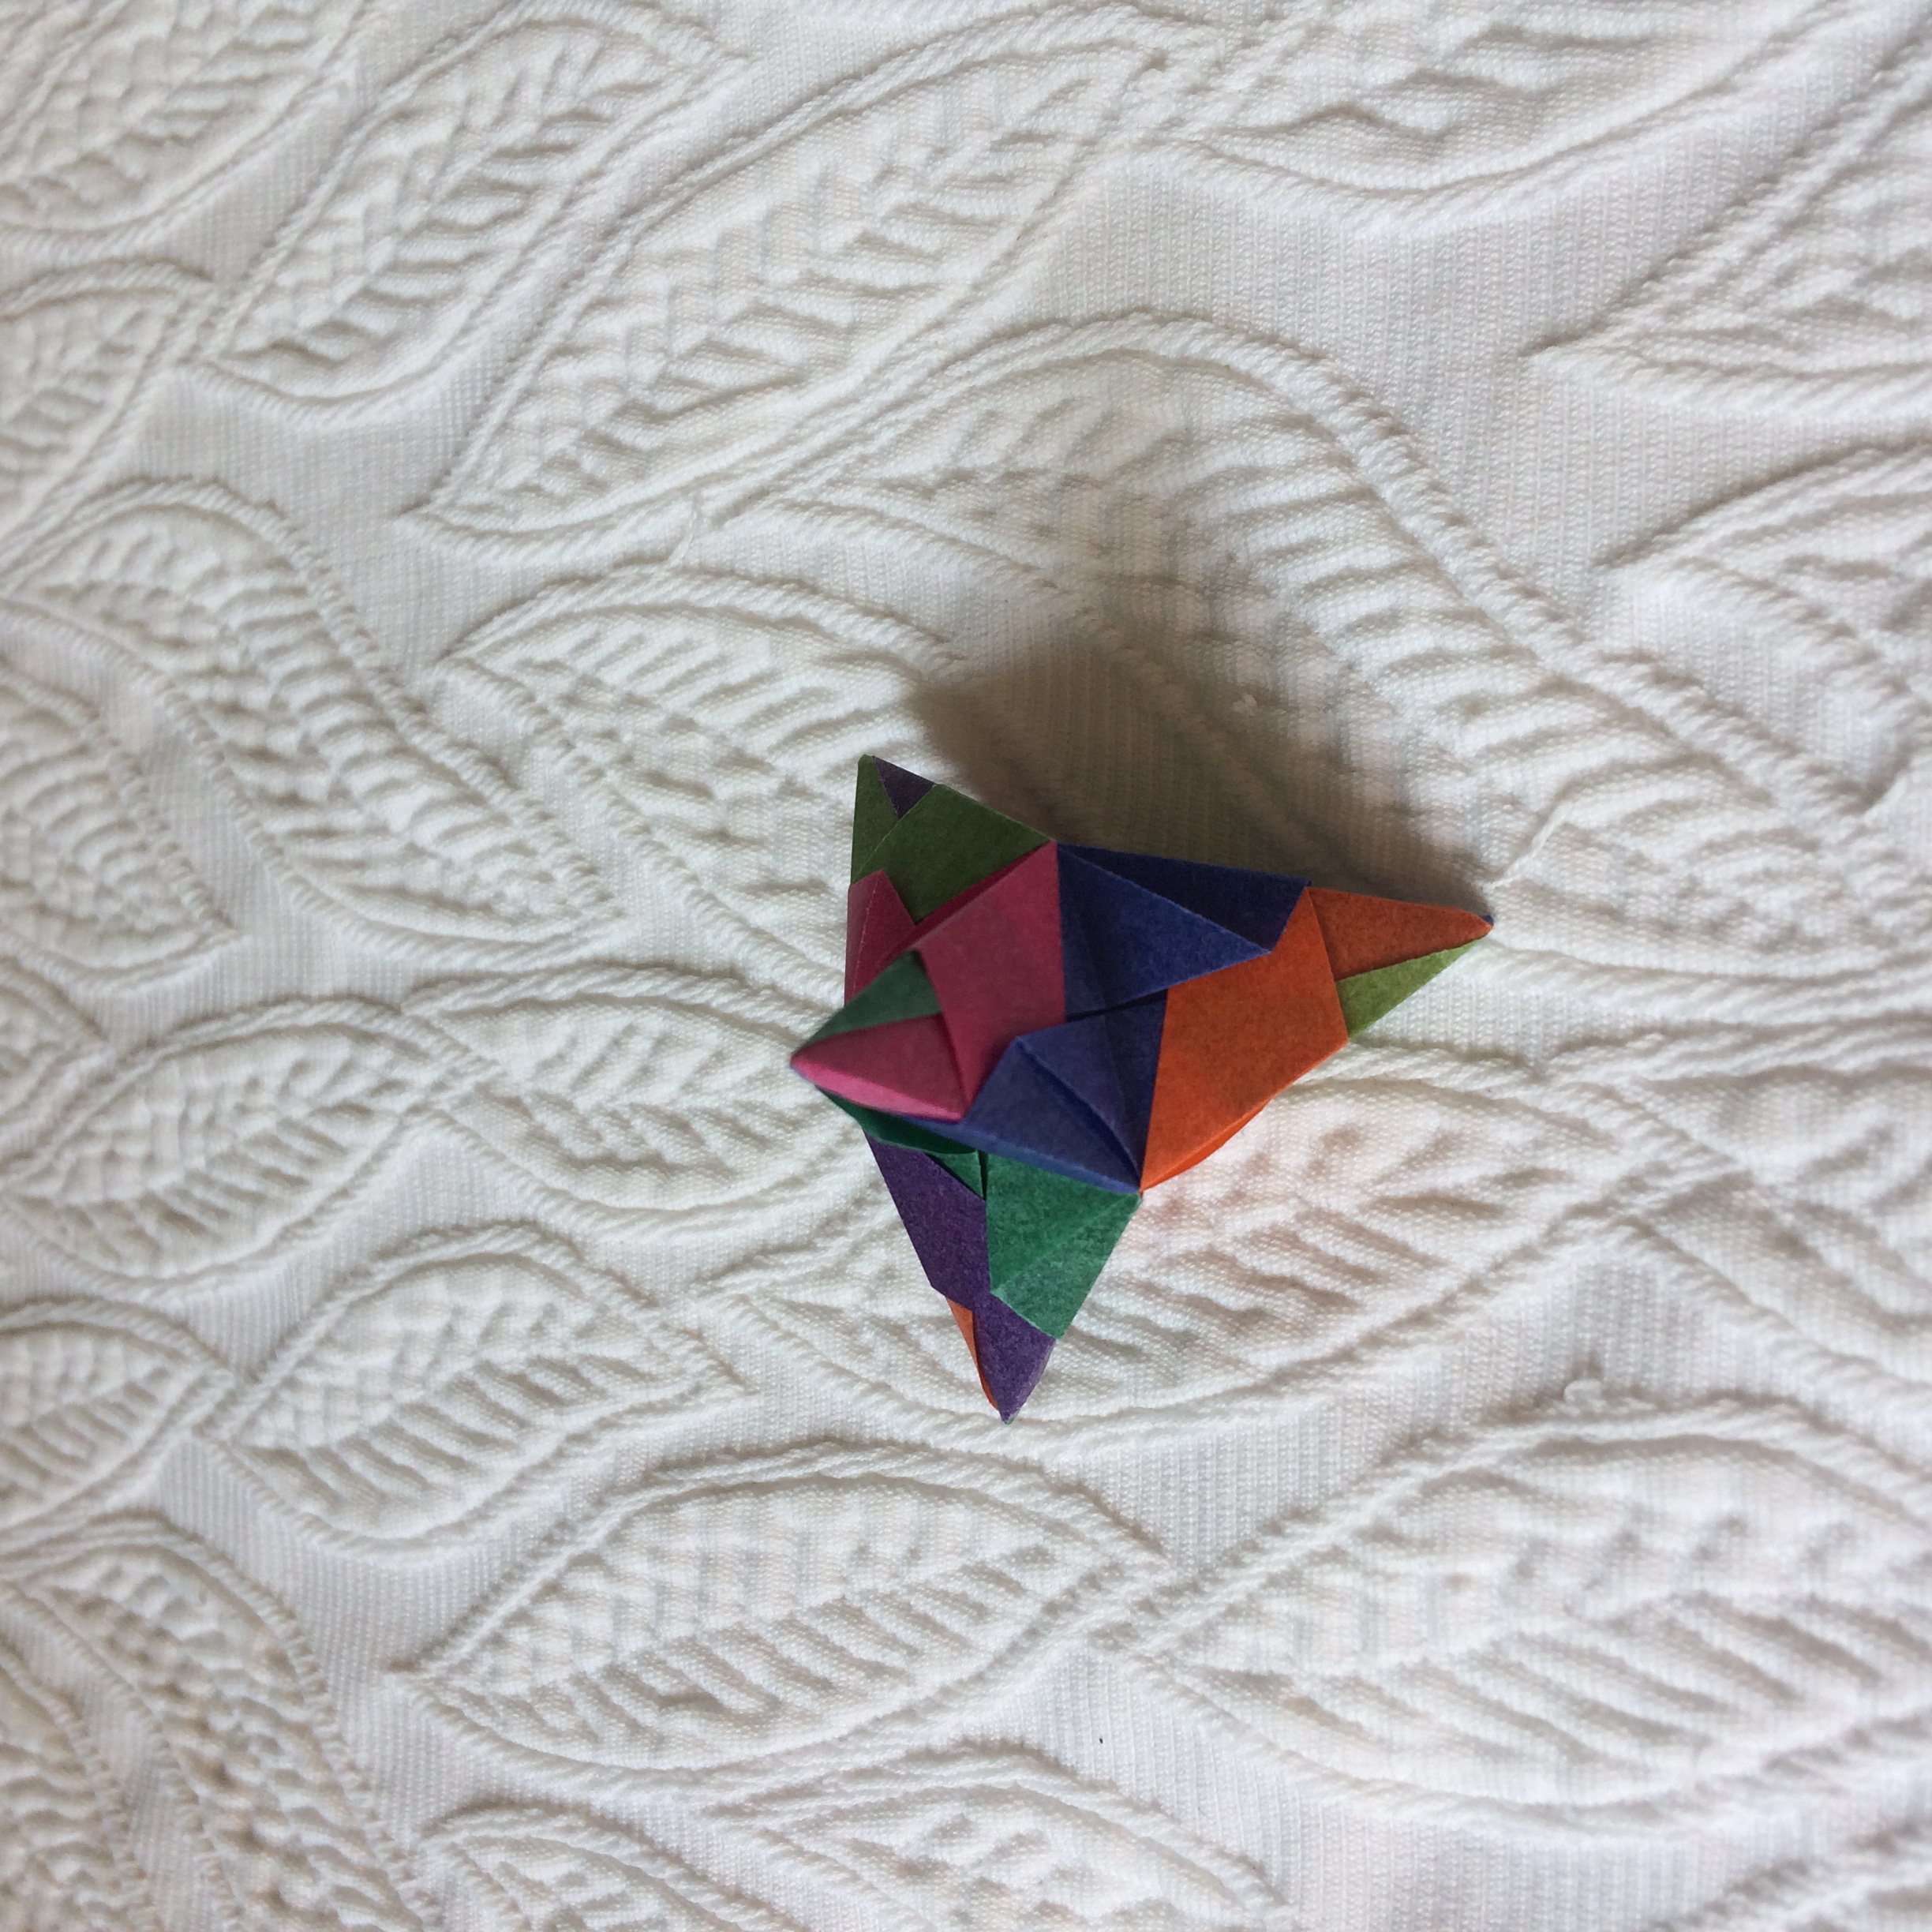
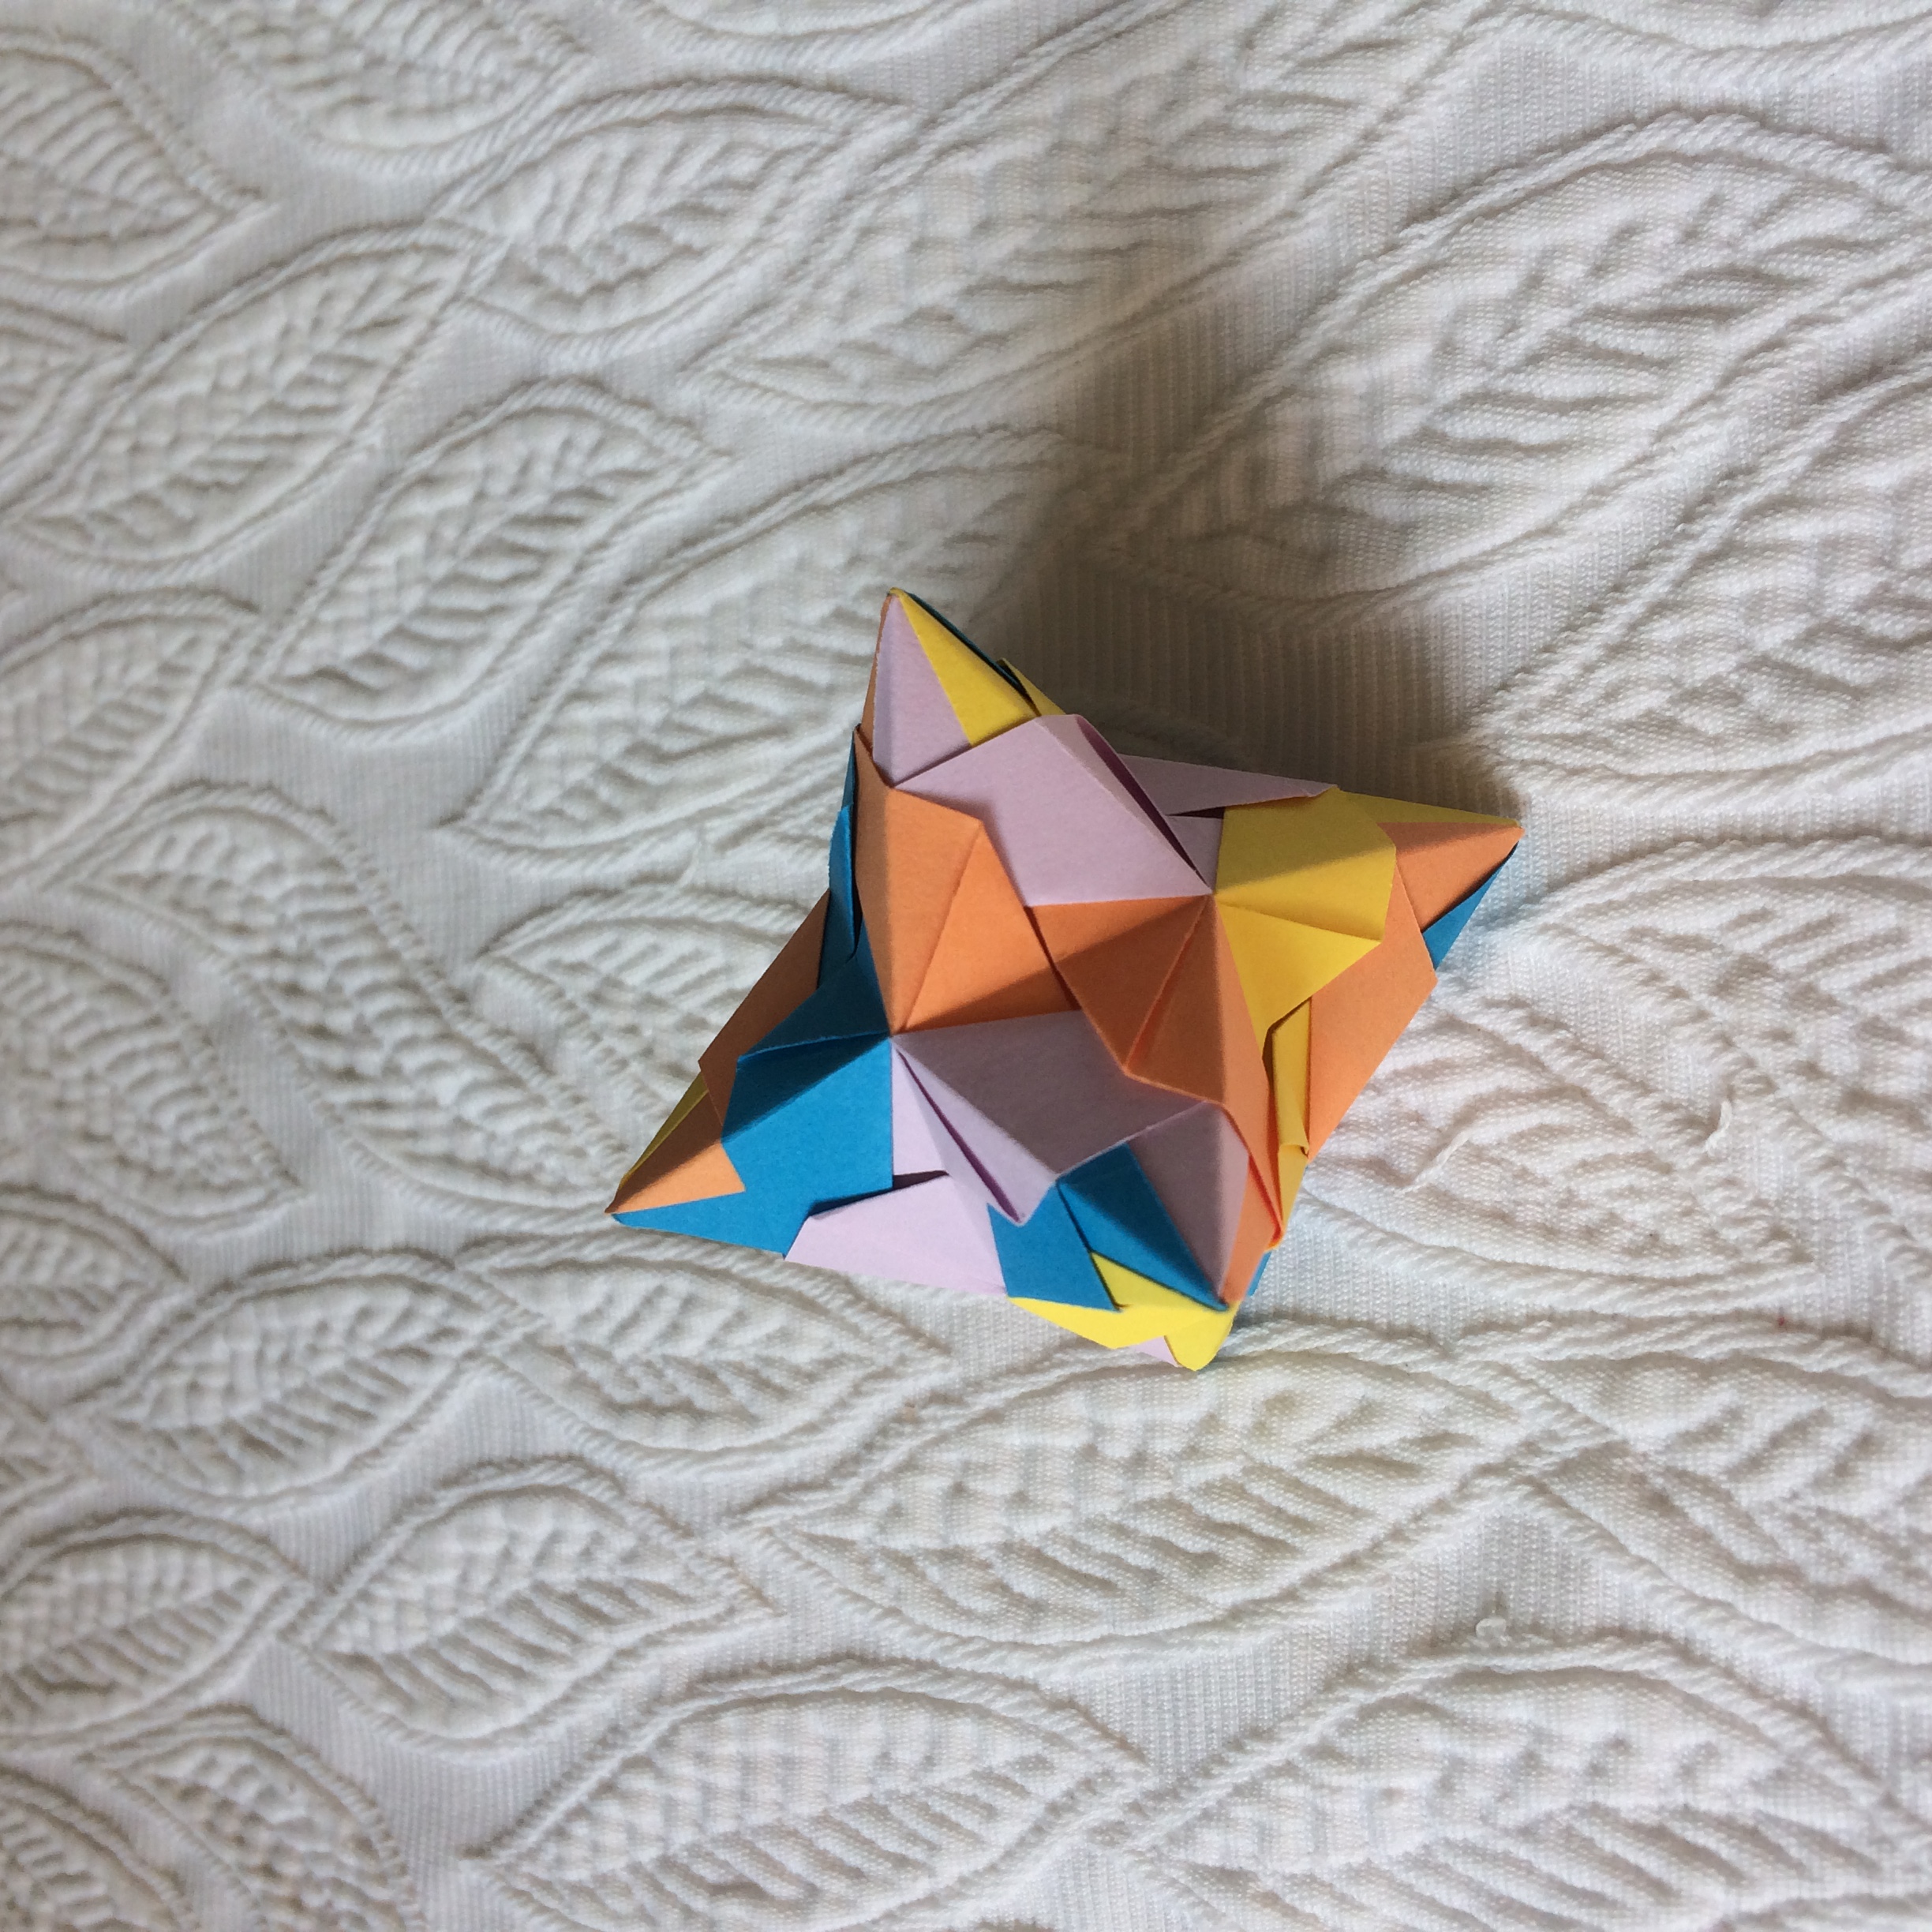
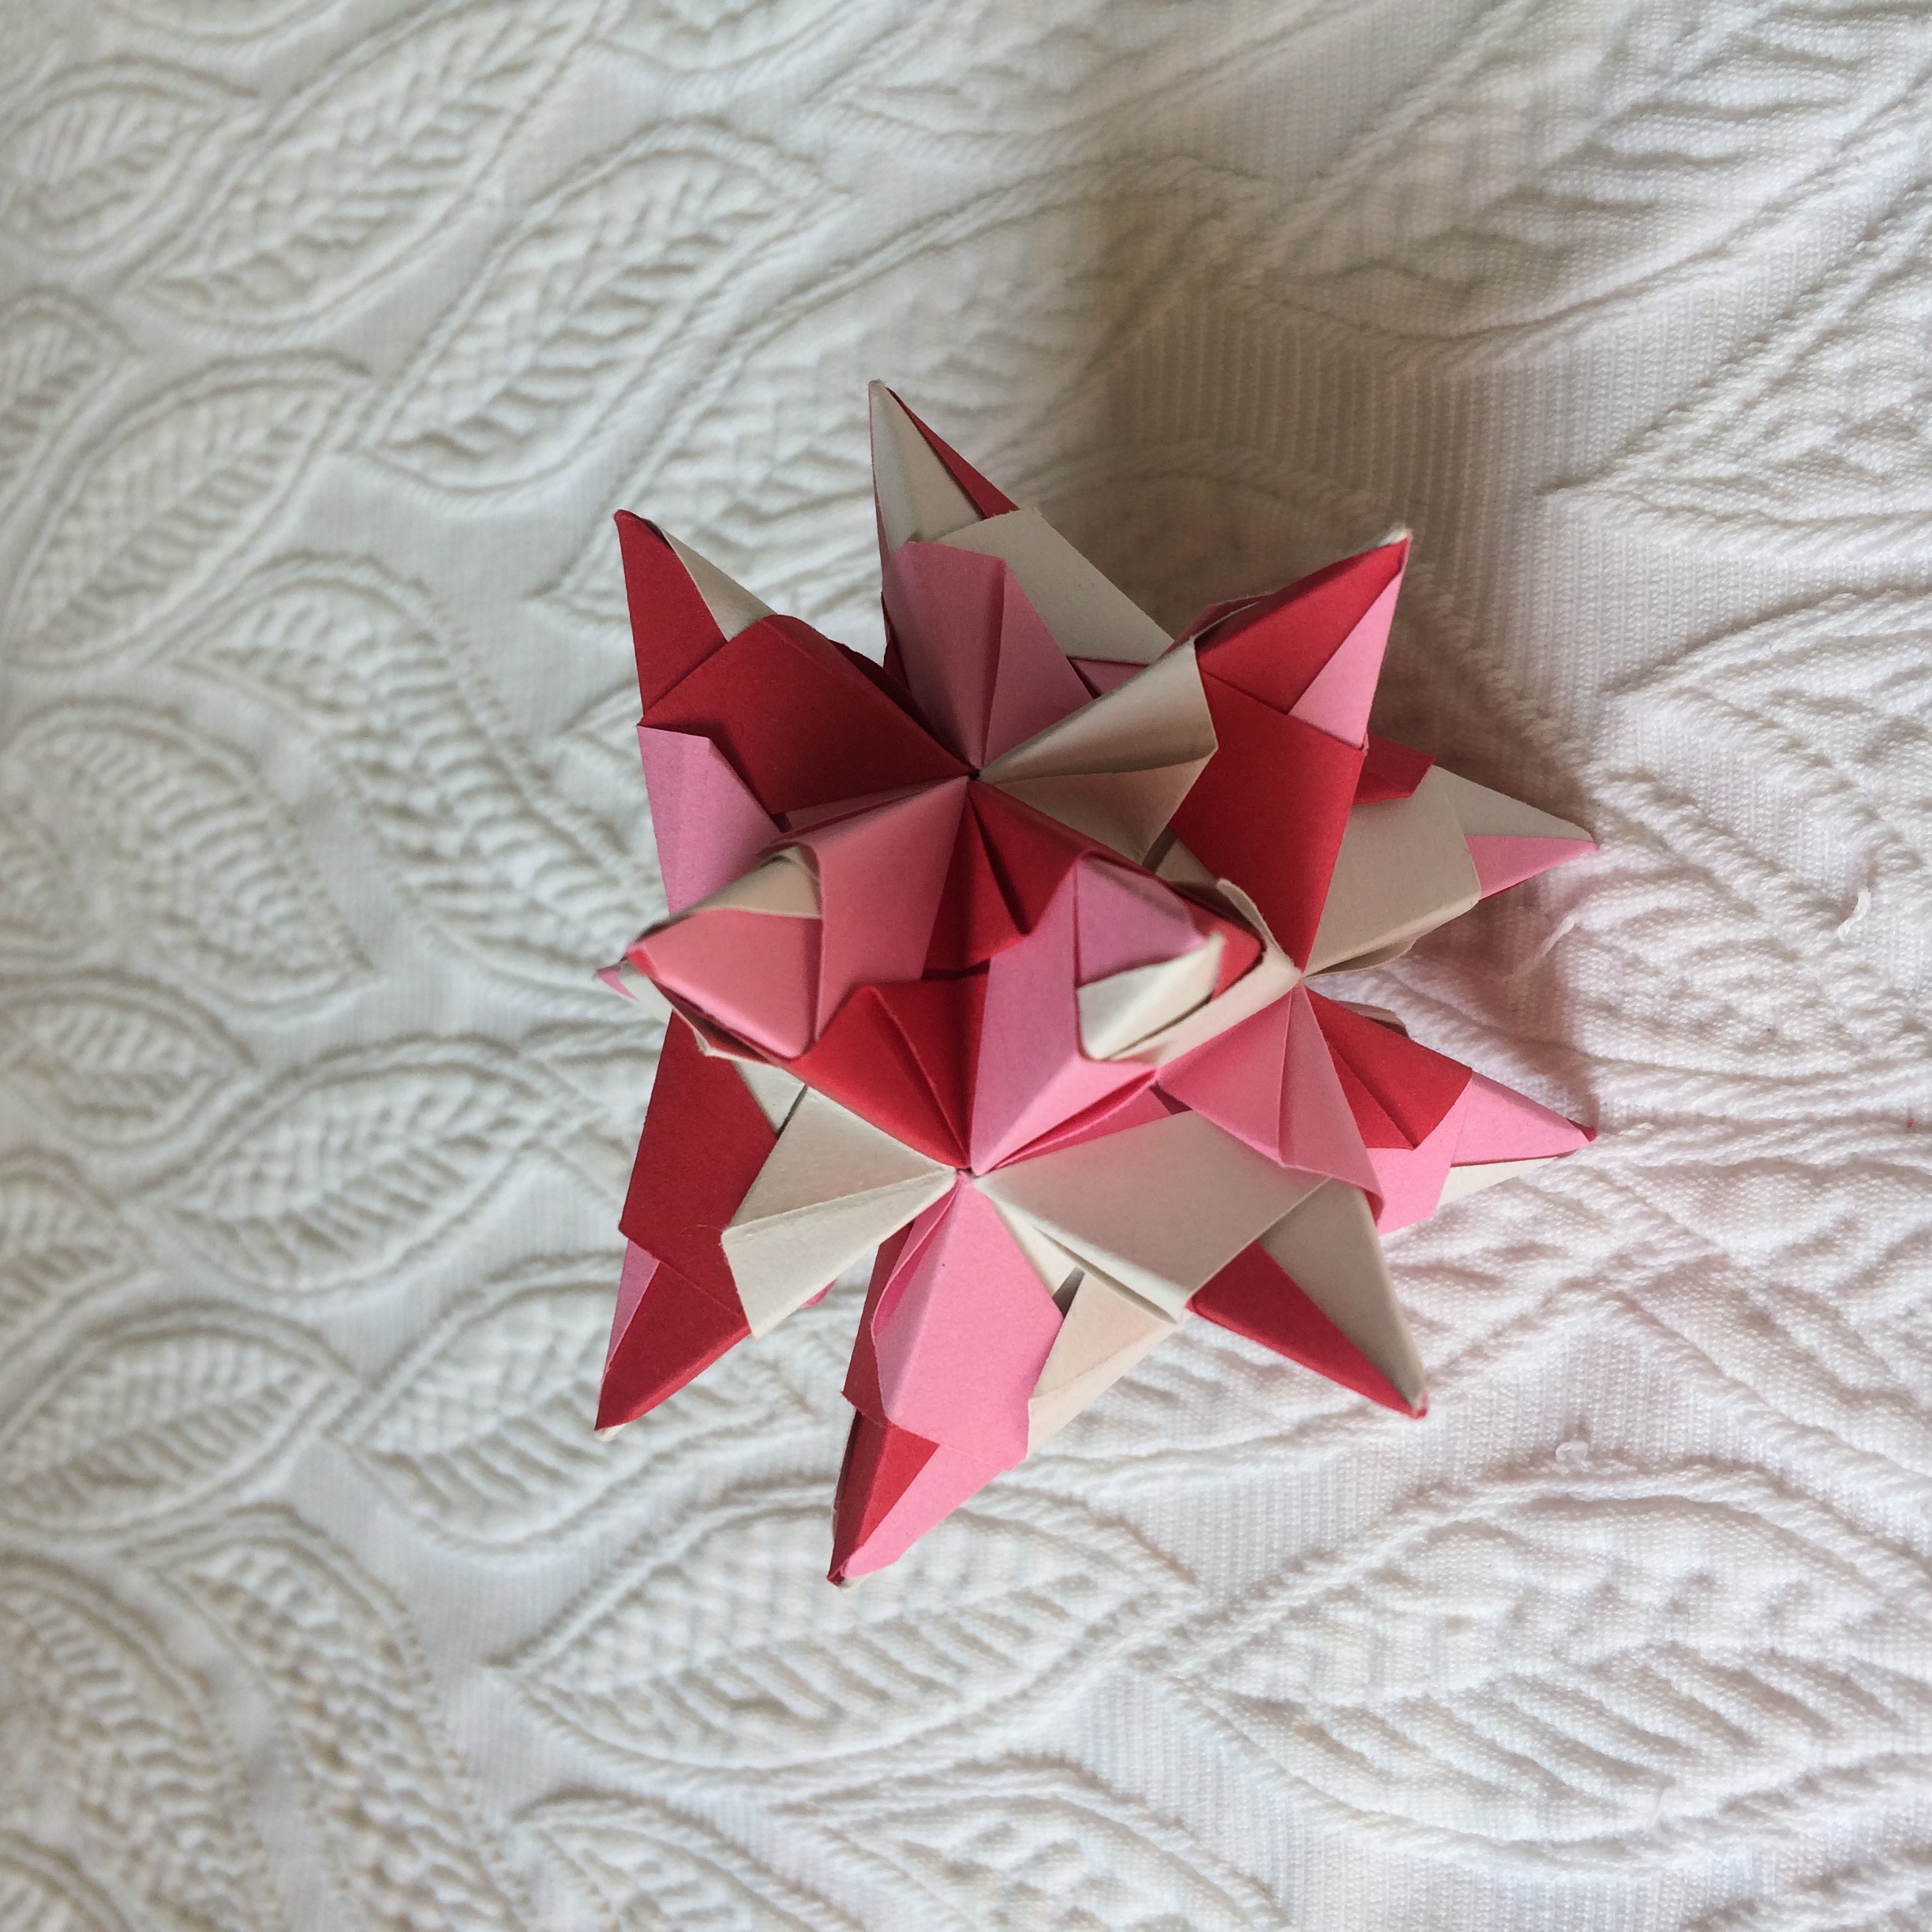
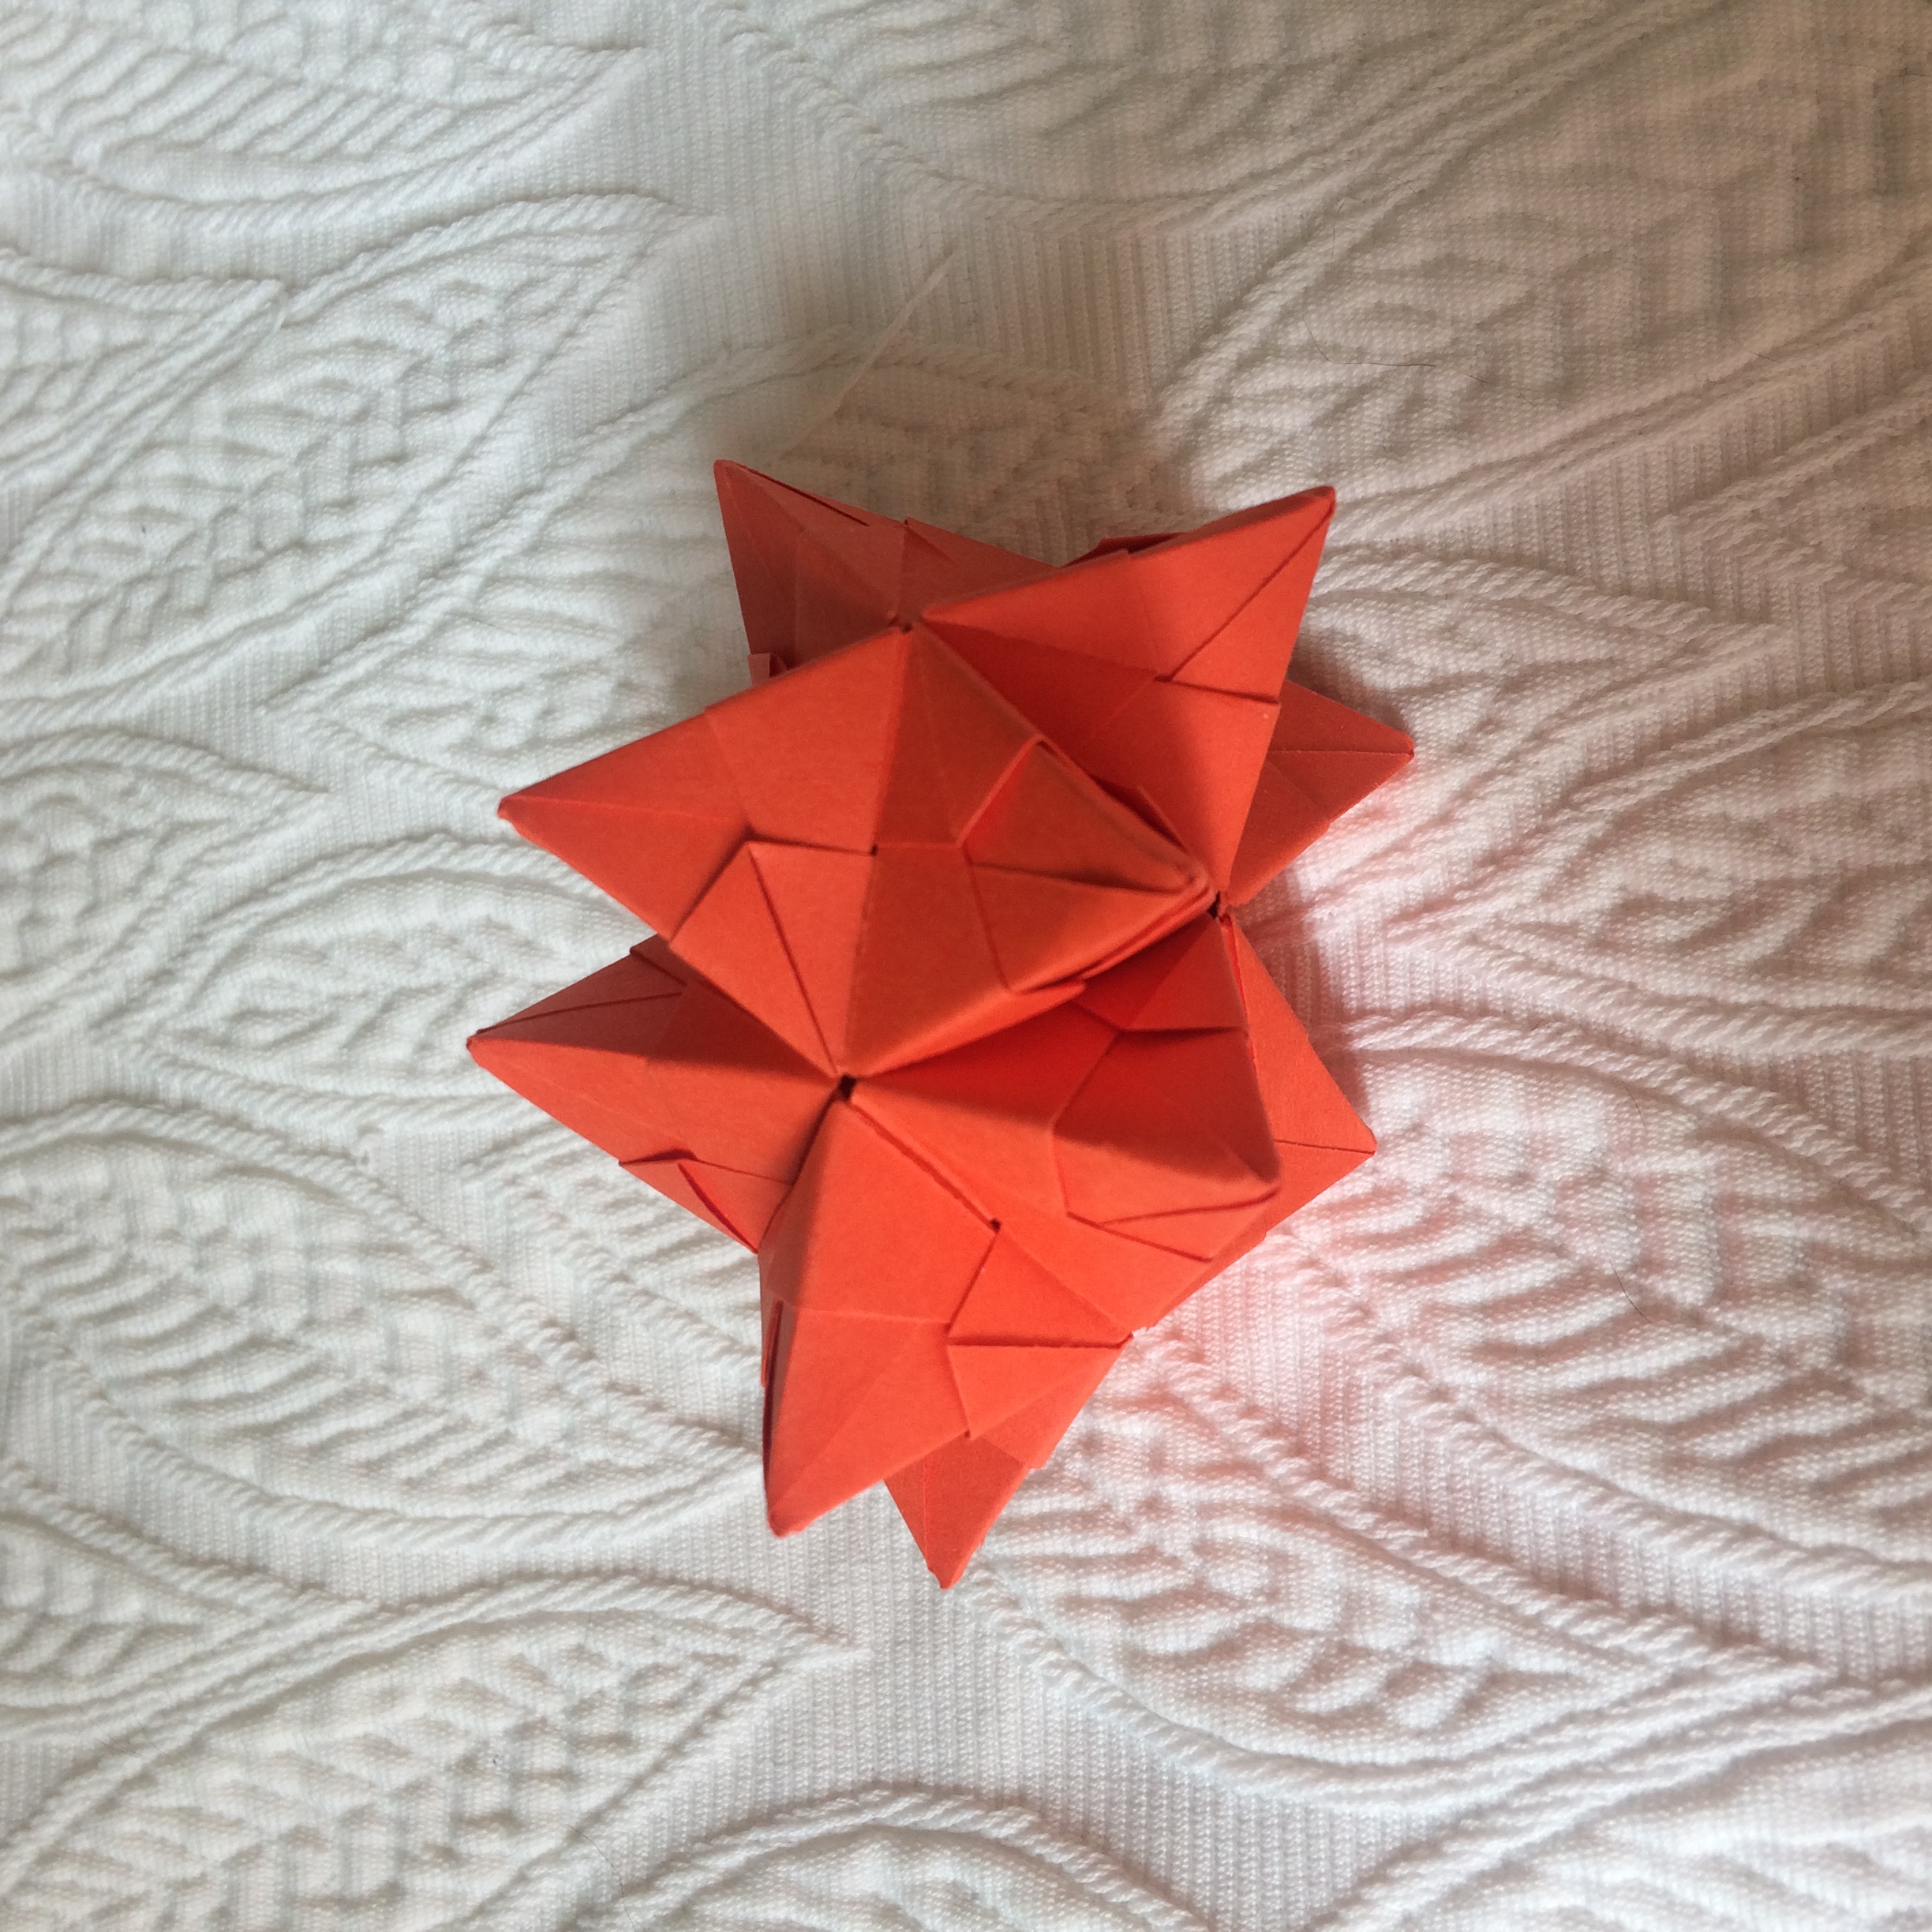
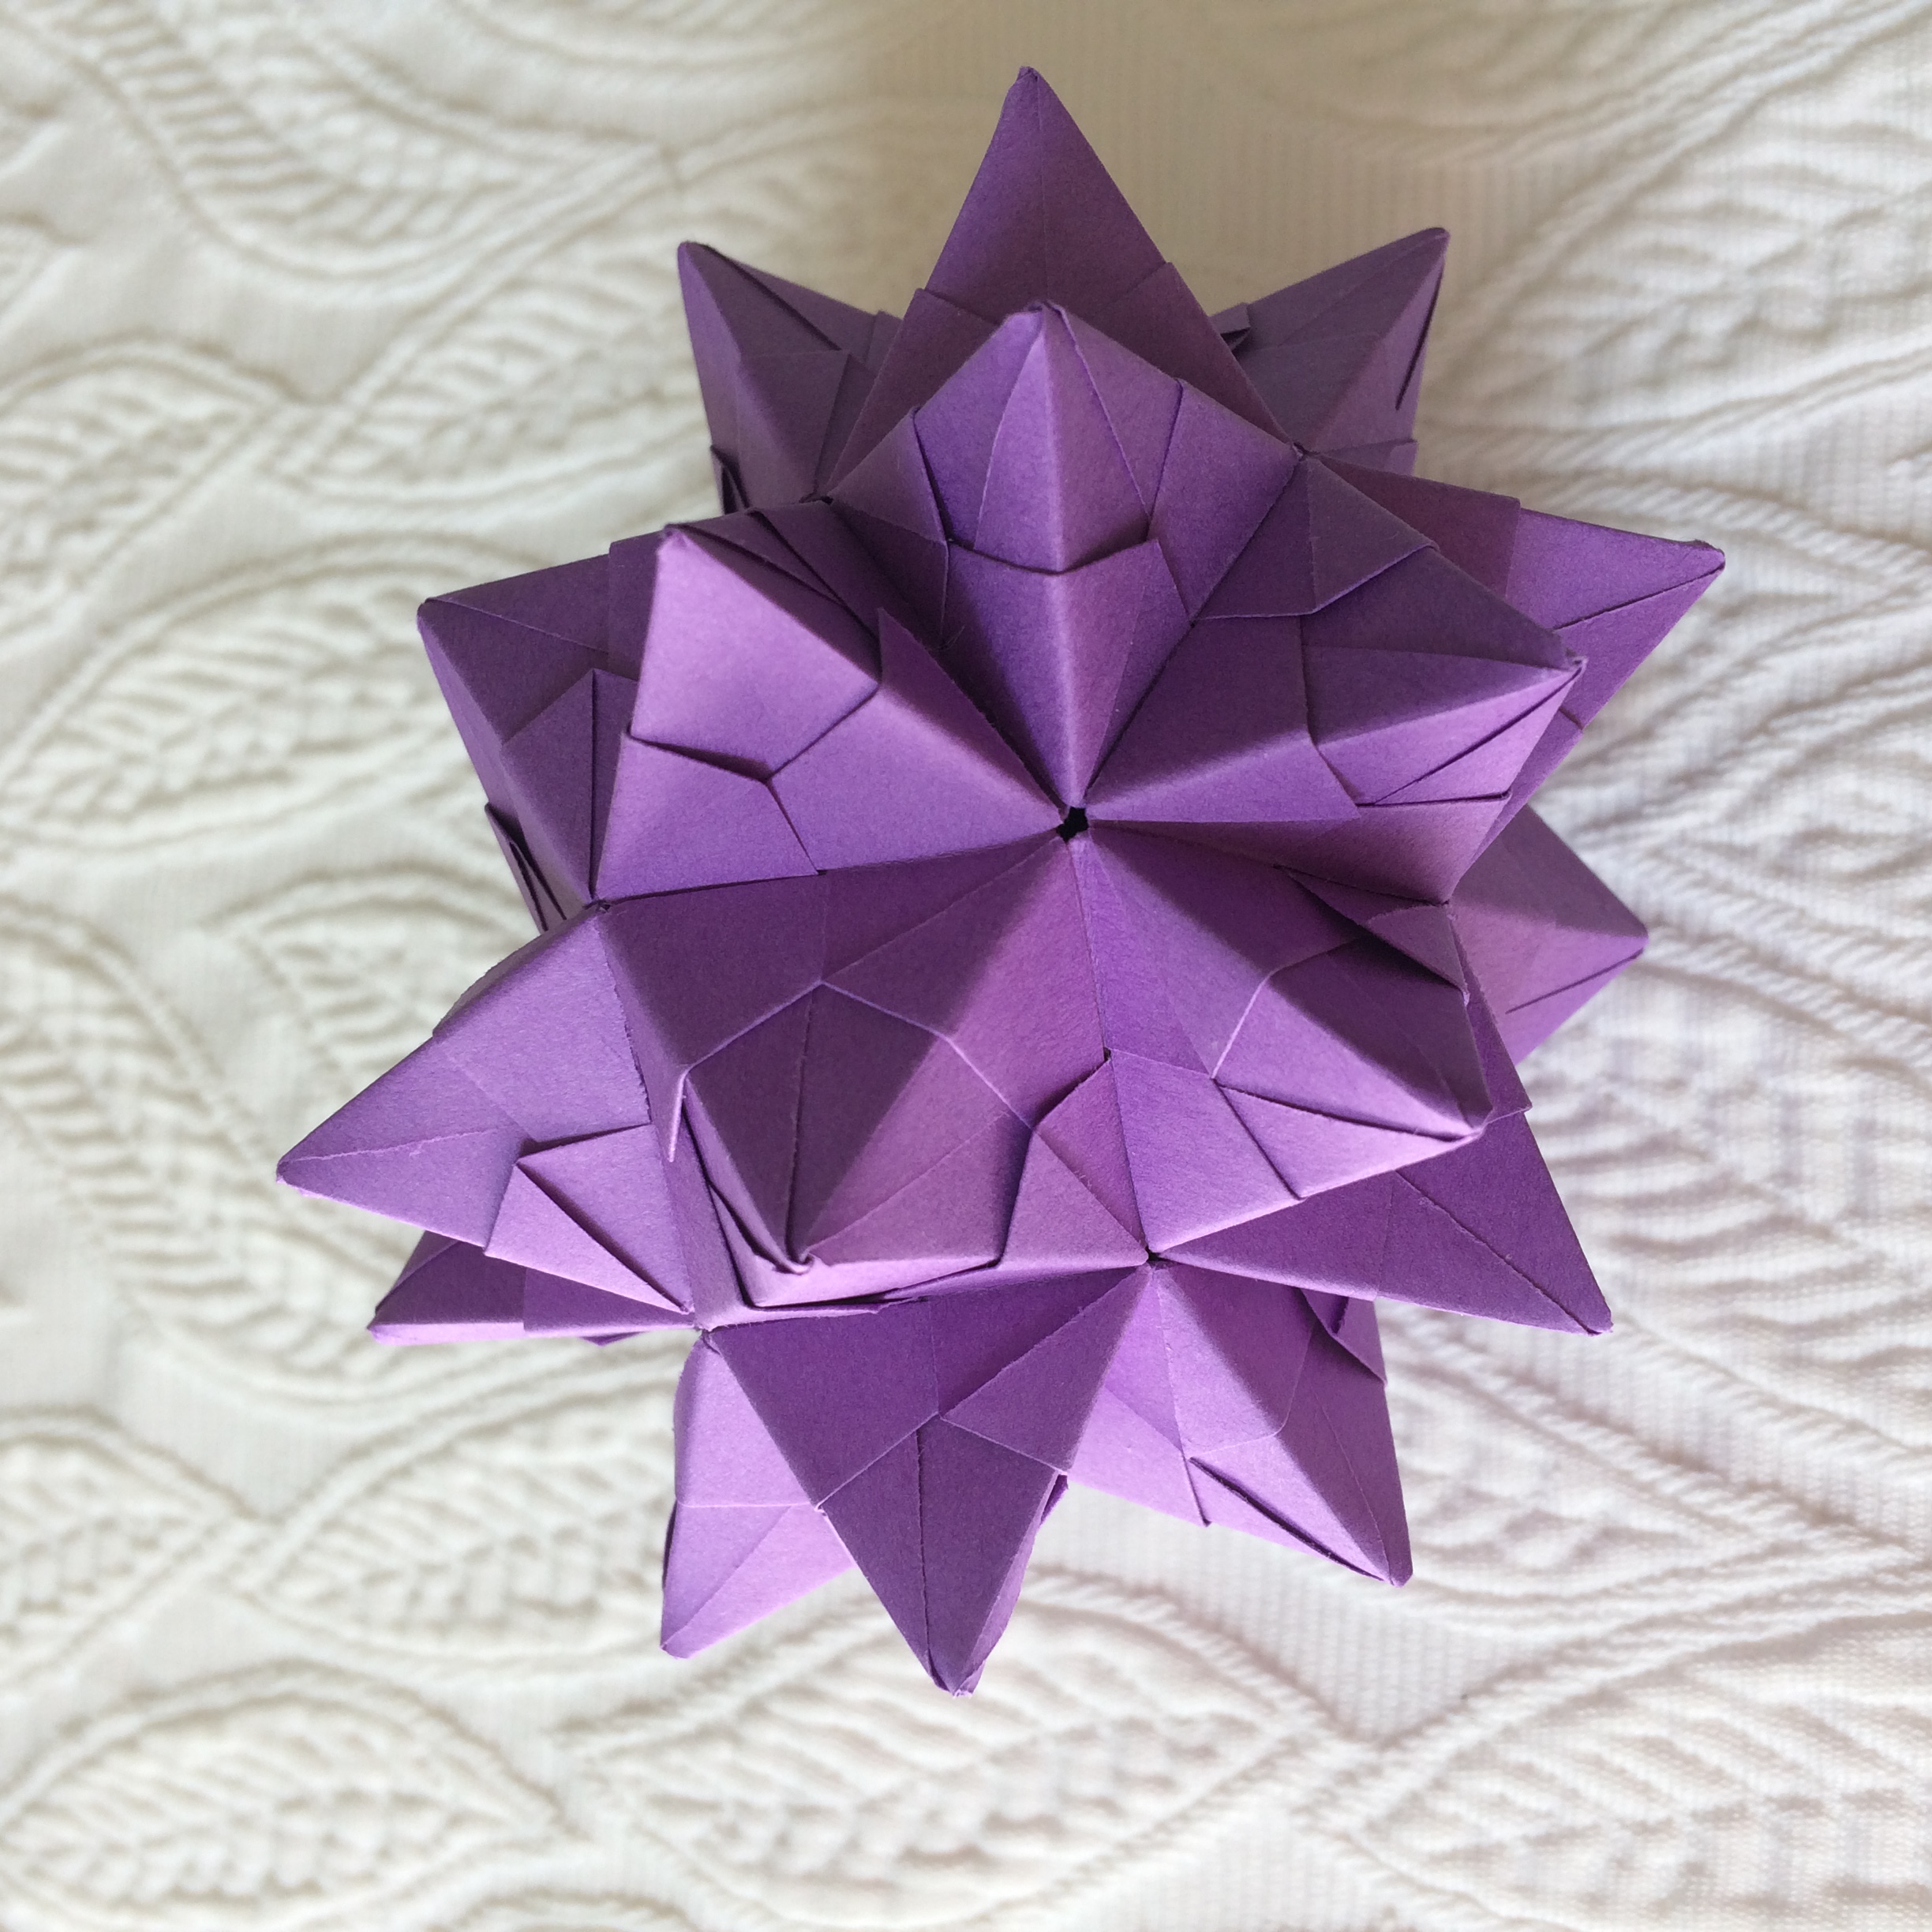
During the event, I had some spare time so I decided to start folding smaller version of previously done models (I started with my favorite : the Rhombic Triacontahedron).
I tried folding 5x5cm paper sheet (I had done 12x12cm and 7.5x7.5cm sheets before) which worked well so after the event I went on and folded more :
the other Rhombic solids, the Platonic solids and the Johnson solids I already had folded and shown on previous posts.
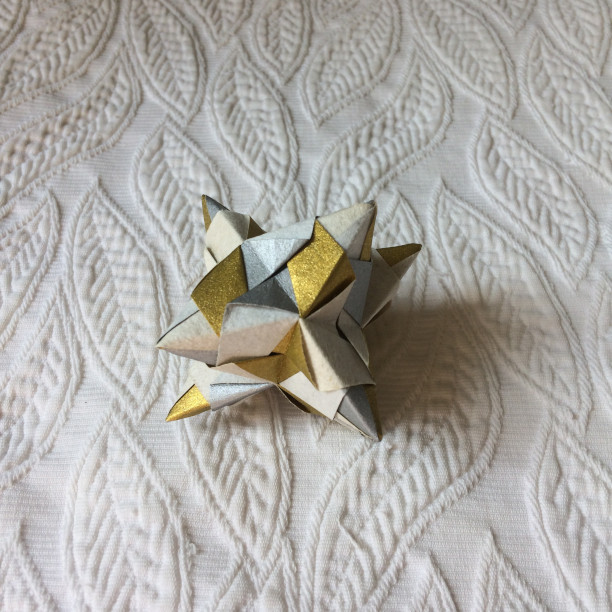
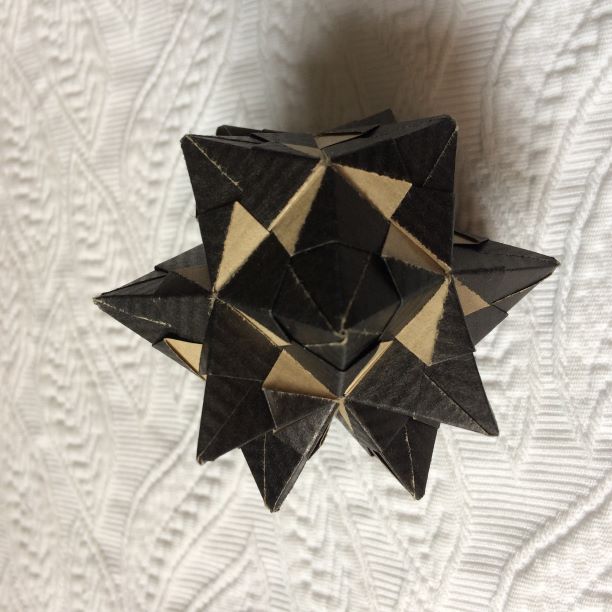
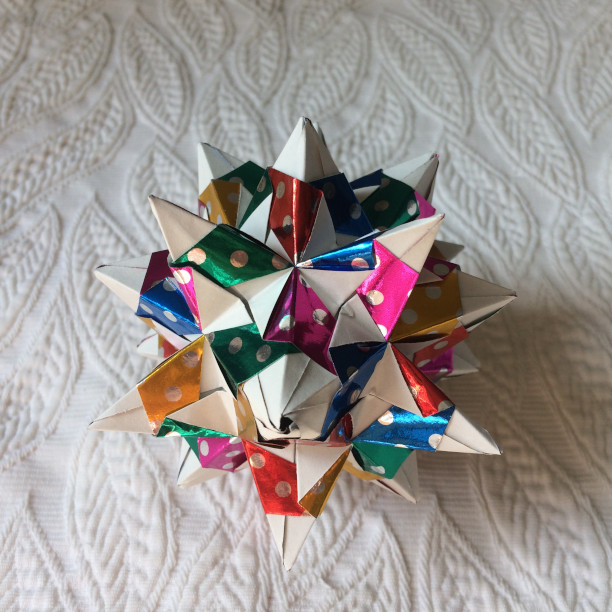
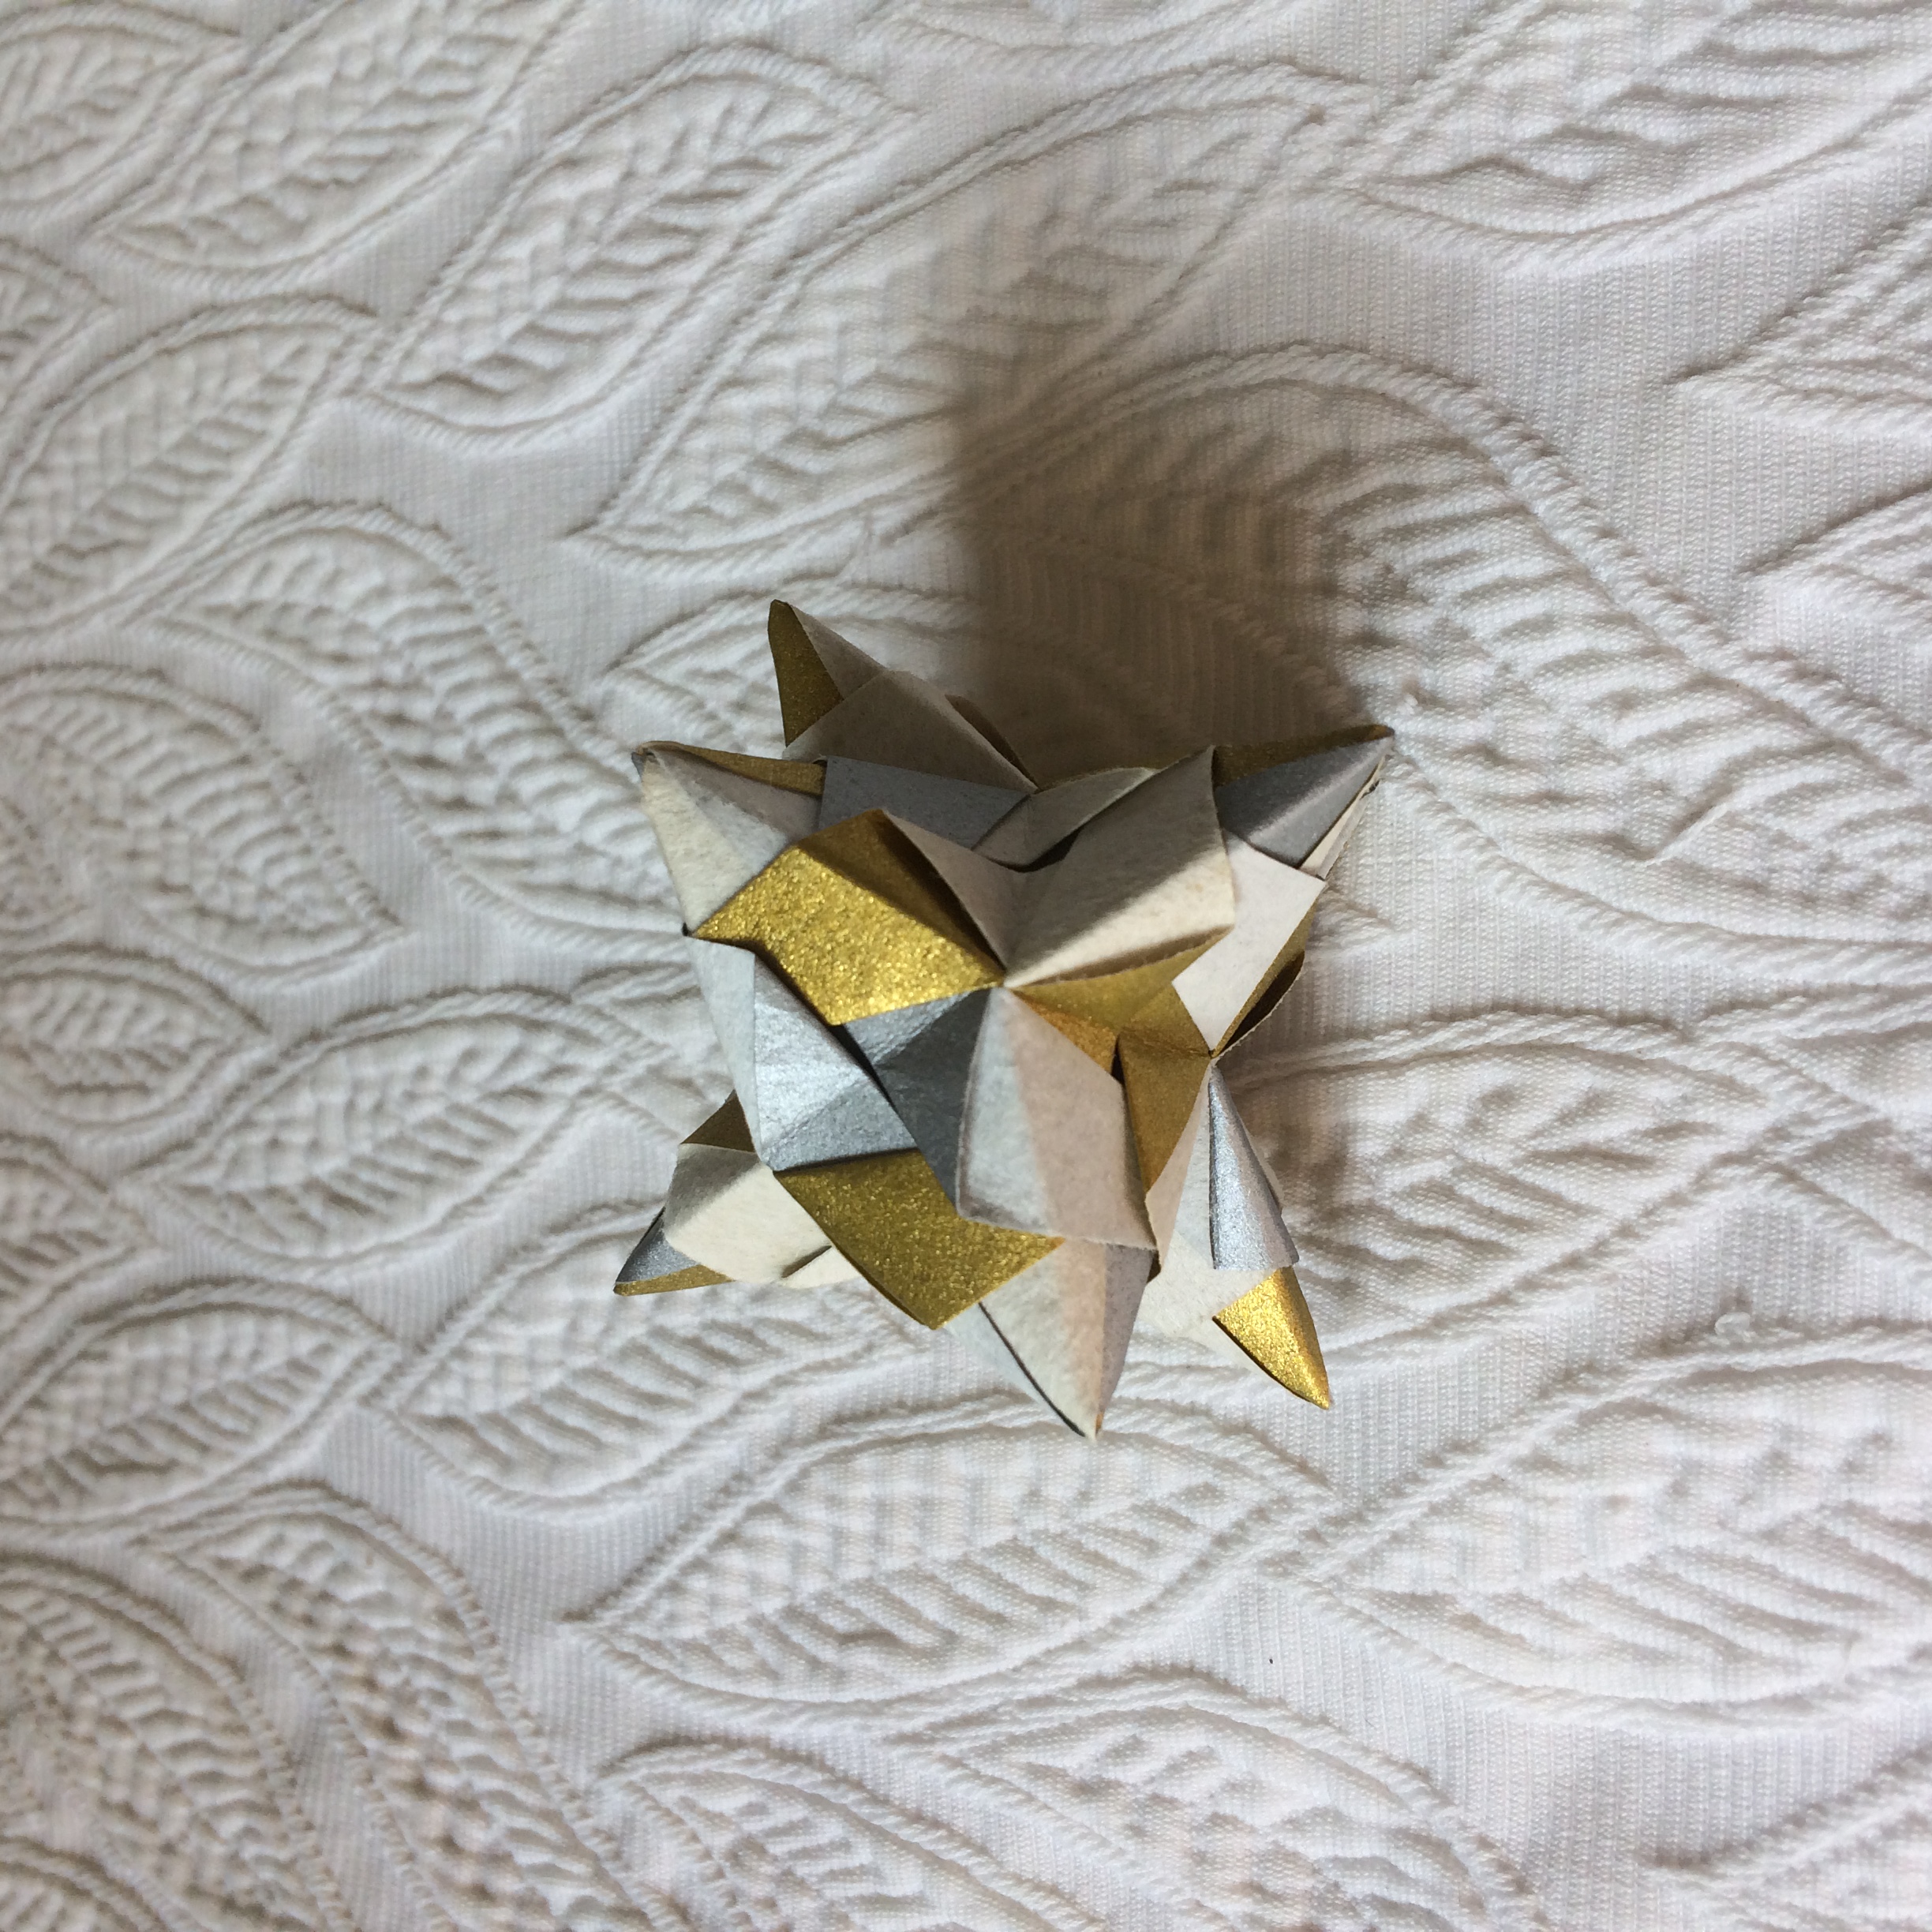
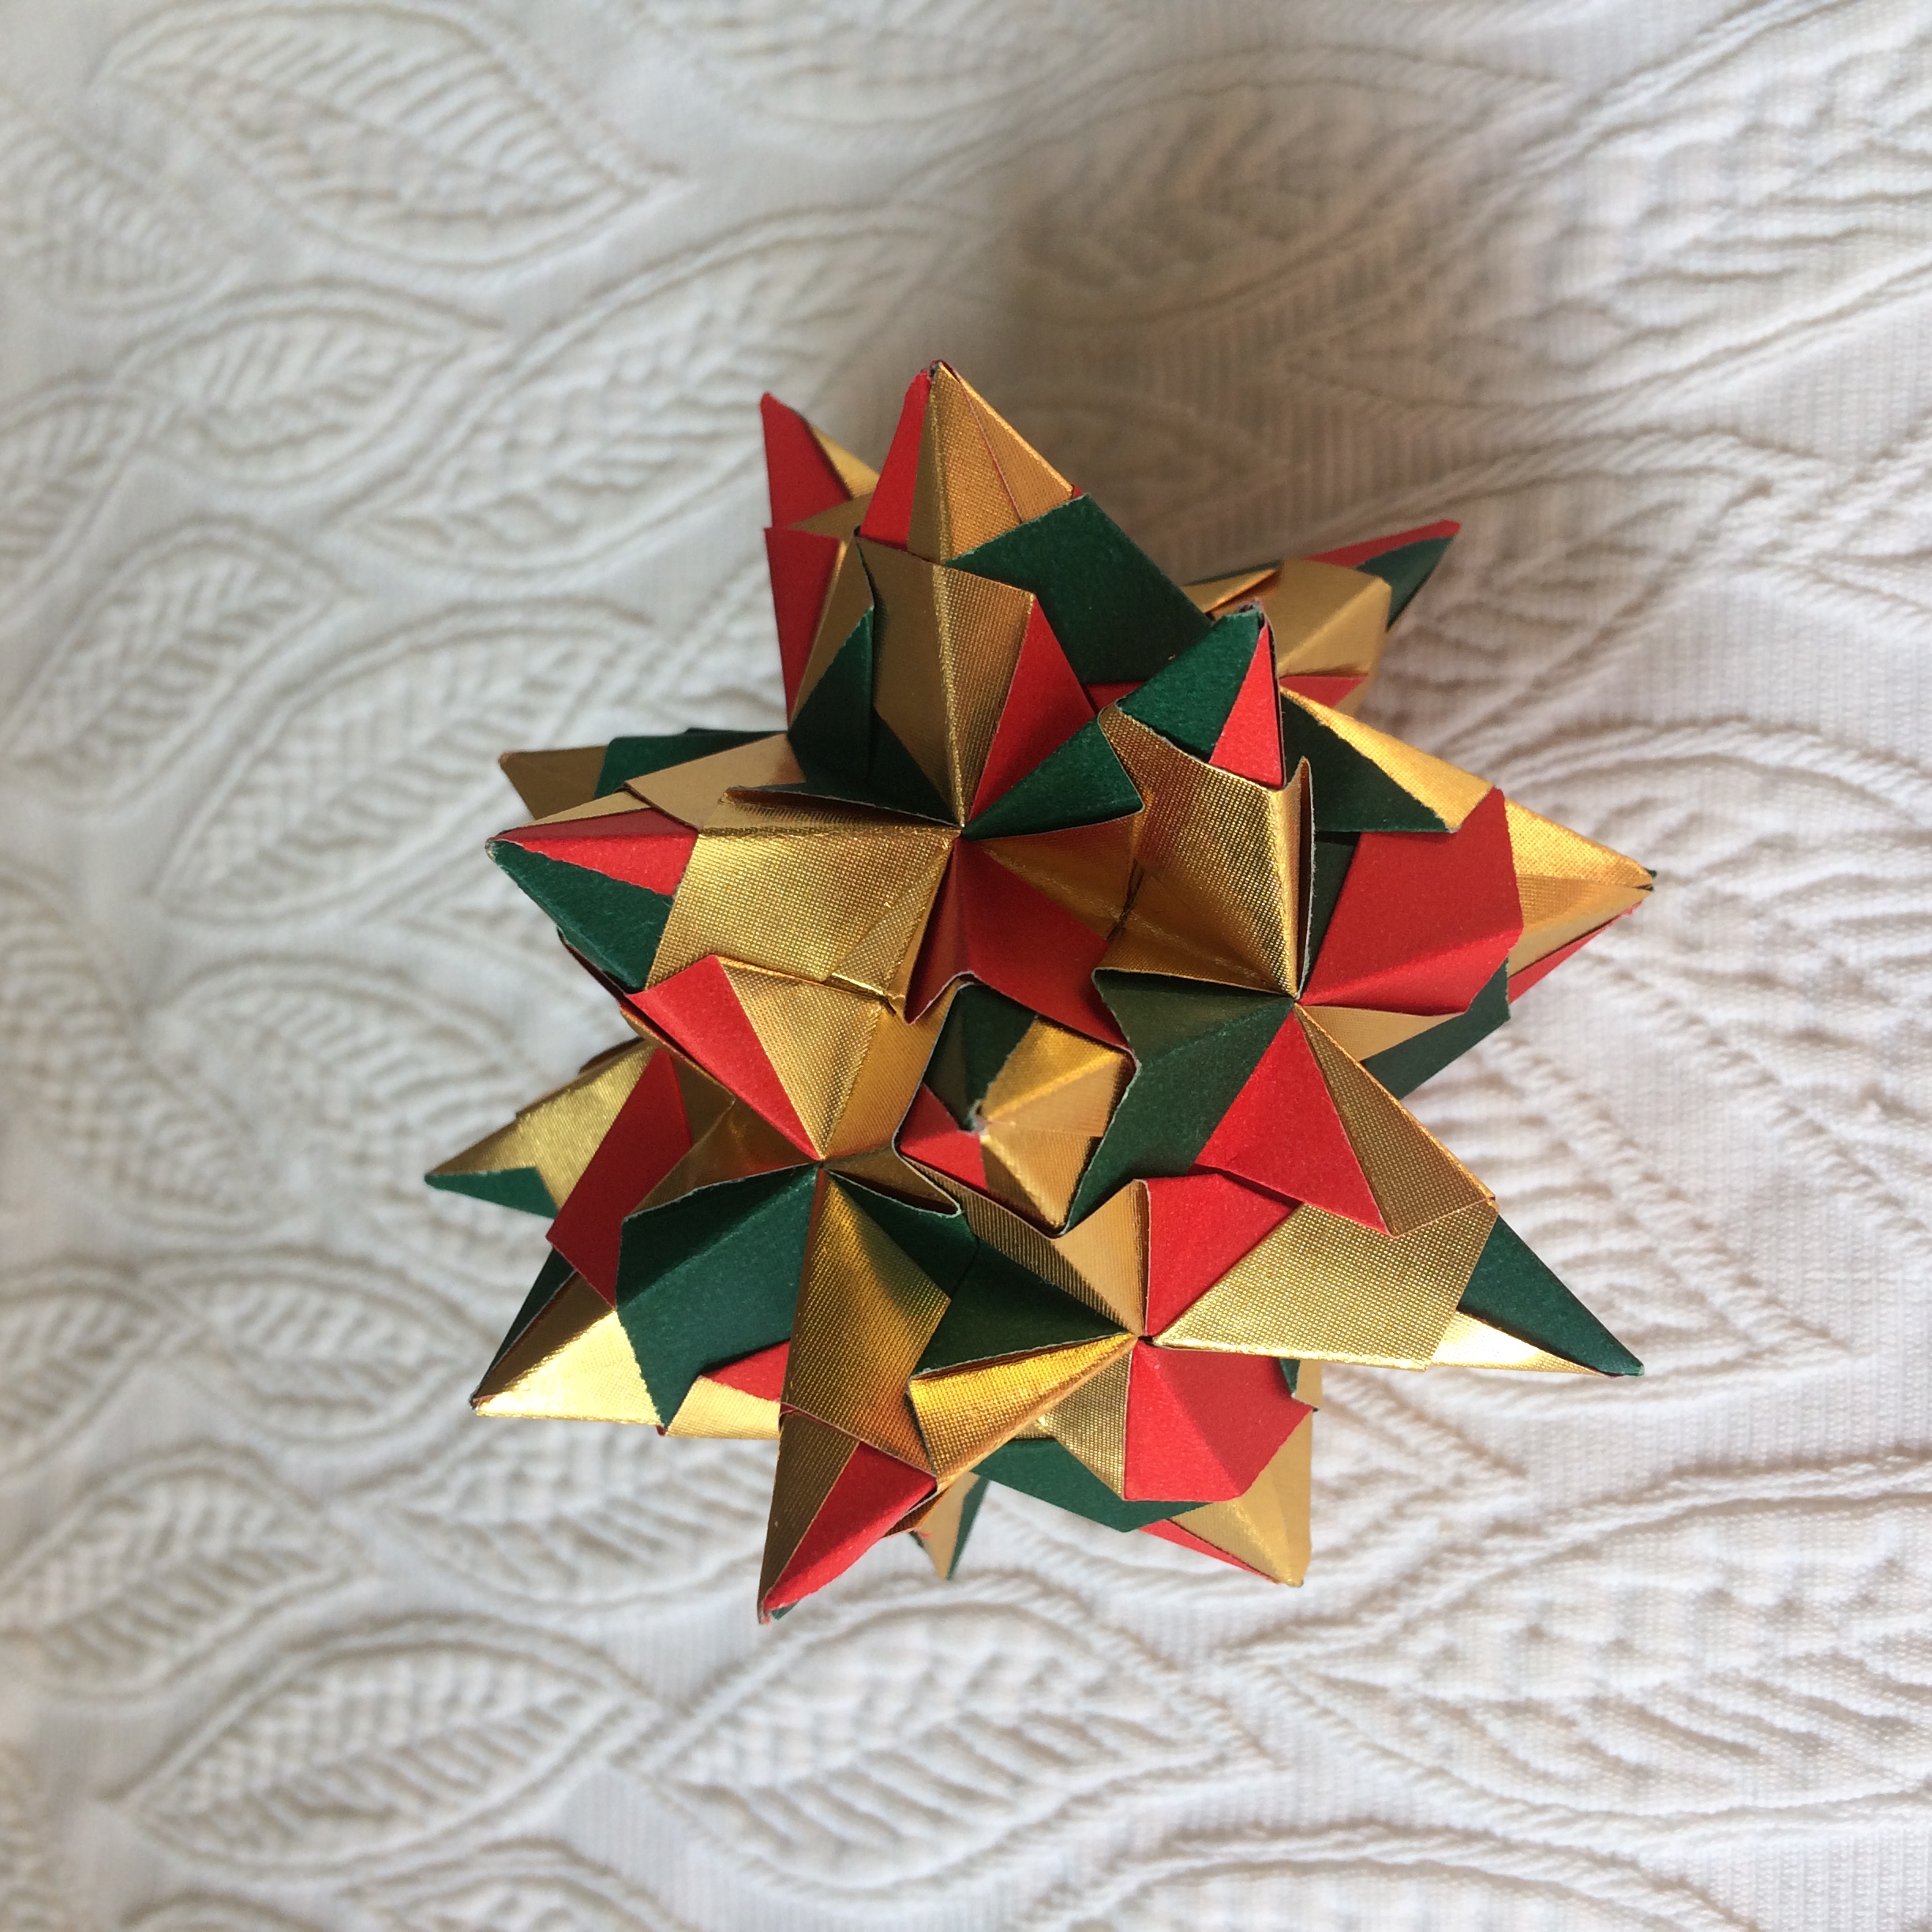
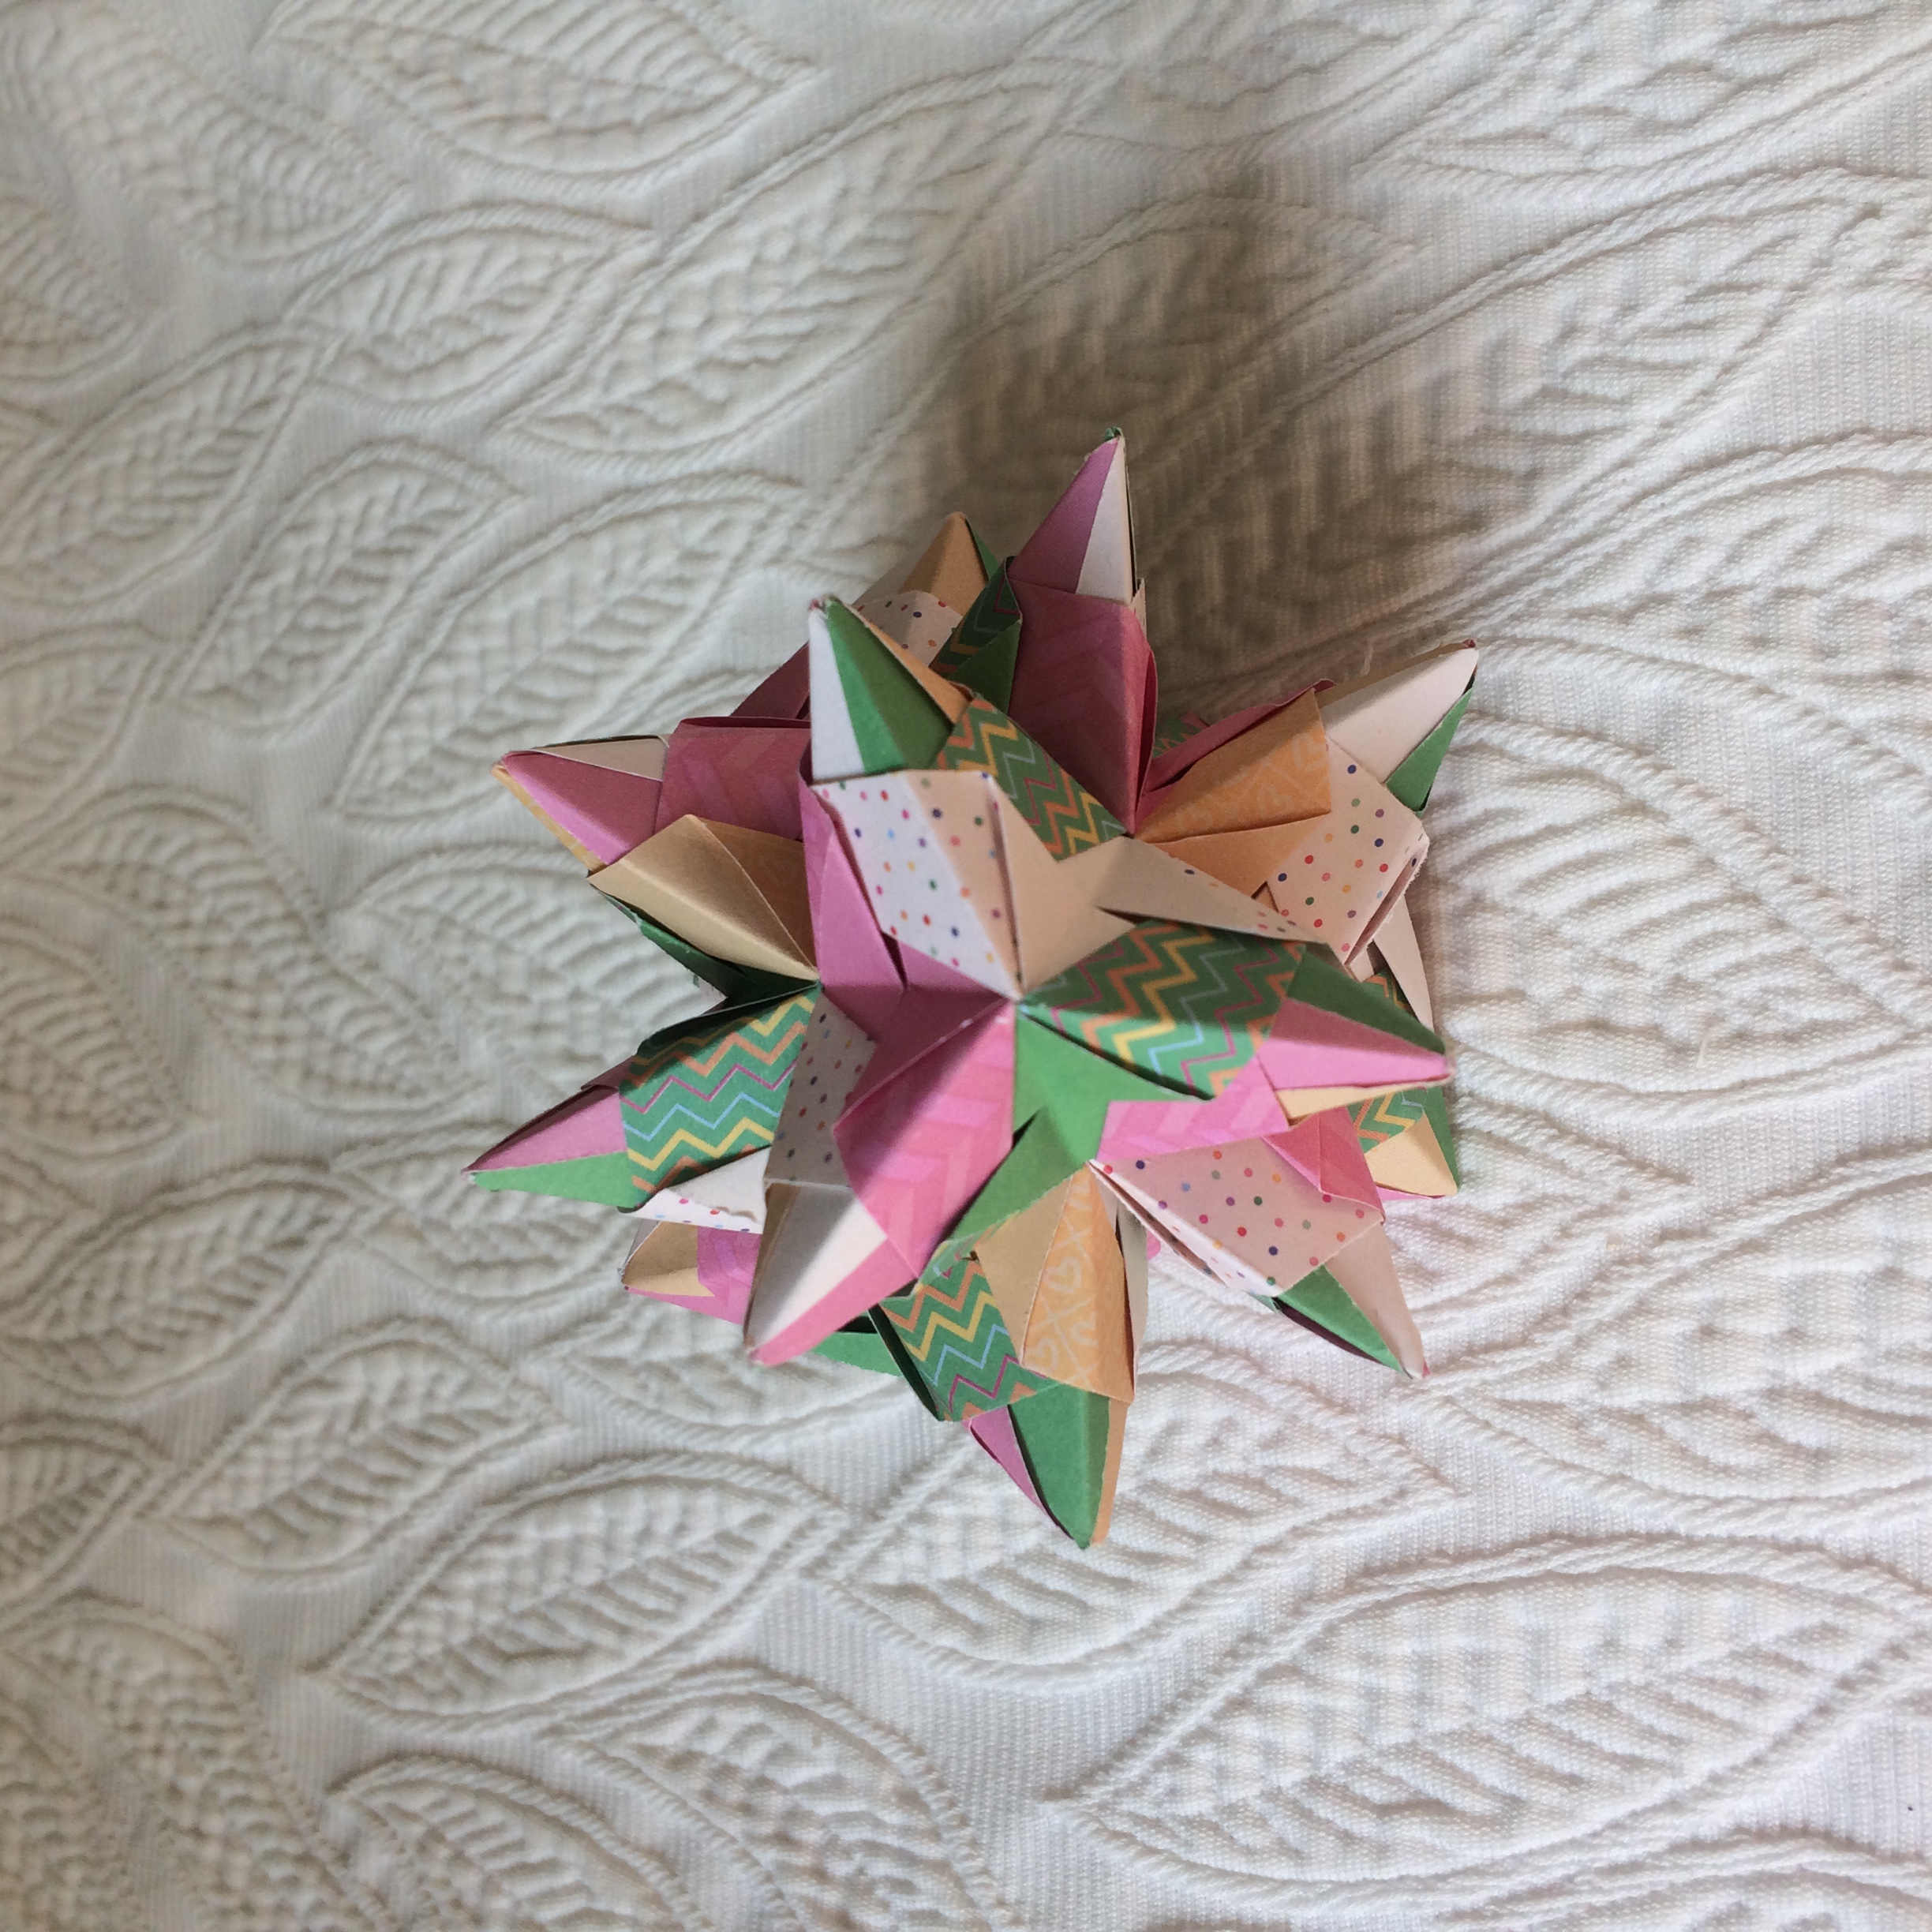
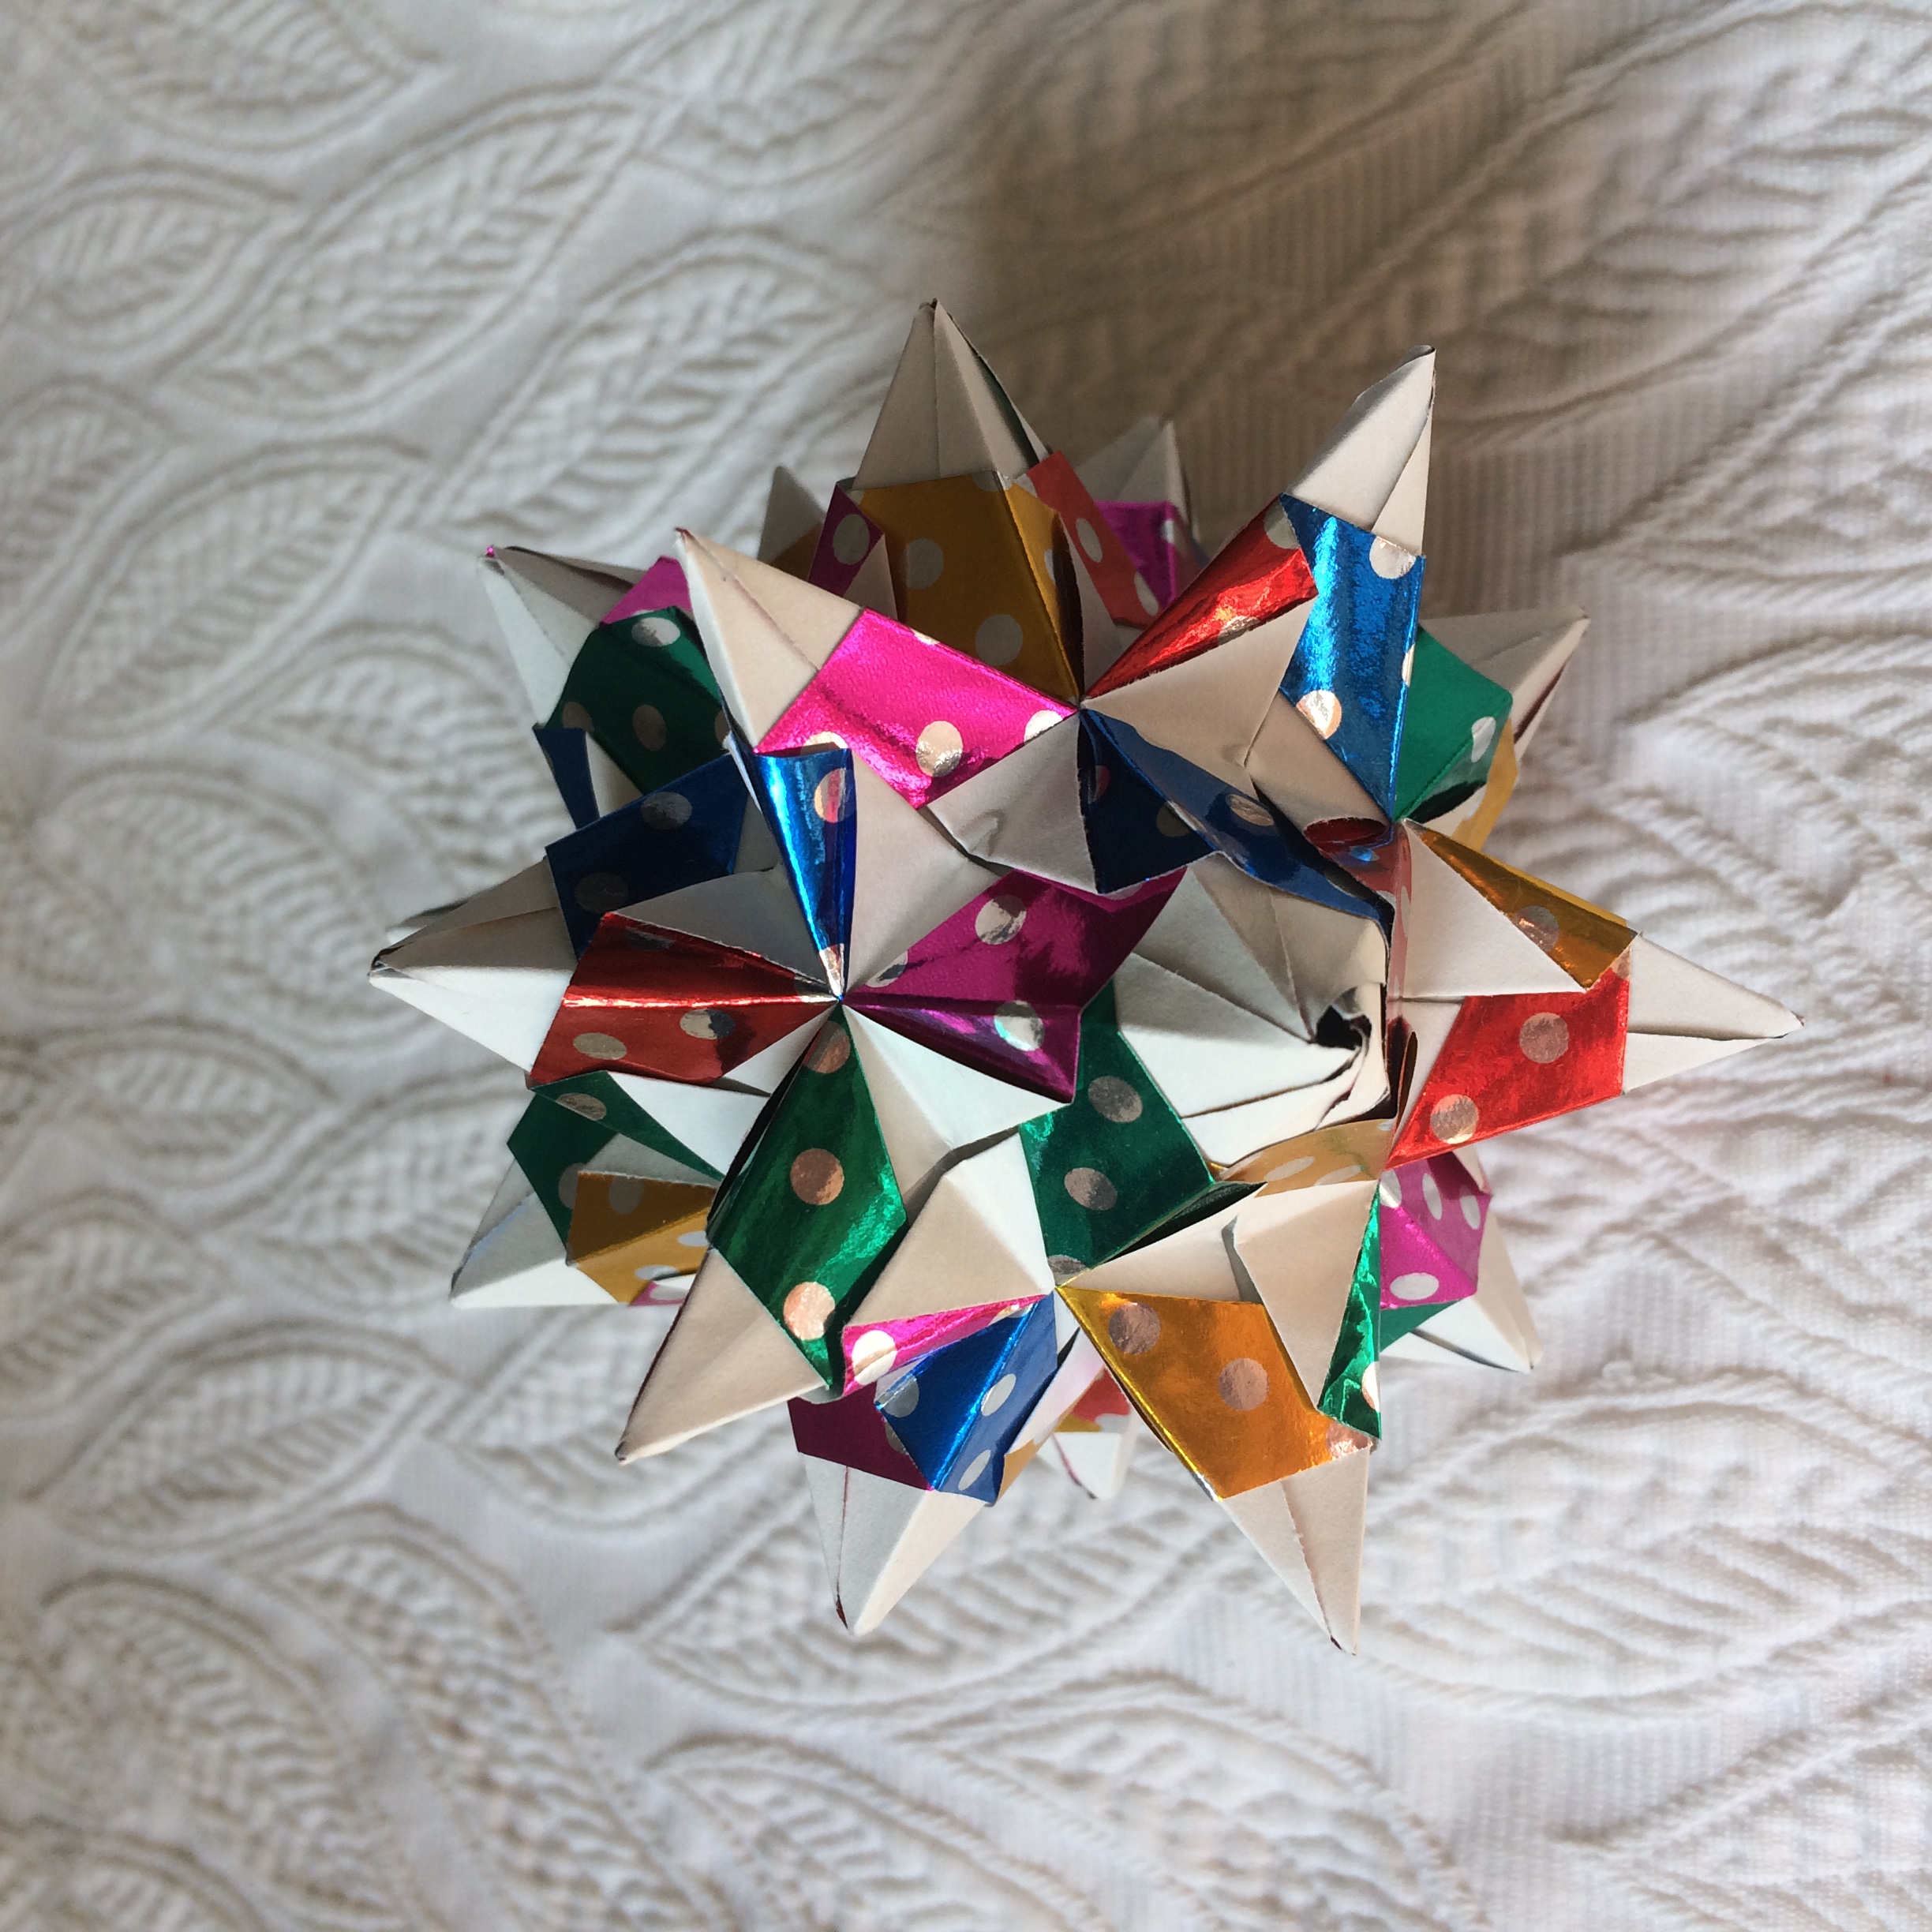
I also got interested in trying to fold other kinds of paper sheets like metallic ones, thinner and thicker ones to explore the possibilities.
As a note, origami paper is 70-80gsm (gram per square meter), I have tried 40gsm with success, 20gsm is much too low, 120gsm is the upper limit, 100gsm would be good too.
I tried folding aluminium foil but it retains any deformation and is impossible to assemble, metallic coated paper is much better.
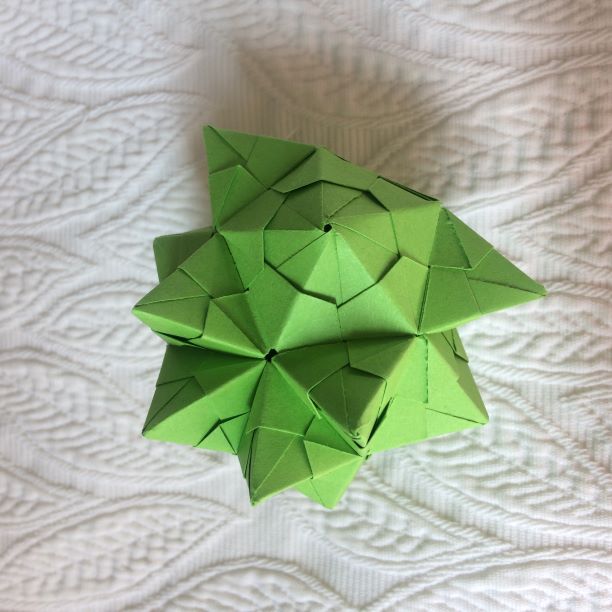
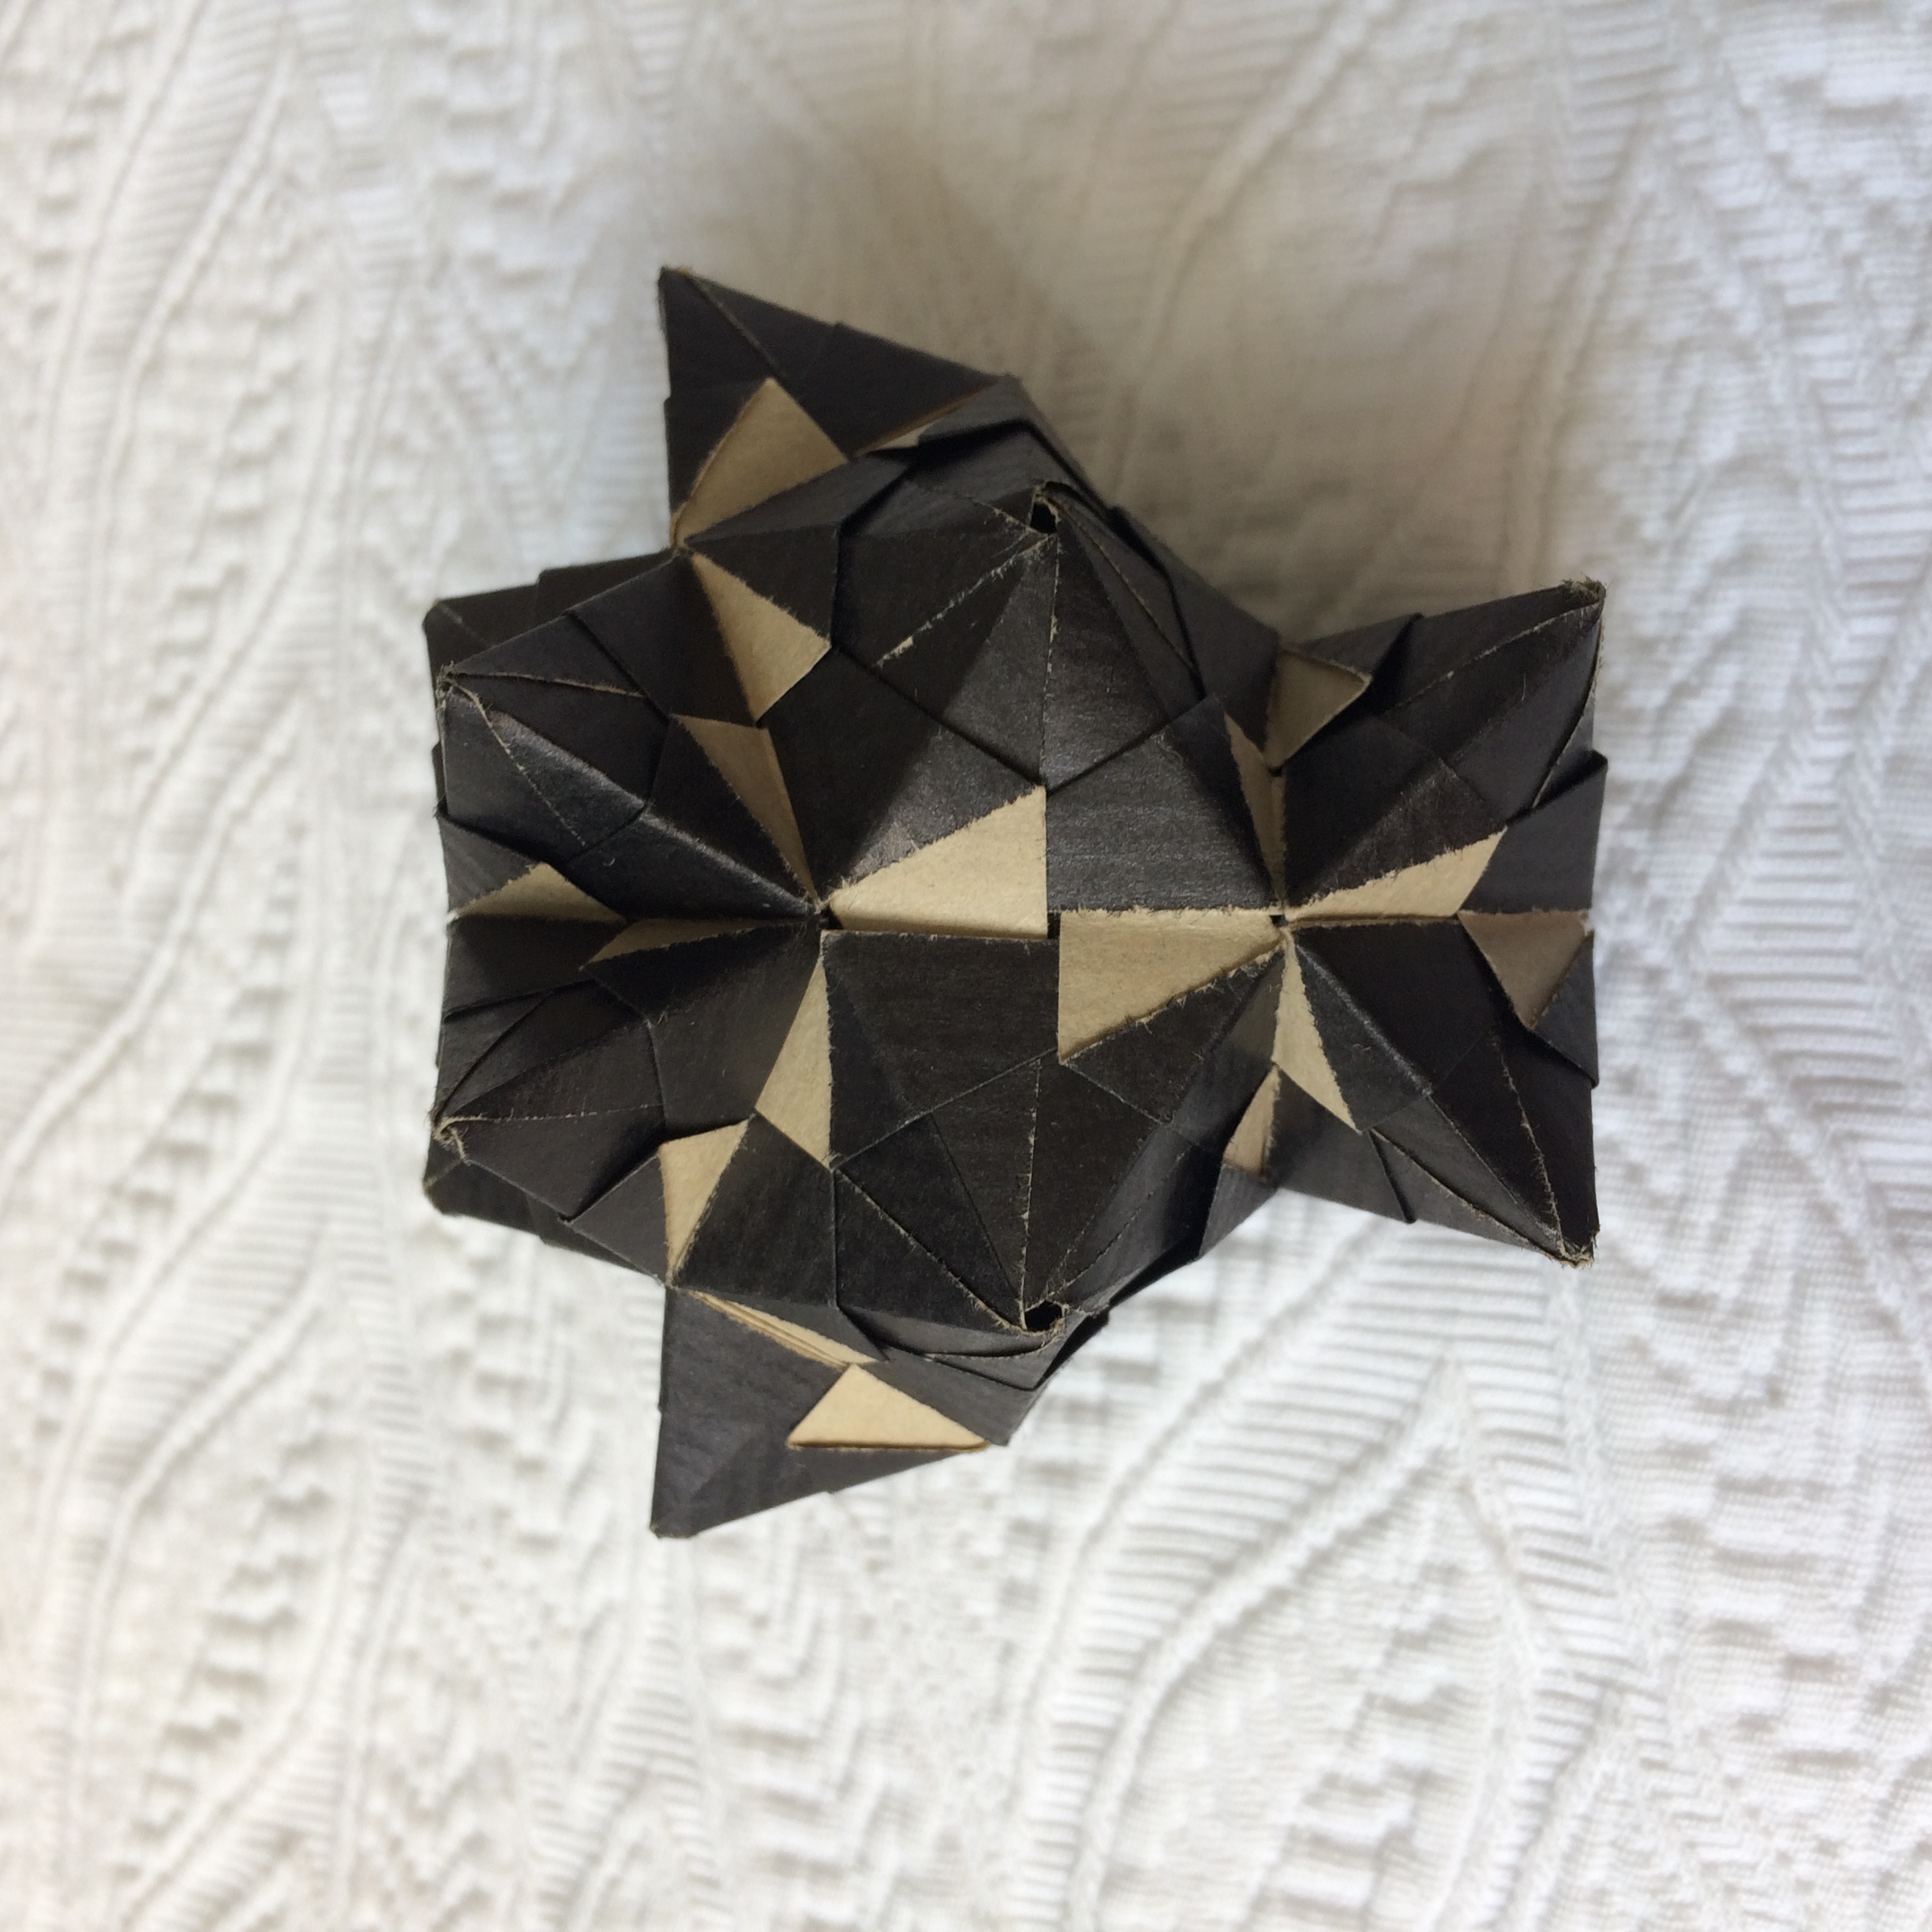
Since I did not want to assemble the same model twice, I created new ones by first creating a 3D version using a home made Python solver as well as devising the color arrangement for the edges
with some graph coloring algorithm. I could then explore the stellation of other Johnson solids, near miss Johnson solids and other solids.
The gallery is at the end of this post.
As a side project, during the event I was presented some funny pictures of numbers and decided to quickly make a PWA app for it: MathPixArt.
New Modules
During the creation of the modular origami document, I learned that my favorite module was invented by Paolo Bascetta
who has also created a lot of other shapes and modular origami. Please go visit his website later, it is a banger !
I suggest you read The story of the Bascetta Star too.
With the Bascetta module, you may find several models he has created:
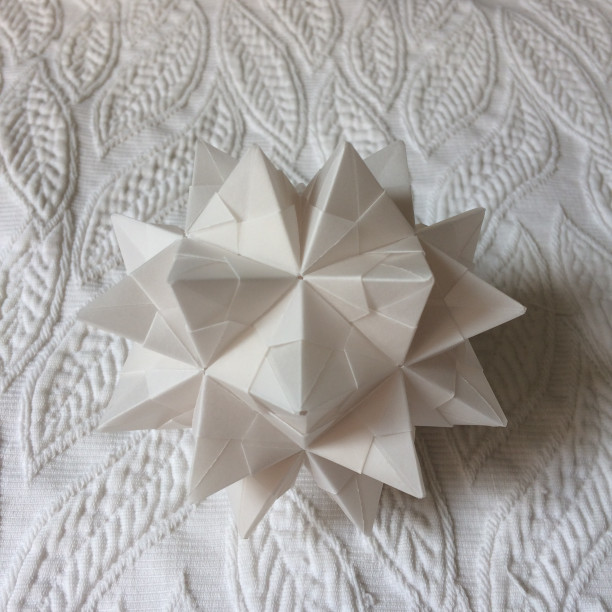
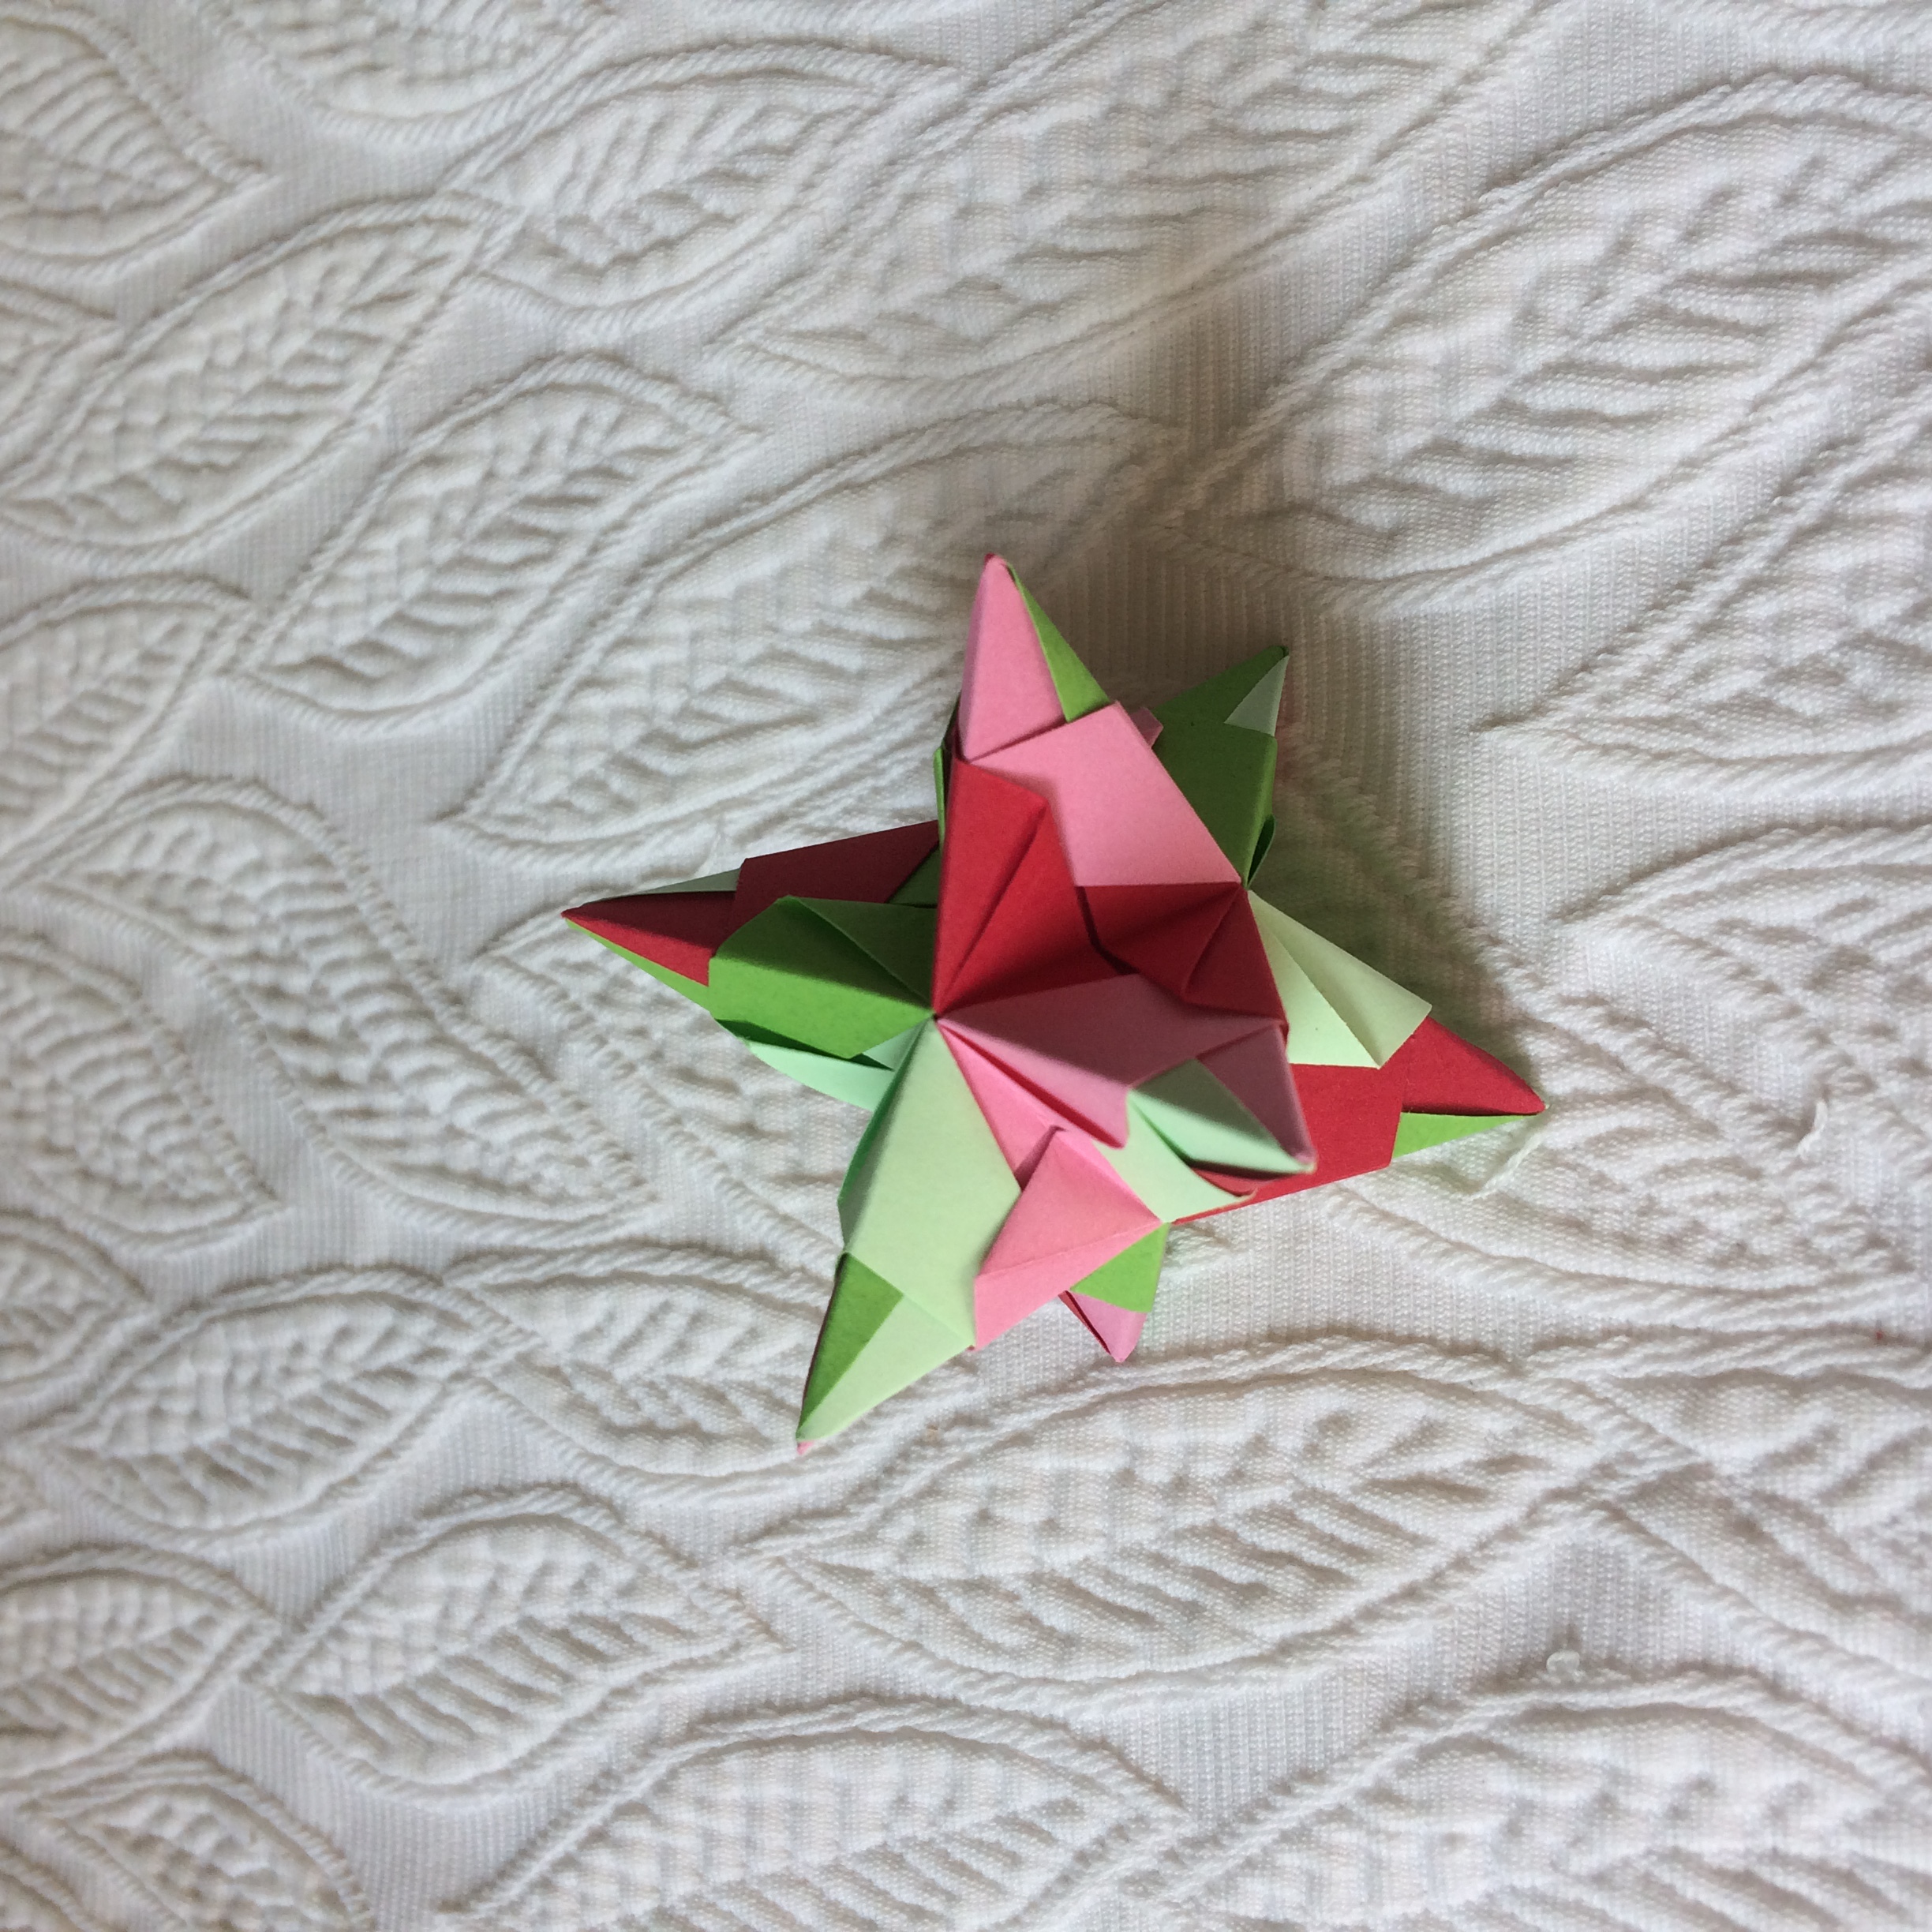
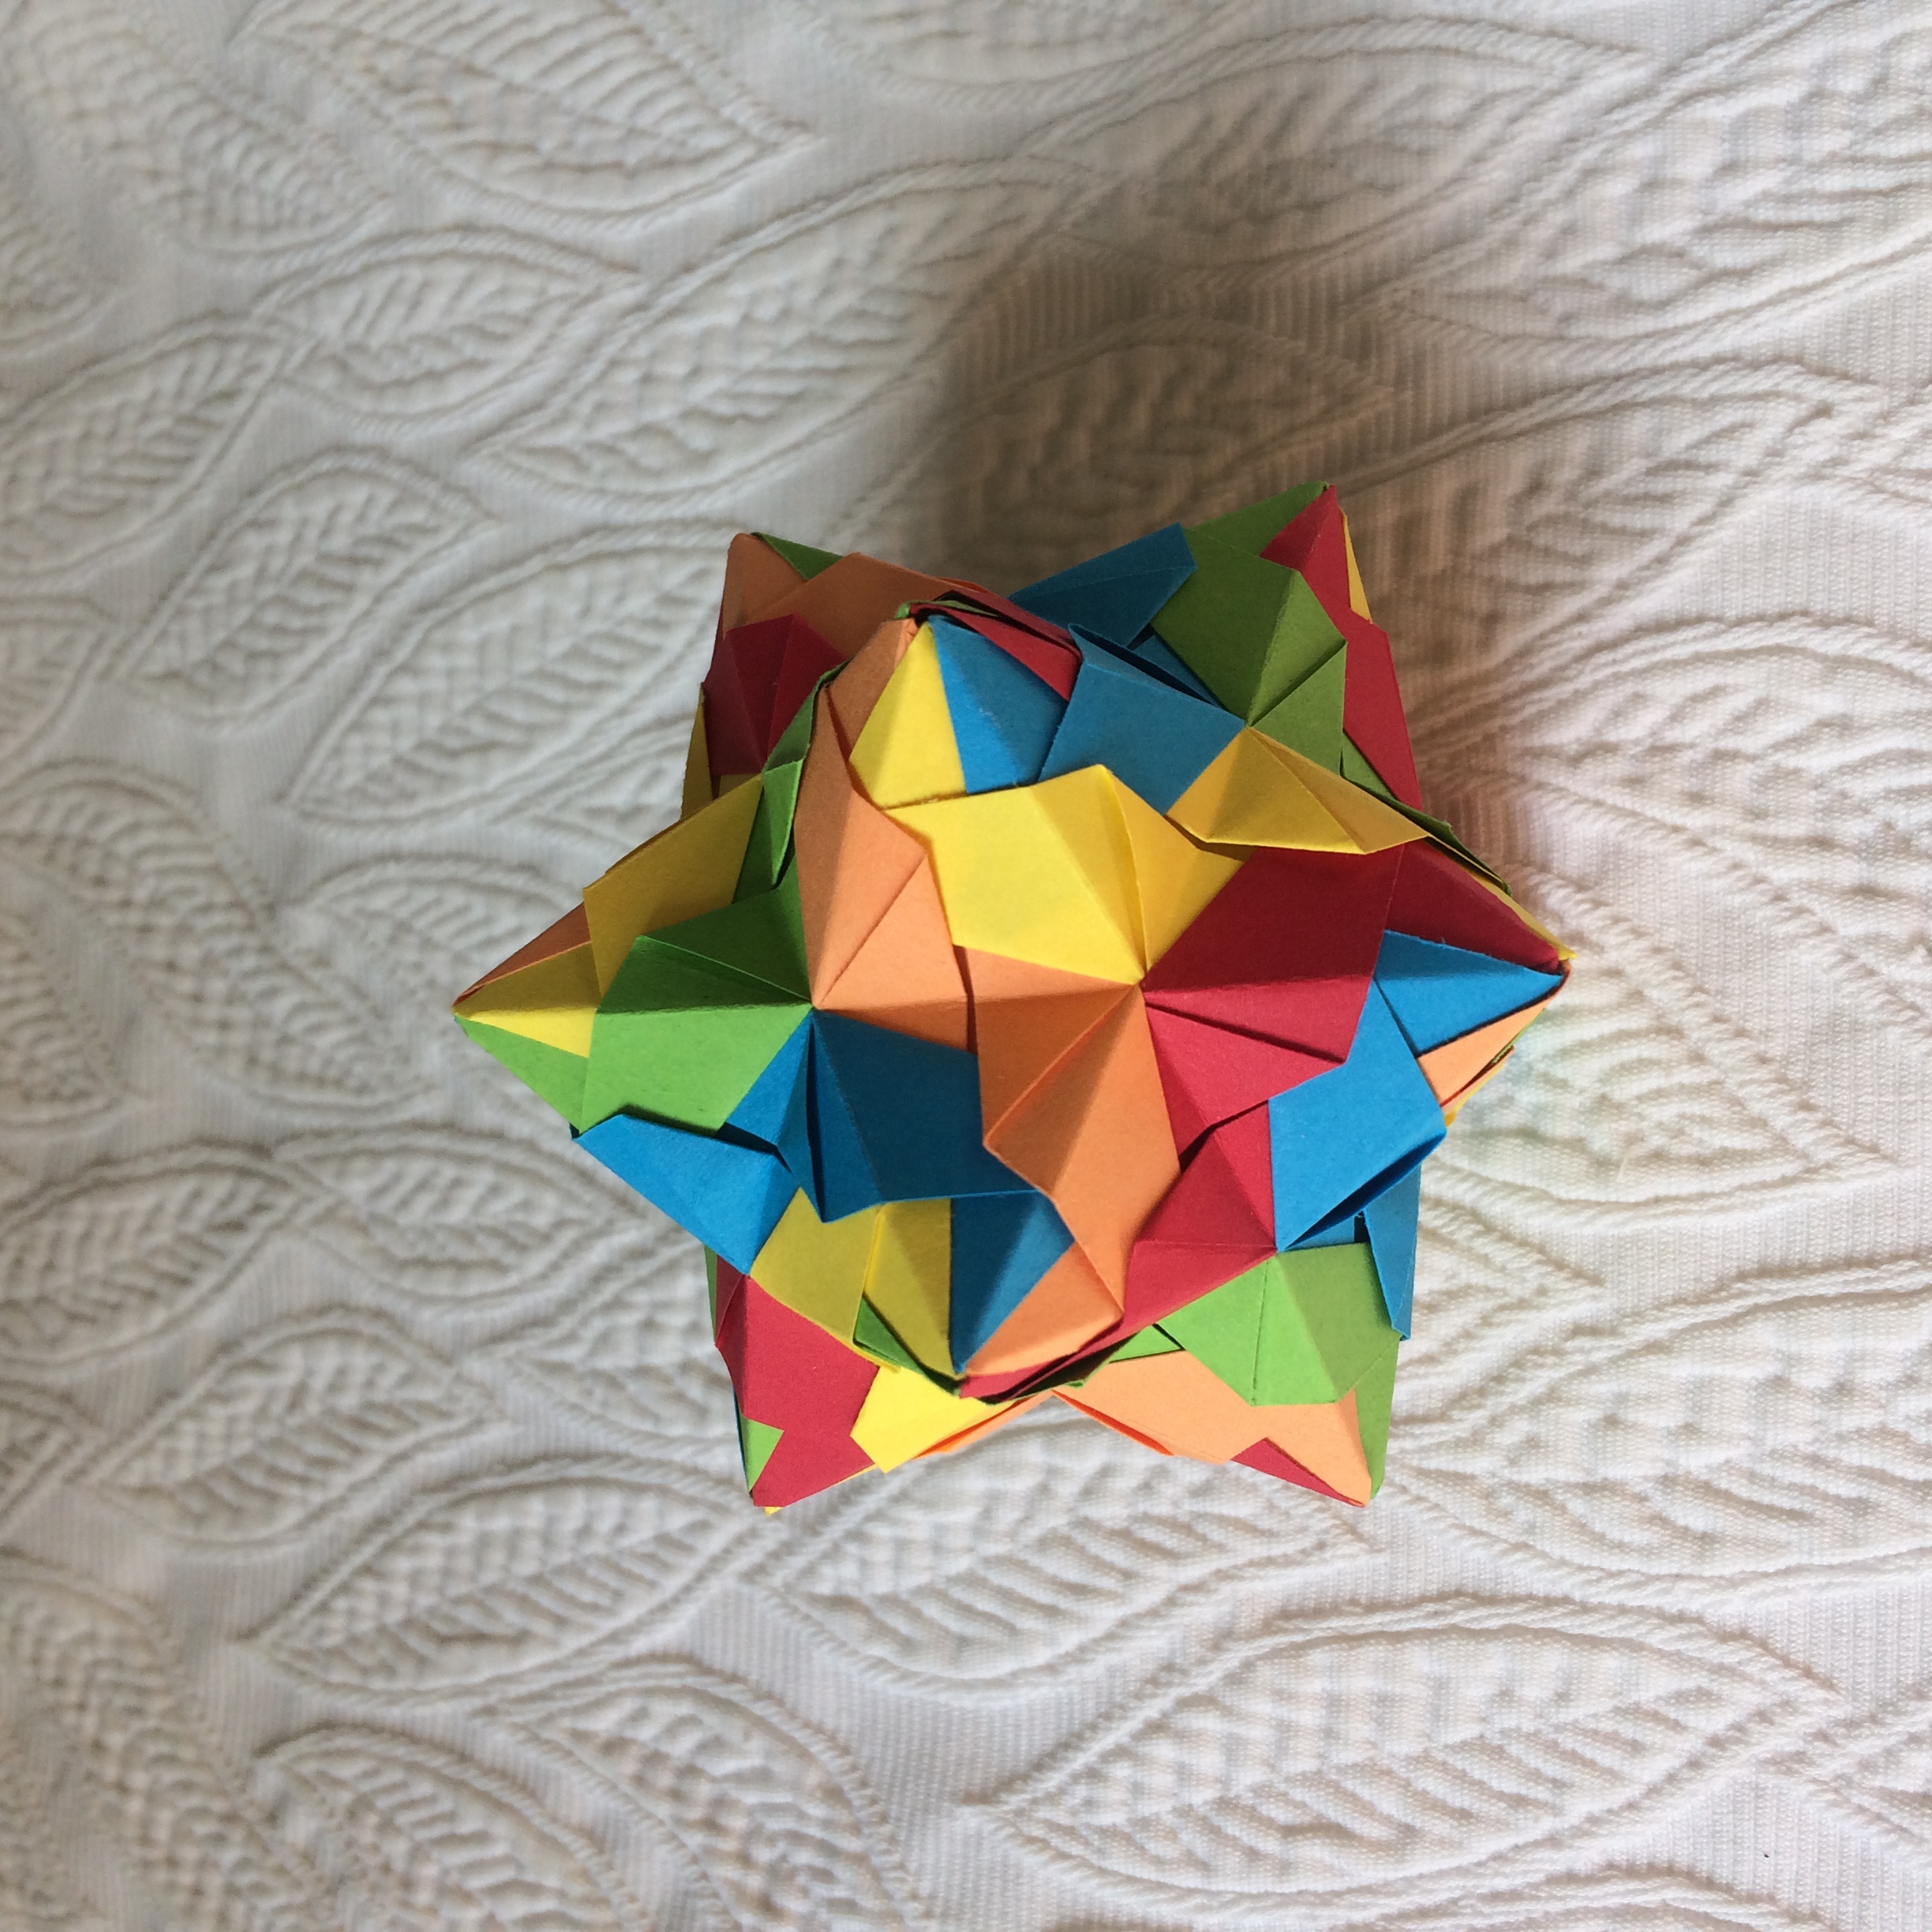
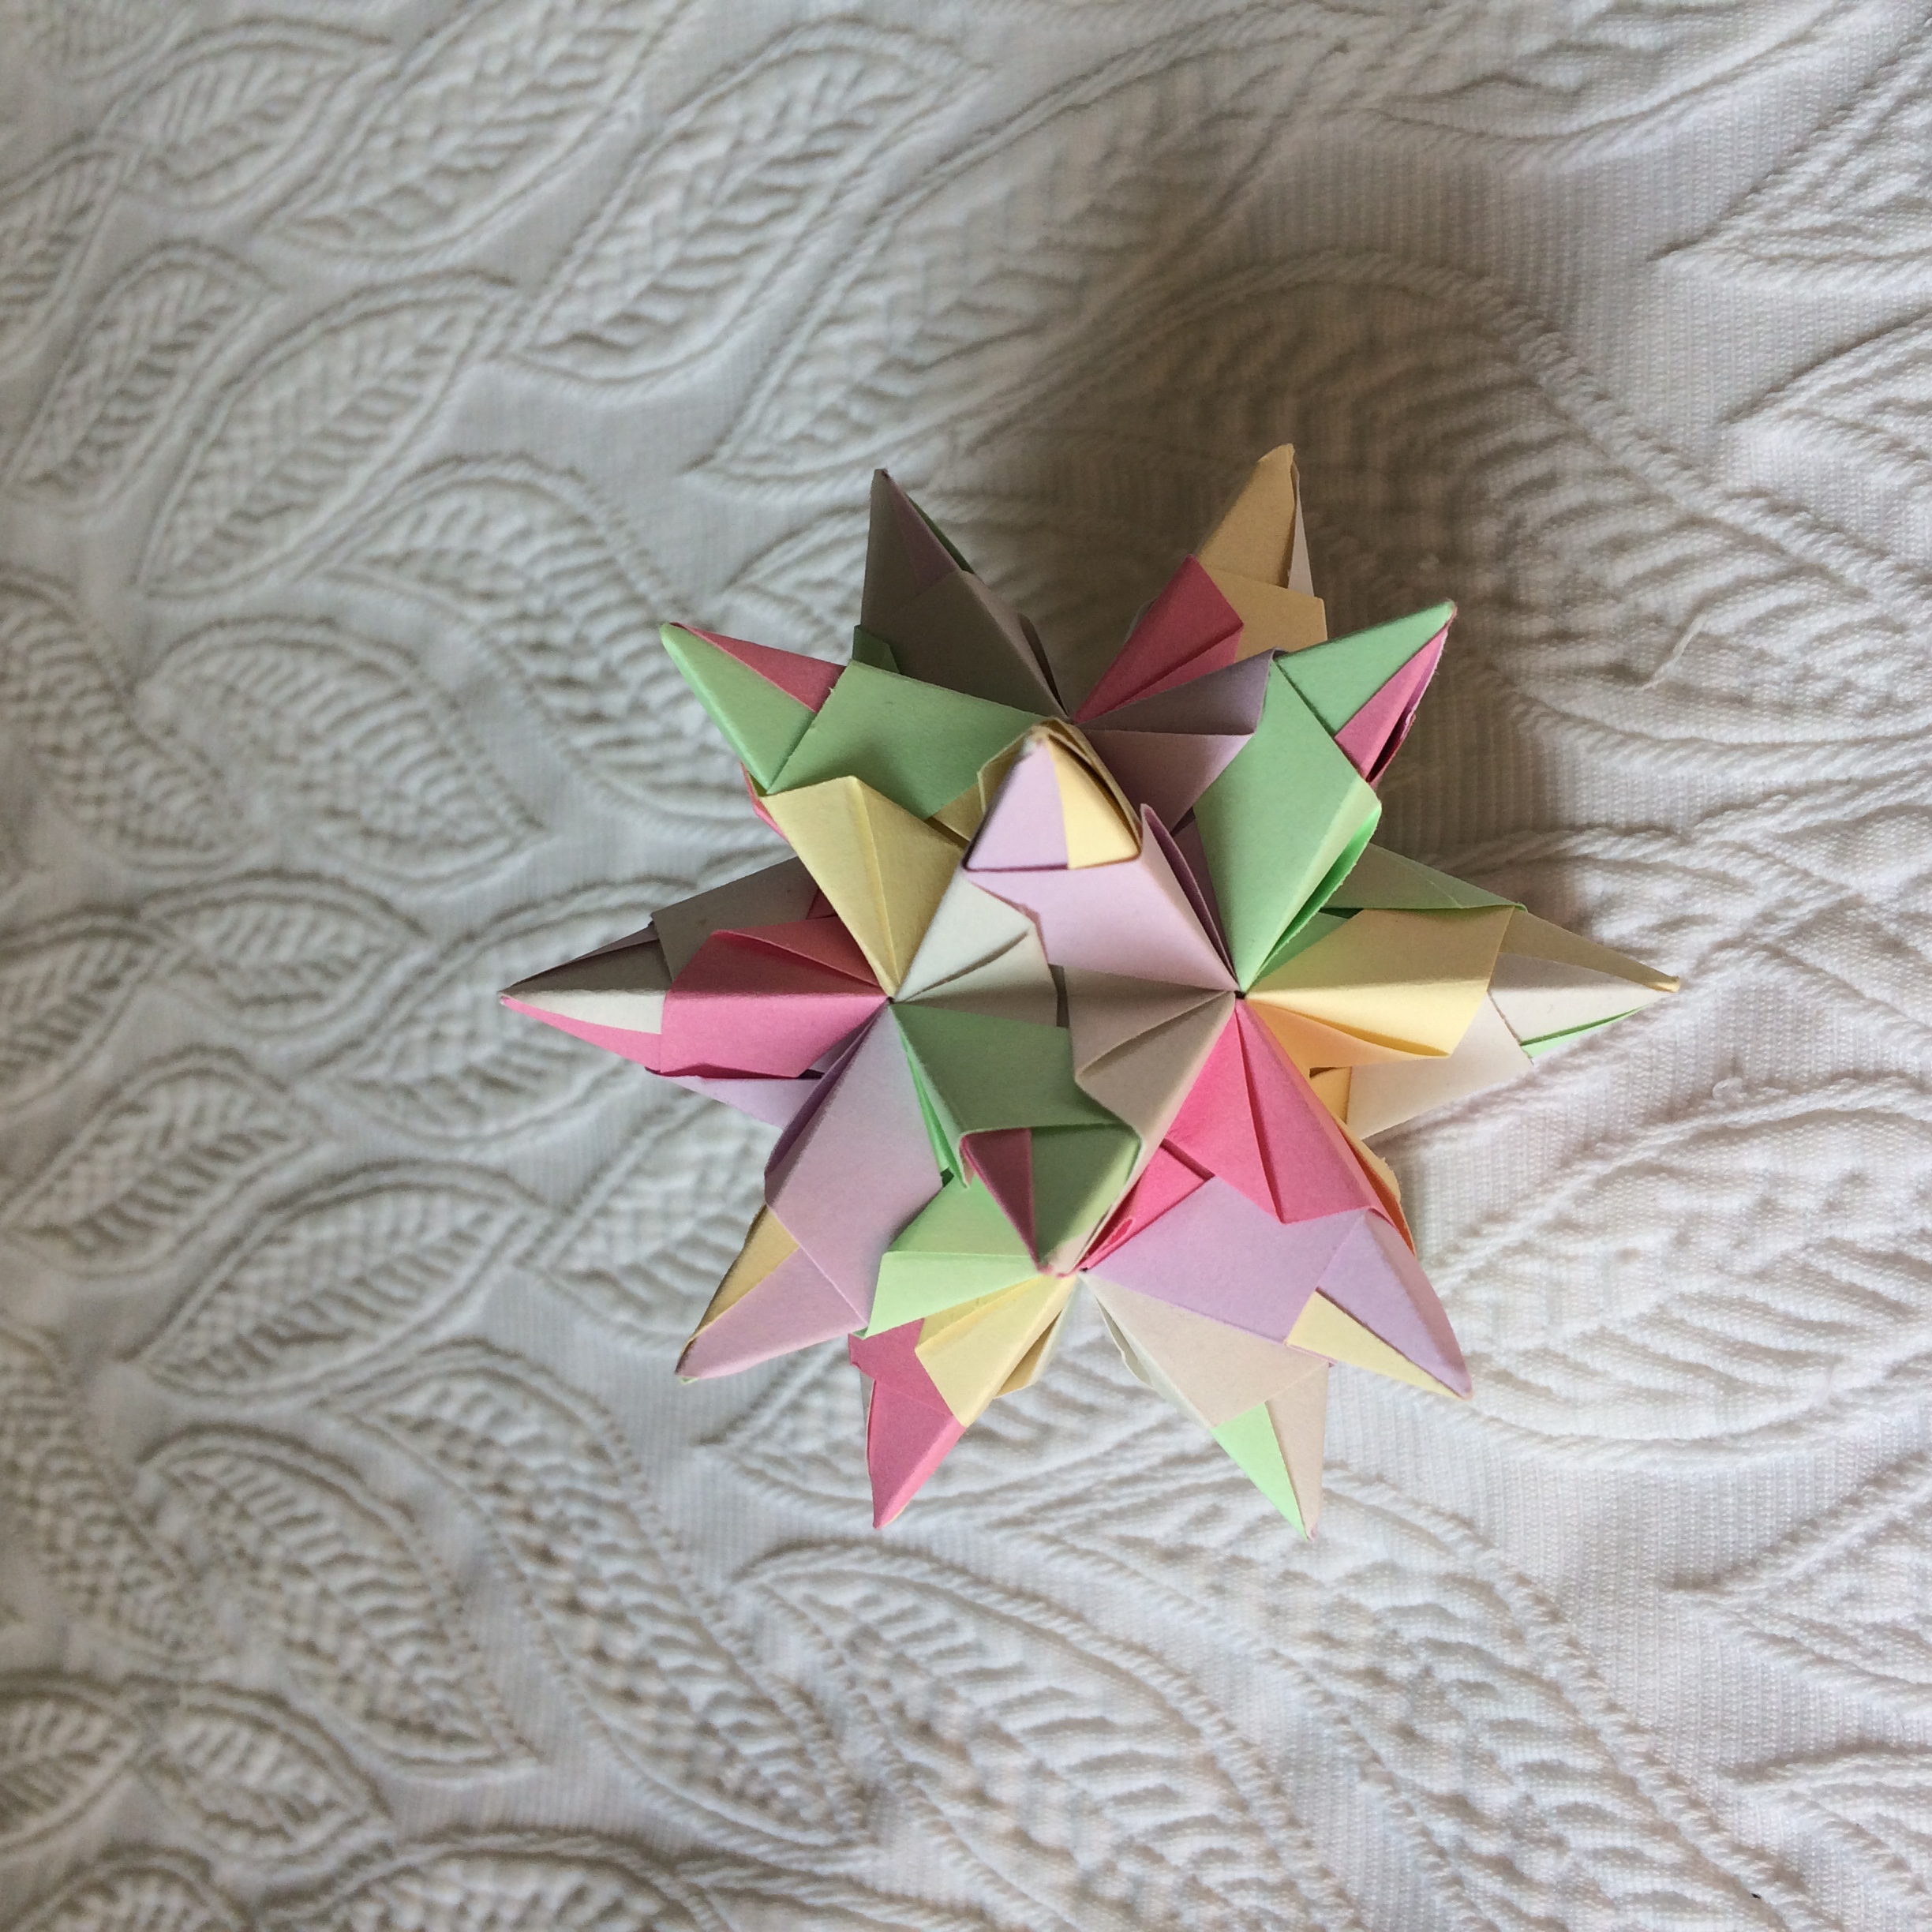
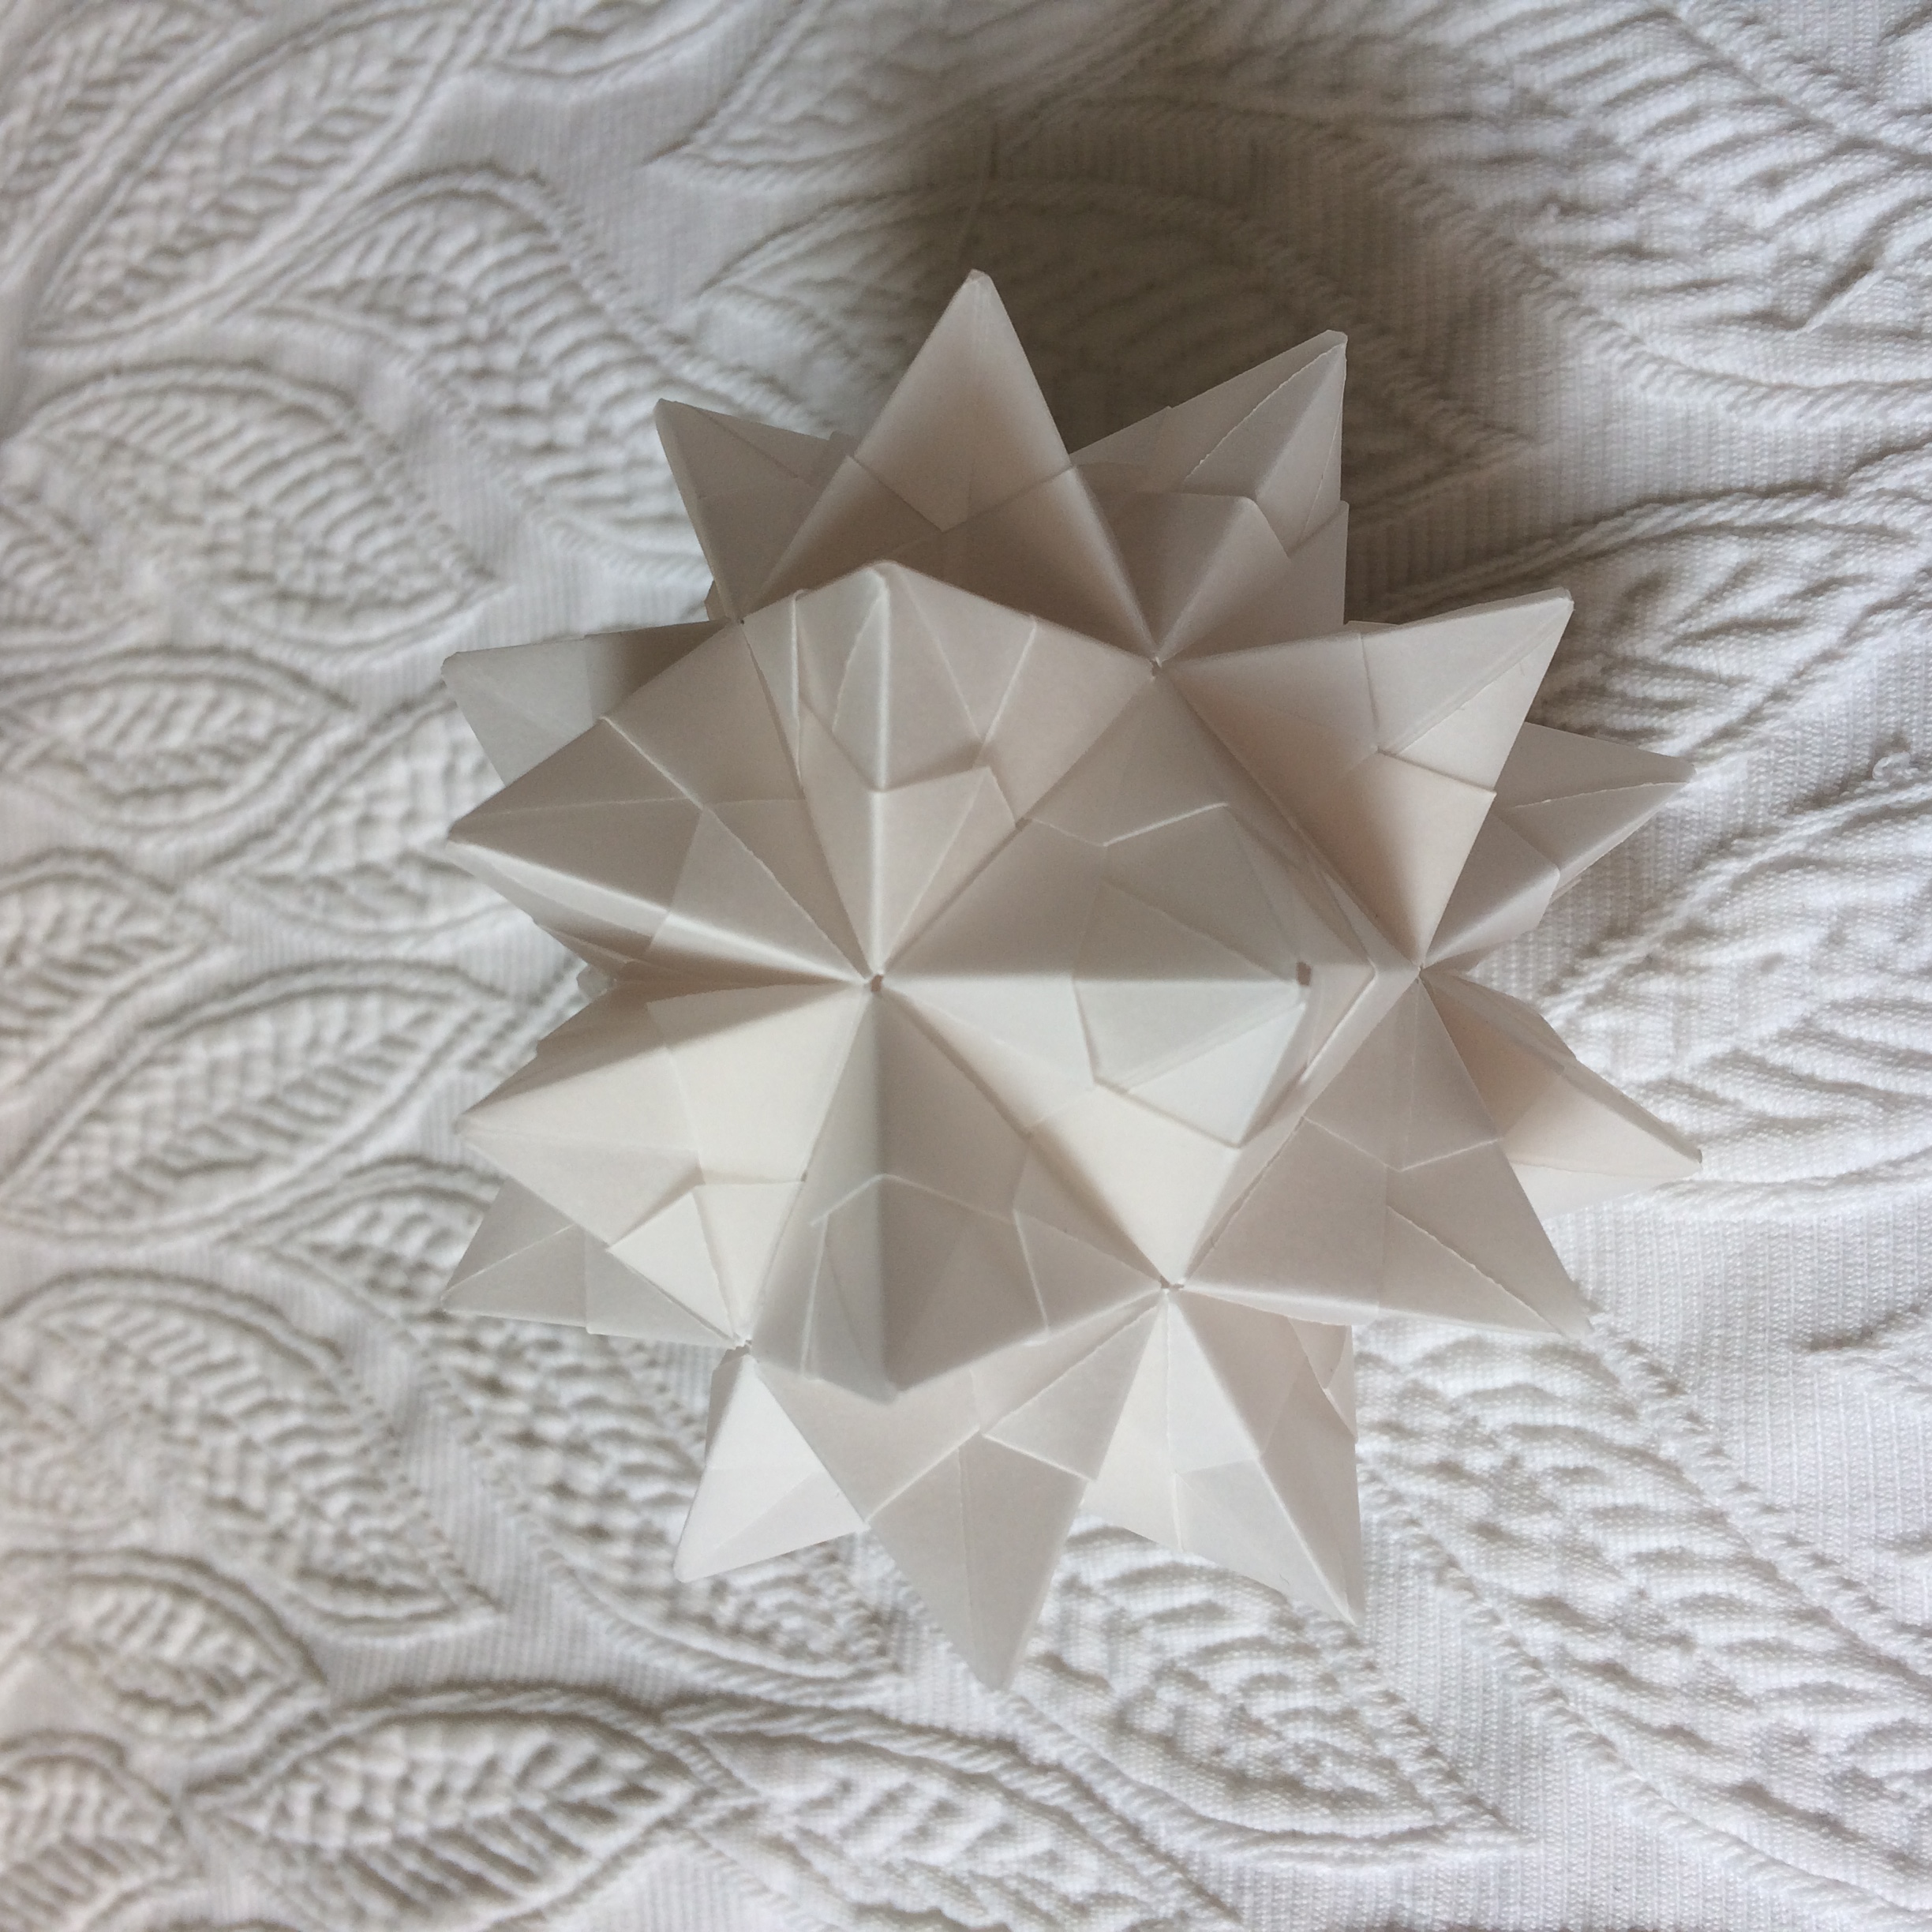
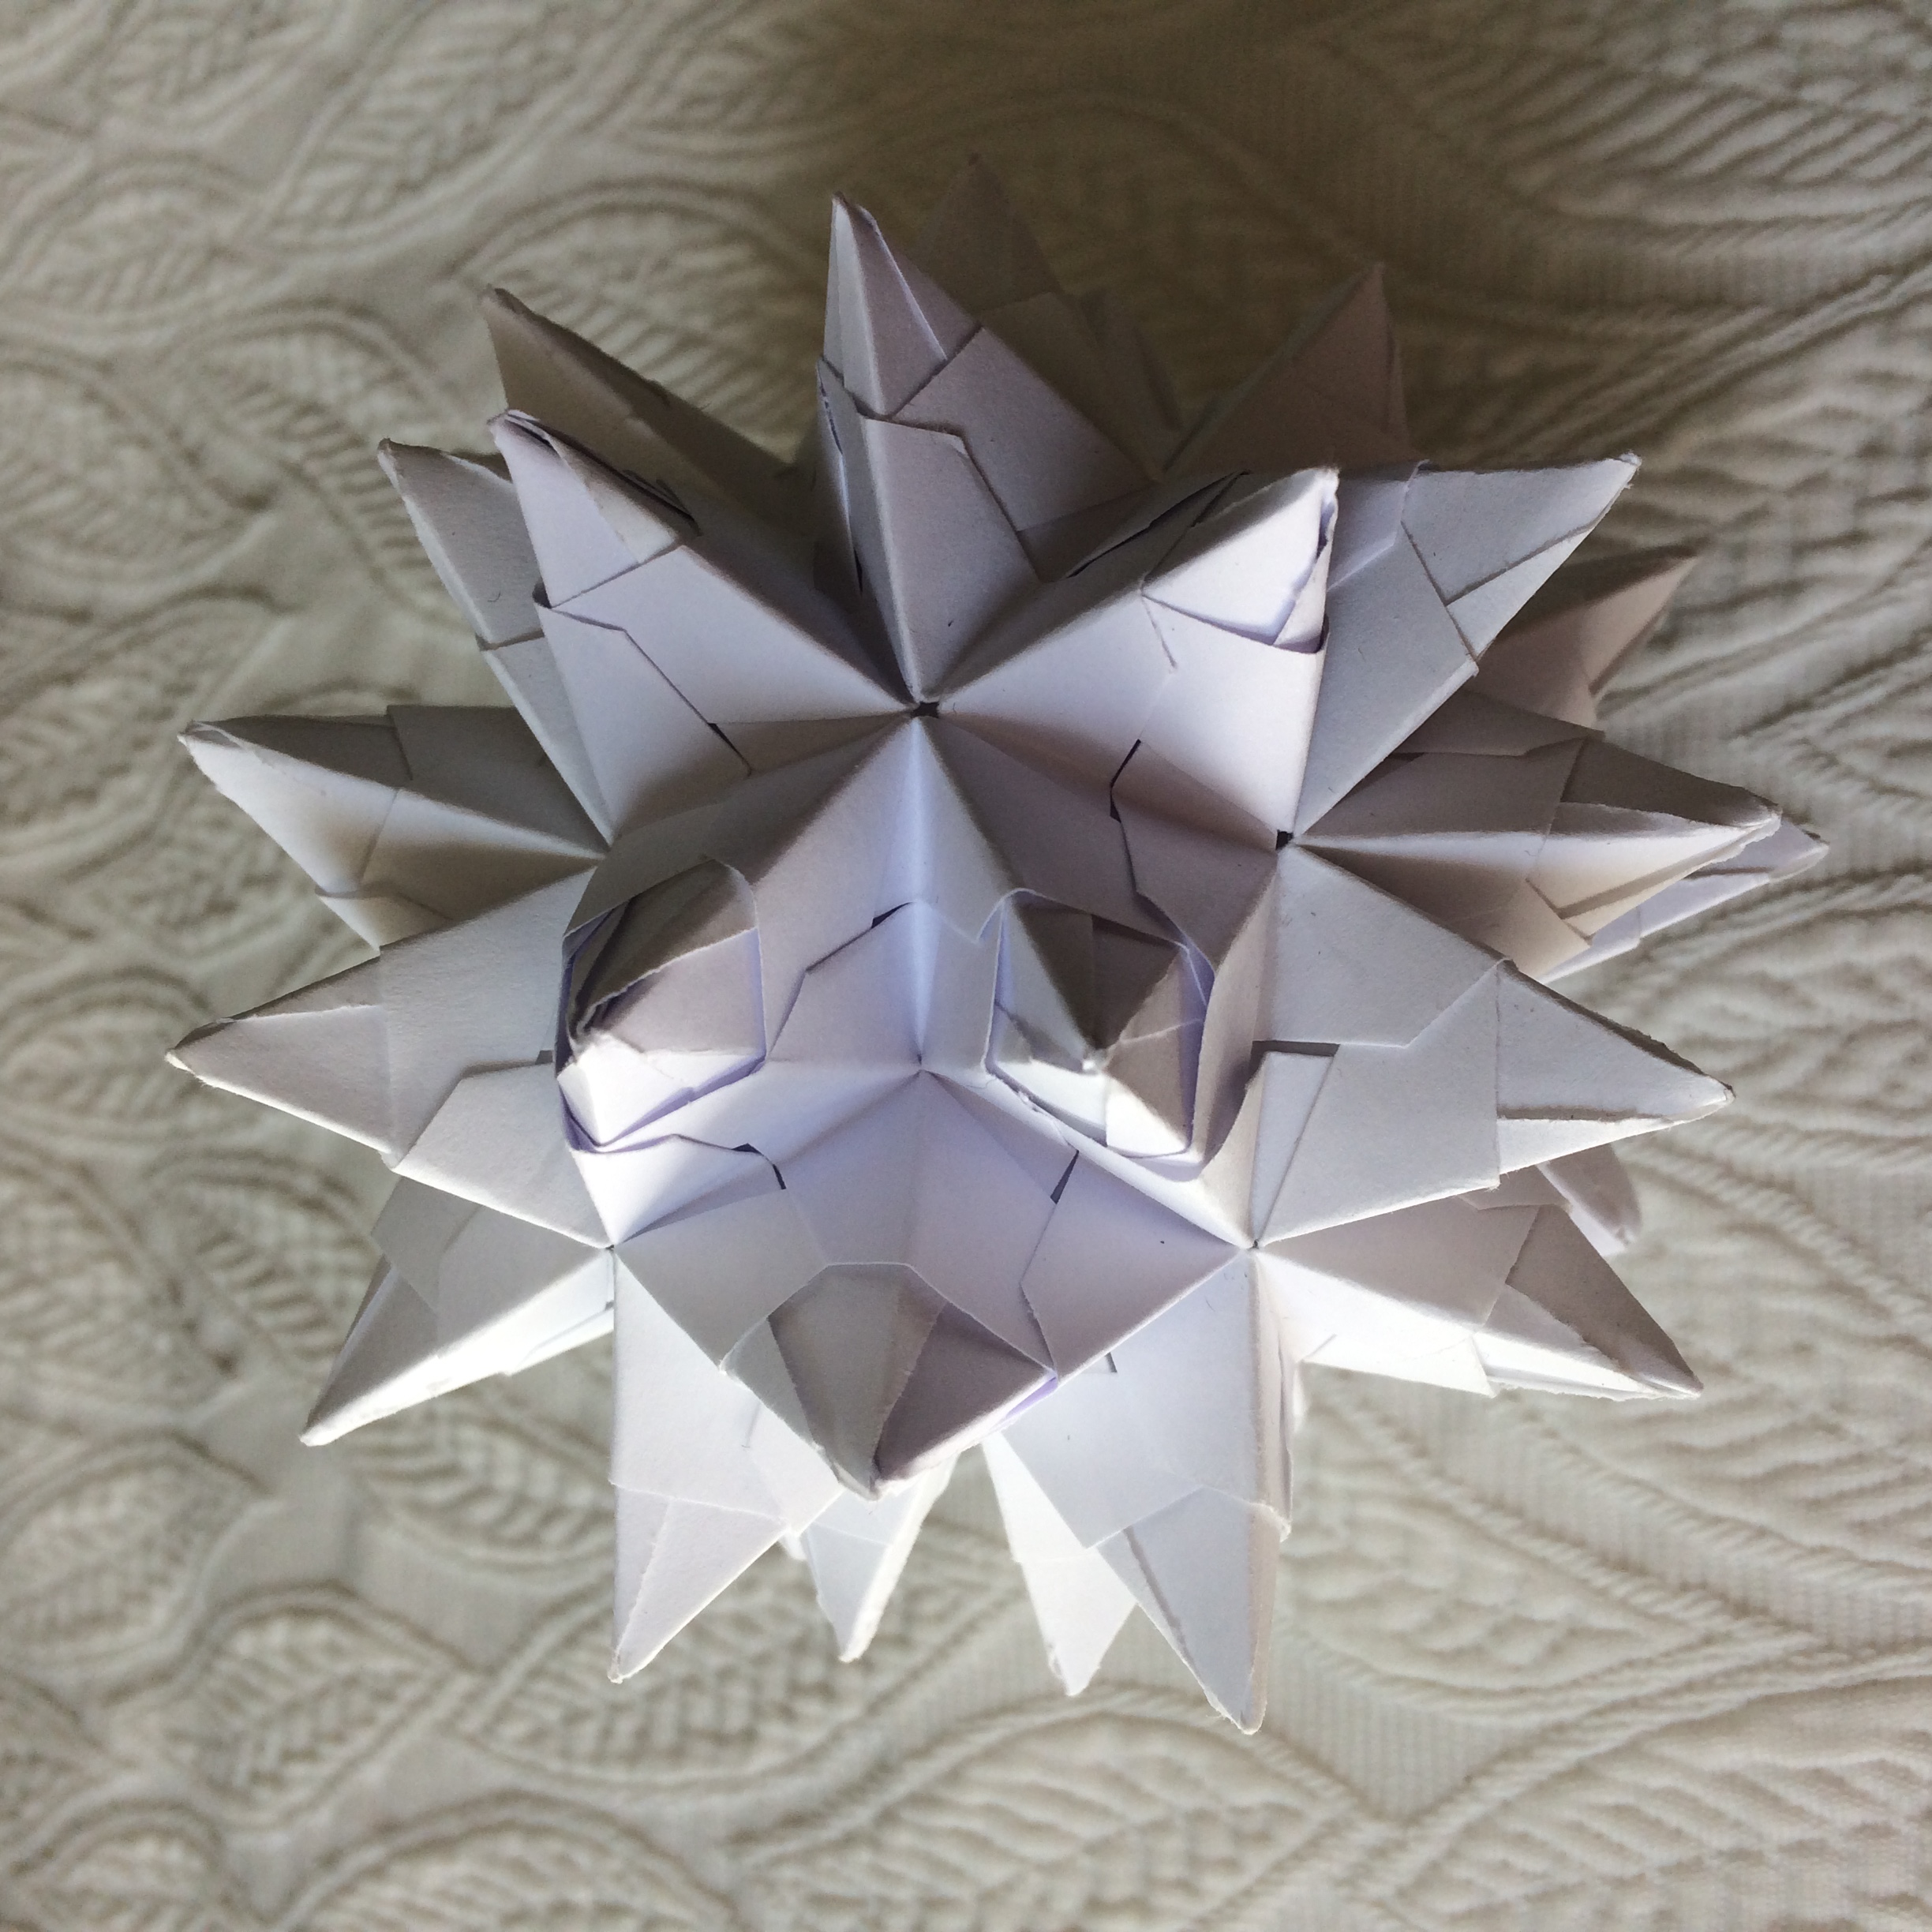
the original Bascetta star which is a stellated icosahedron (with 30 modules),
the Dragon Heart : an Icosidodecahedron which pentagonal faces has been removed and which square and triangular faces have been augmented on the outer and inner sides
for a total of 180 modules,
the Supernova which is similar to the Dragon Heart but based on an expanded Truncated Icosahedron without its pentagonal and hexagonal faces
for a total of 540 modules,
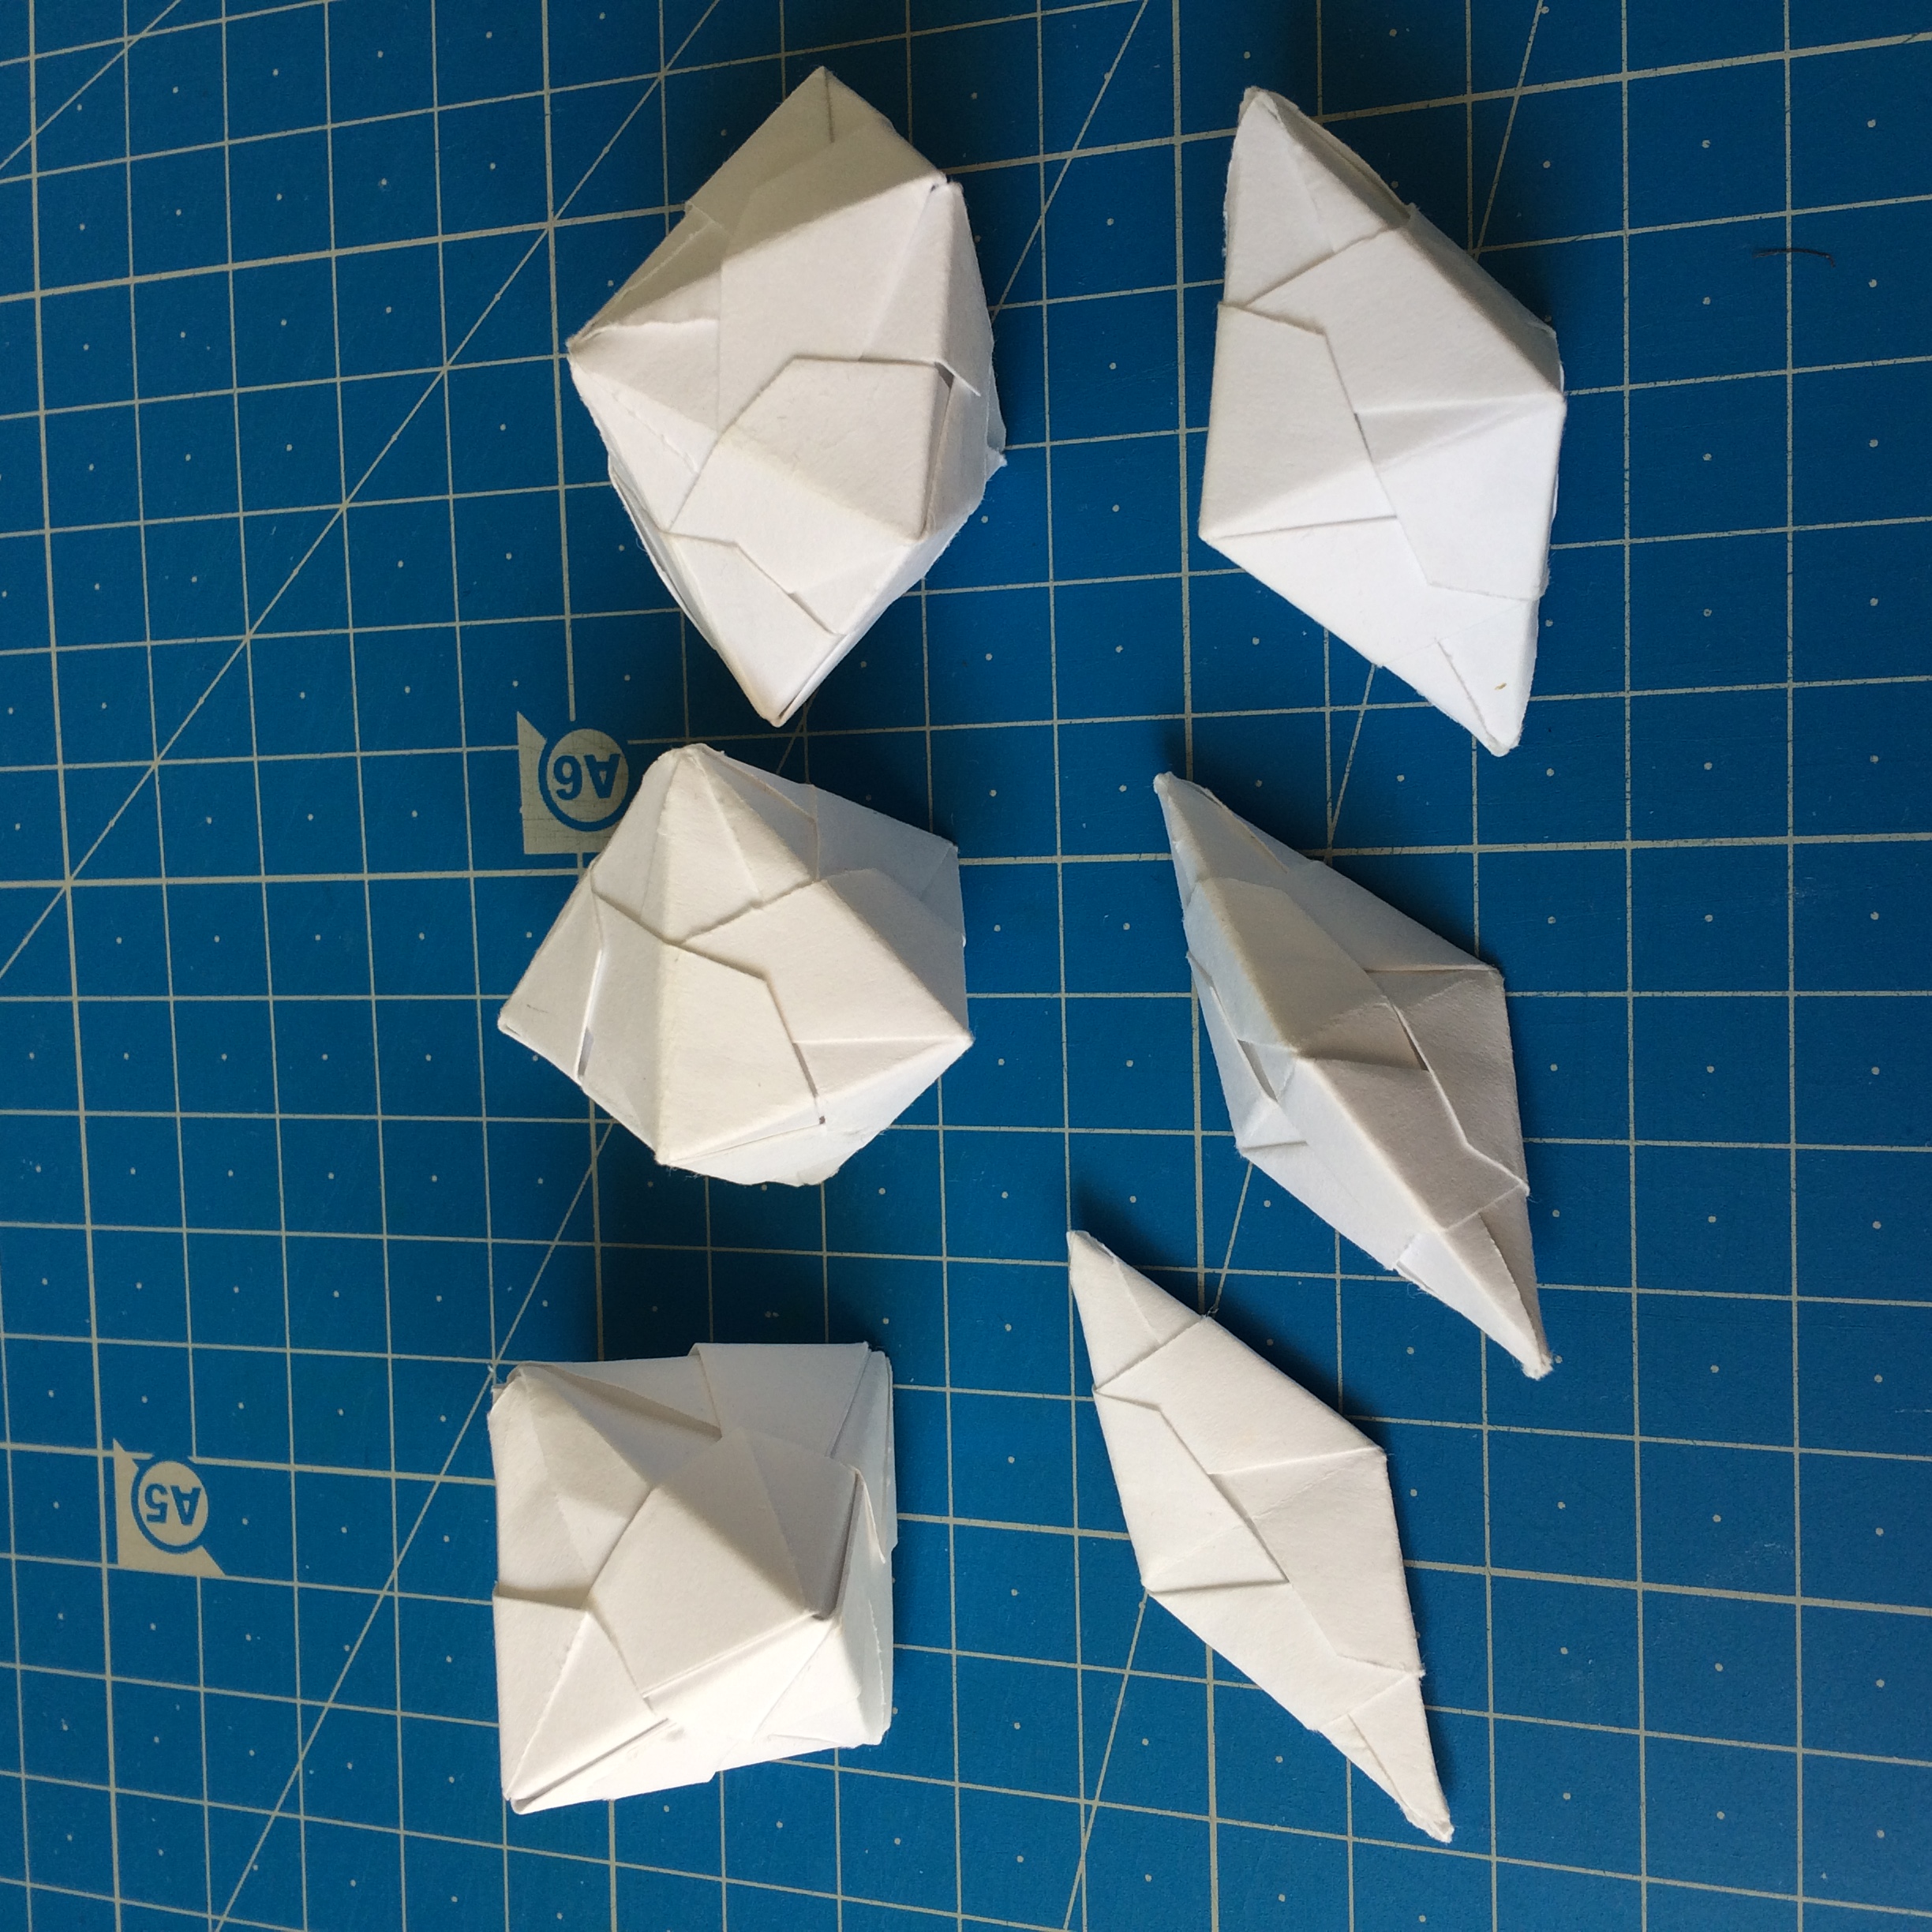
two Polyedri Stellati: based on the octogonal and decagonal antiprisms where only the triangles have been augmented on both sides (I count 24 and 30 modules respectively).
the Spiral : triangular and square bipyramids are assembled together to form arms in a shape that tessellates the plane
I have managed to recreate these shapes with the .
After the event, I was looking again on YouTube if people had been making something new with the Bascetta module and stumbled upon the channel of Eckhard Becker
who has been working a lot on modular origami. Amongst his dozens of videos, he shows :
an alternative simpler folding for the Bascetta module (video)
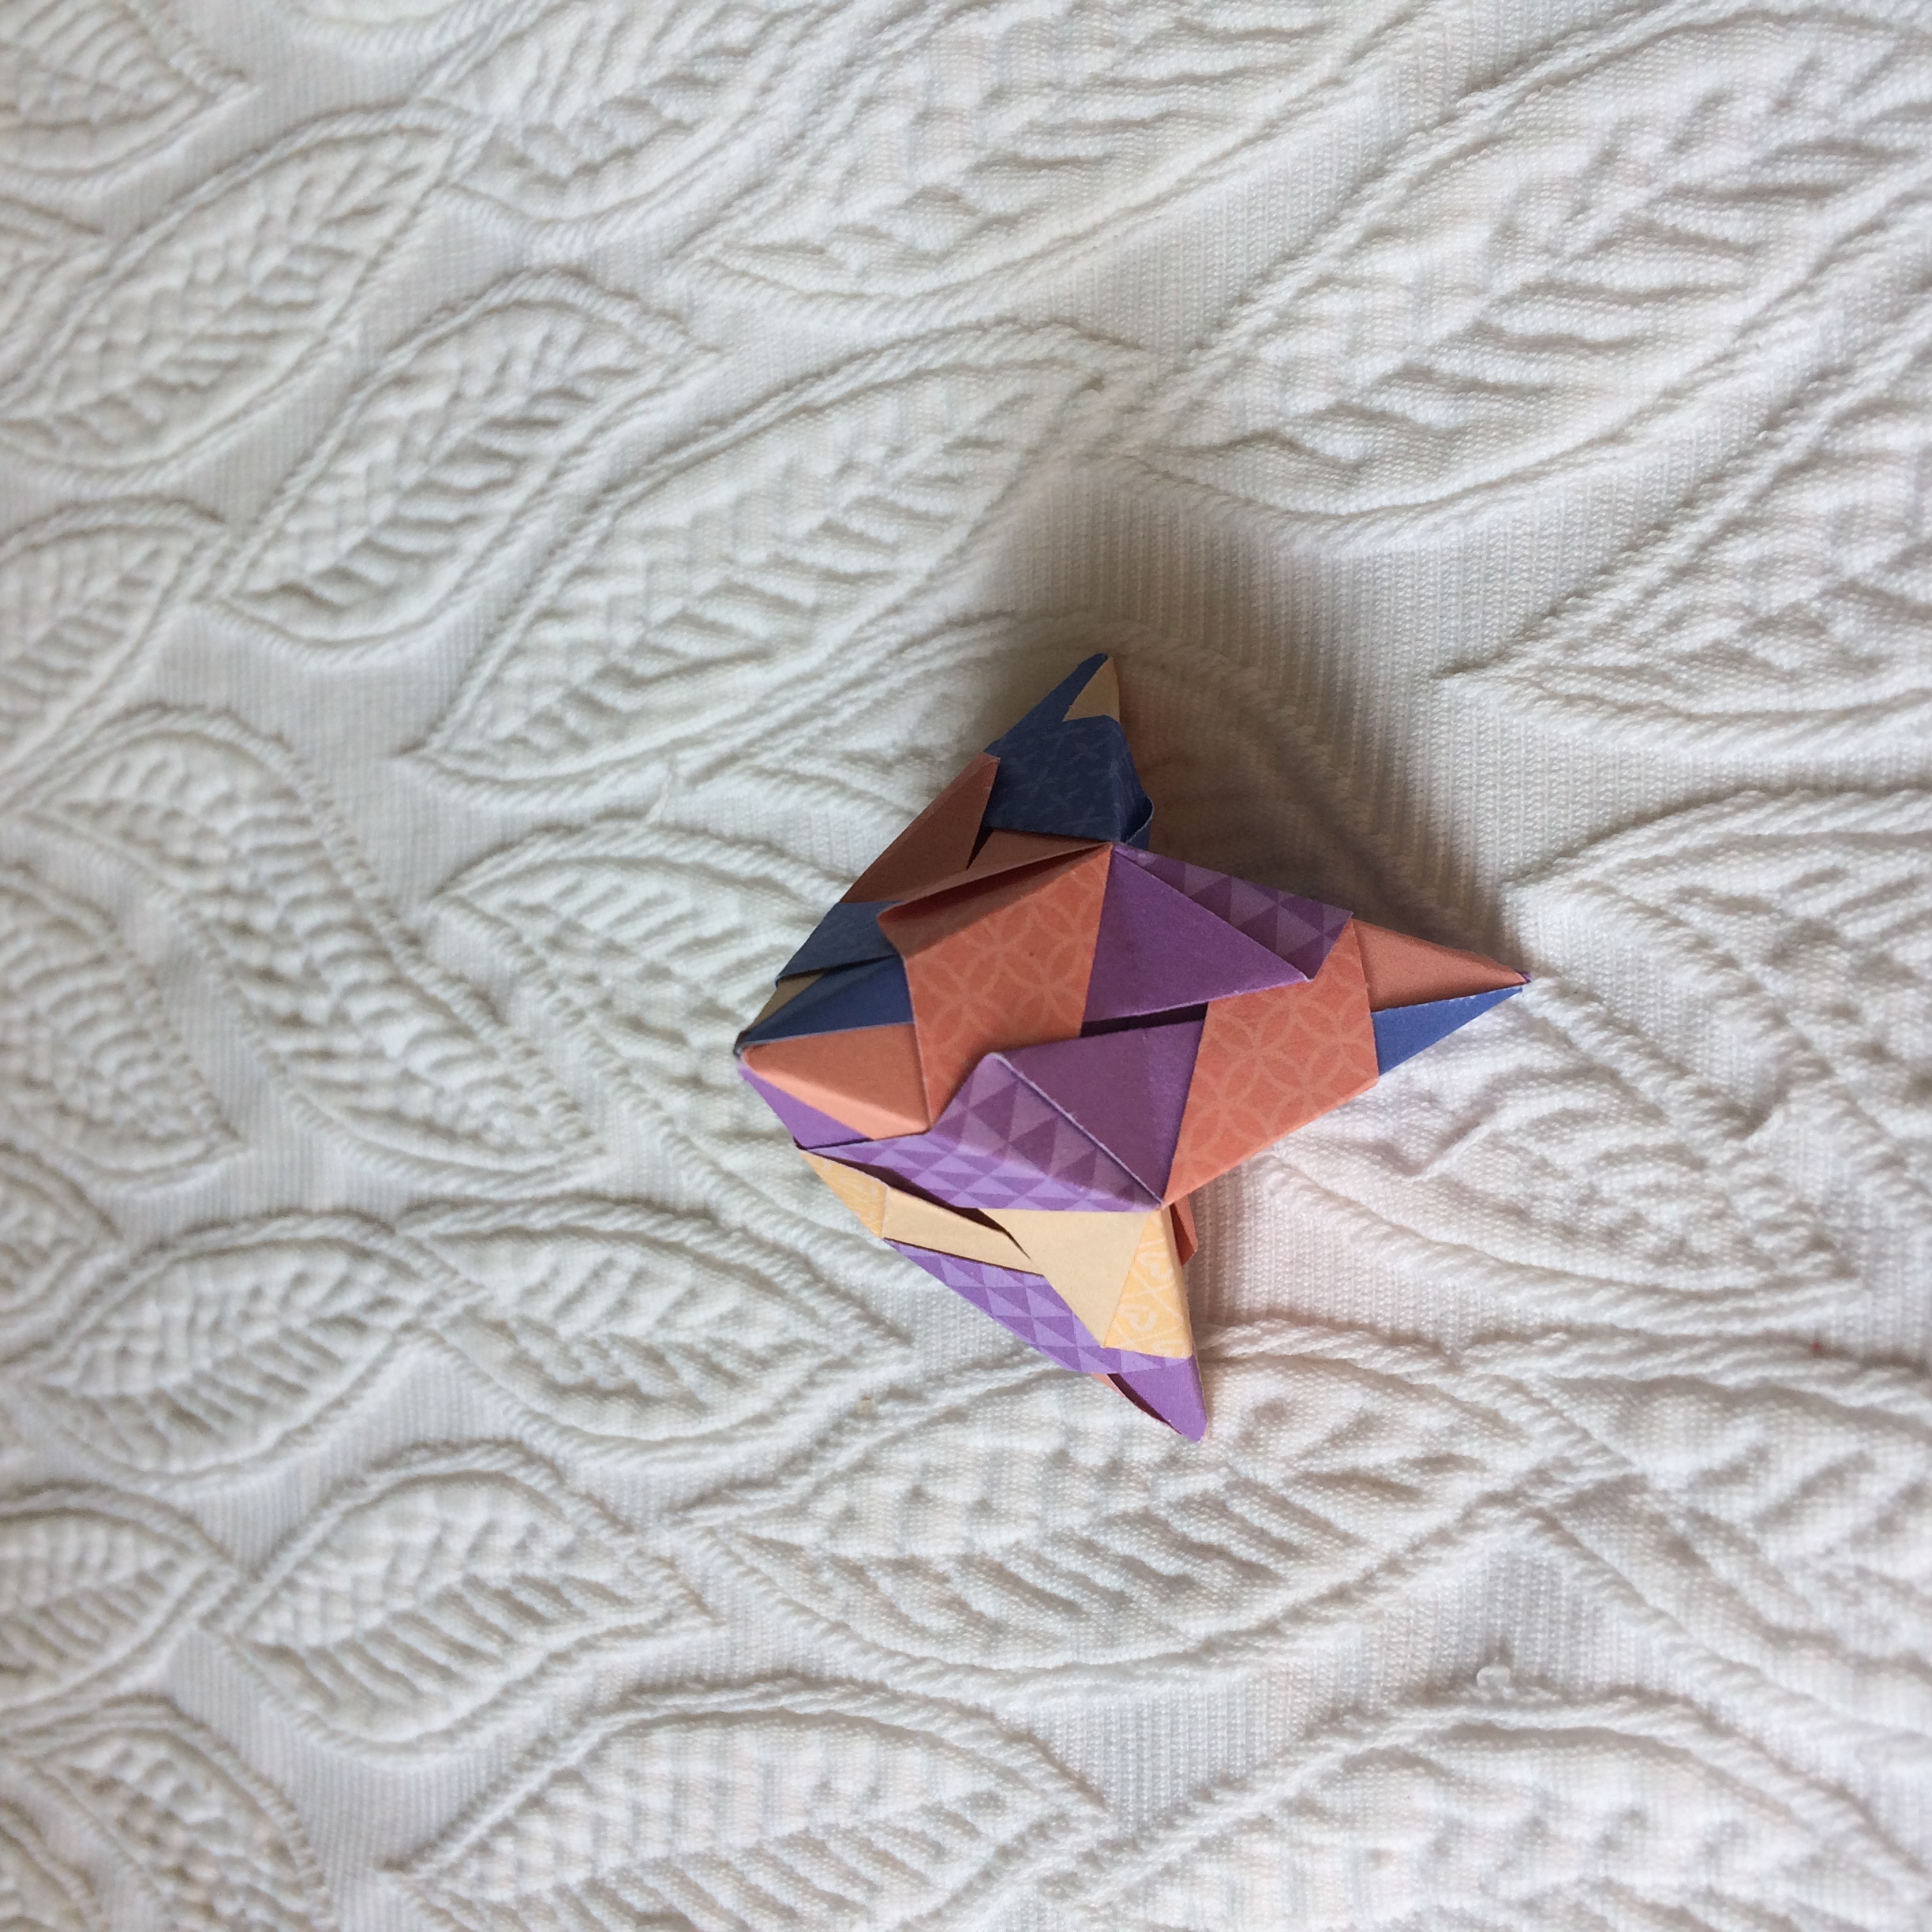
a simpler but different version of the Bascetta module that I will call the 45° Becker module (video),
other similar module with different tip angle : 60°, 36°, 30°, 22.5° and others with different paper sheet aspect ratios,
many other things that are organized into video playlists and into a document, be sure to check it later.
3D Viewers
Let's now talk about the why and how I decided to create viewers for the origami models.
The main reason is that I needed a program that would take a base solid as input and show the augmented origami model with proper coloring
so that I have a reference for planning and assembling the real model. Until now, I would only build models that I knew where physically possible
and decide the colors manually. Also with such a program, I would know what it would look like beforehand.
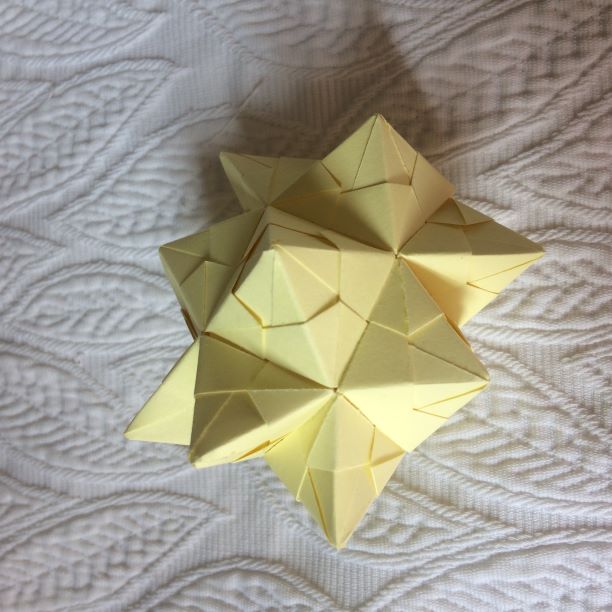
Let's remind that each module in the origami model corresponds to a different edge of the base solid.
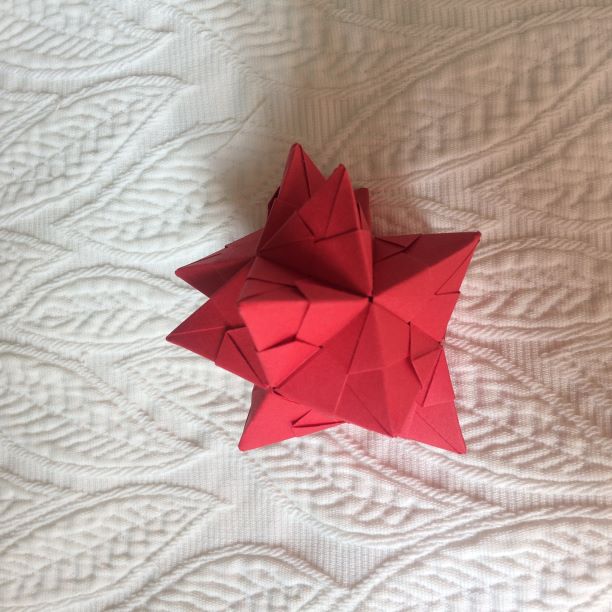
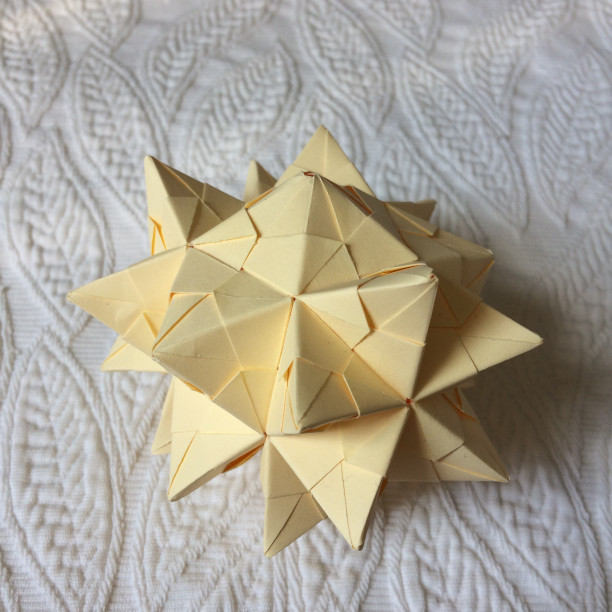
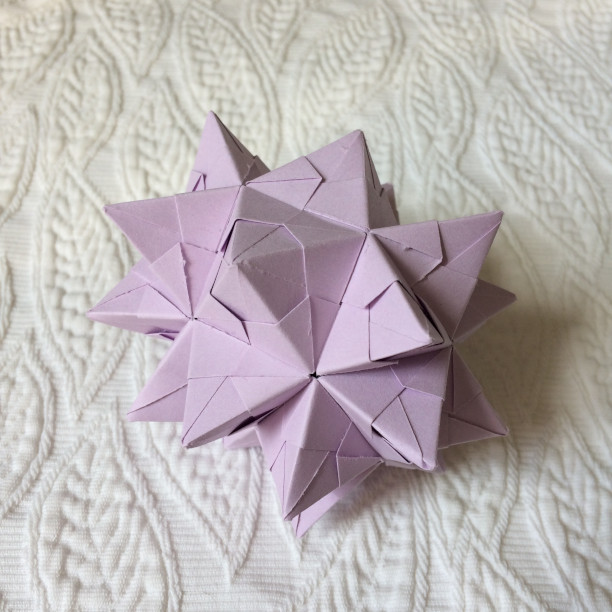
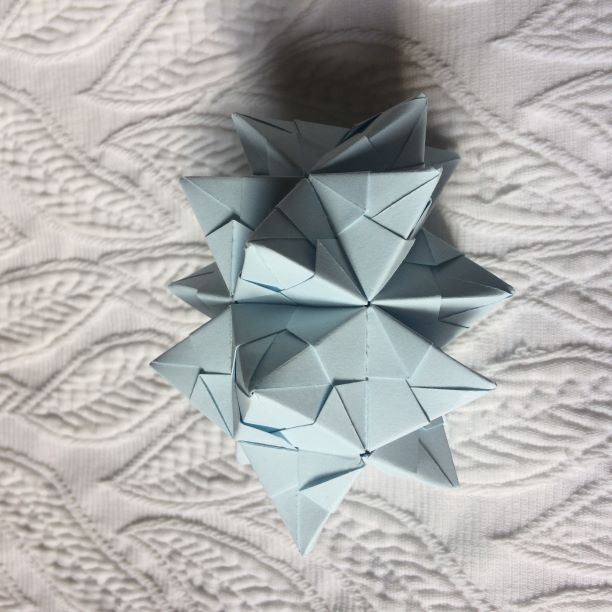
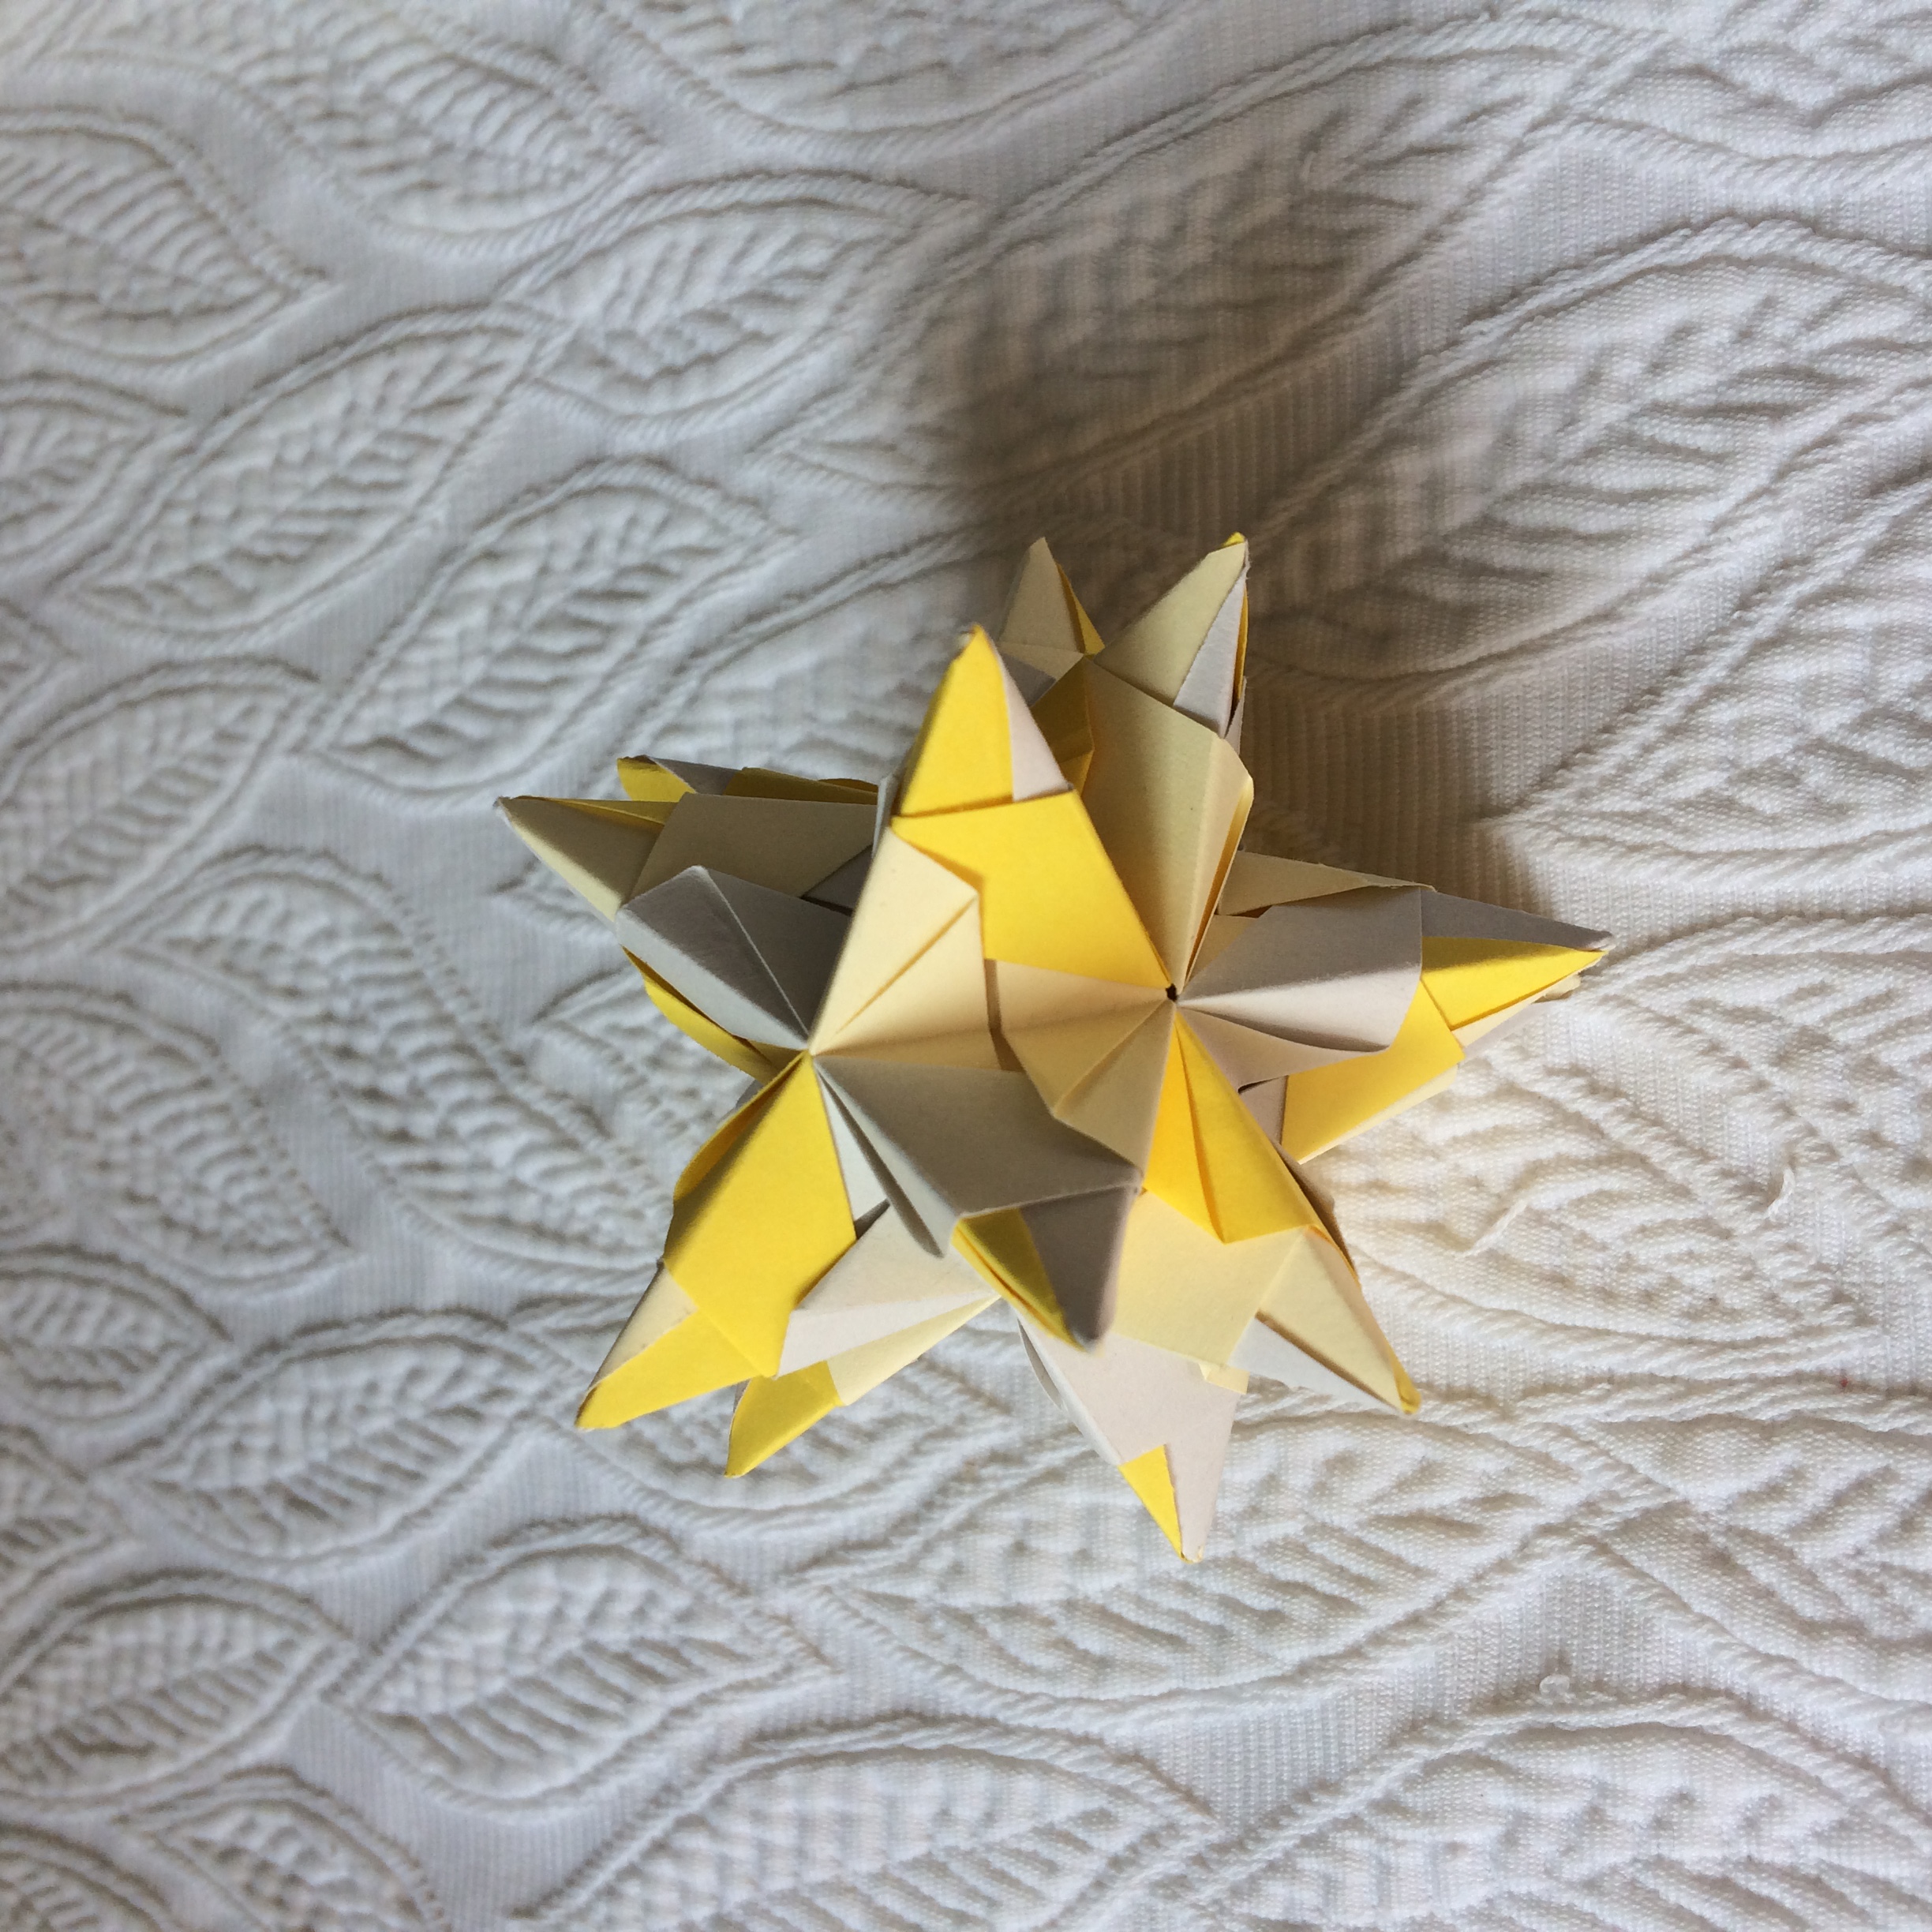
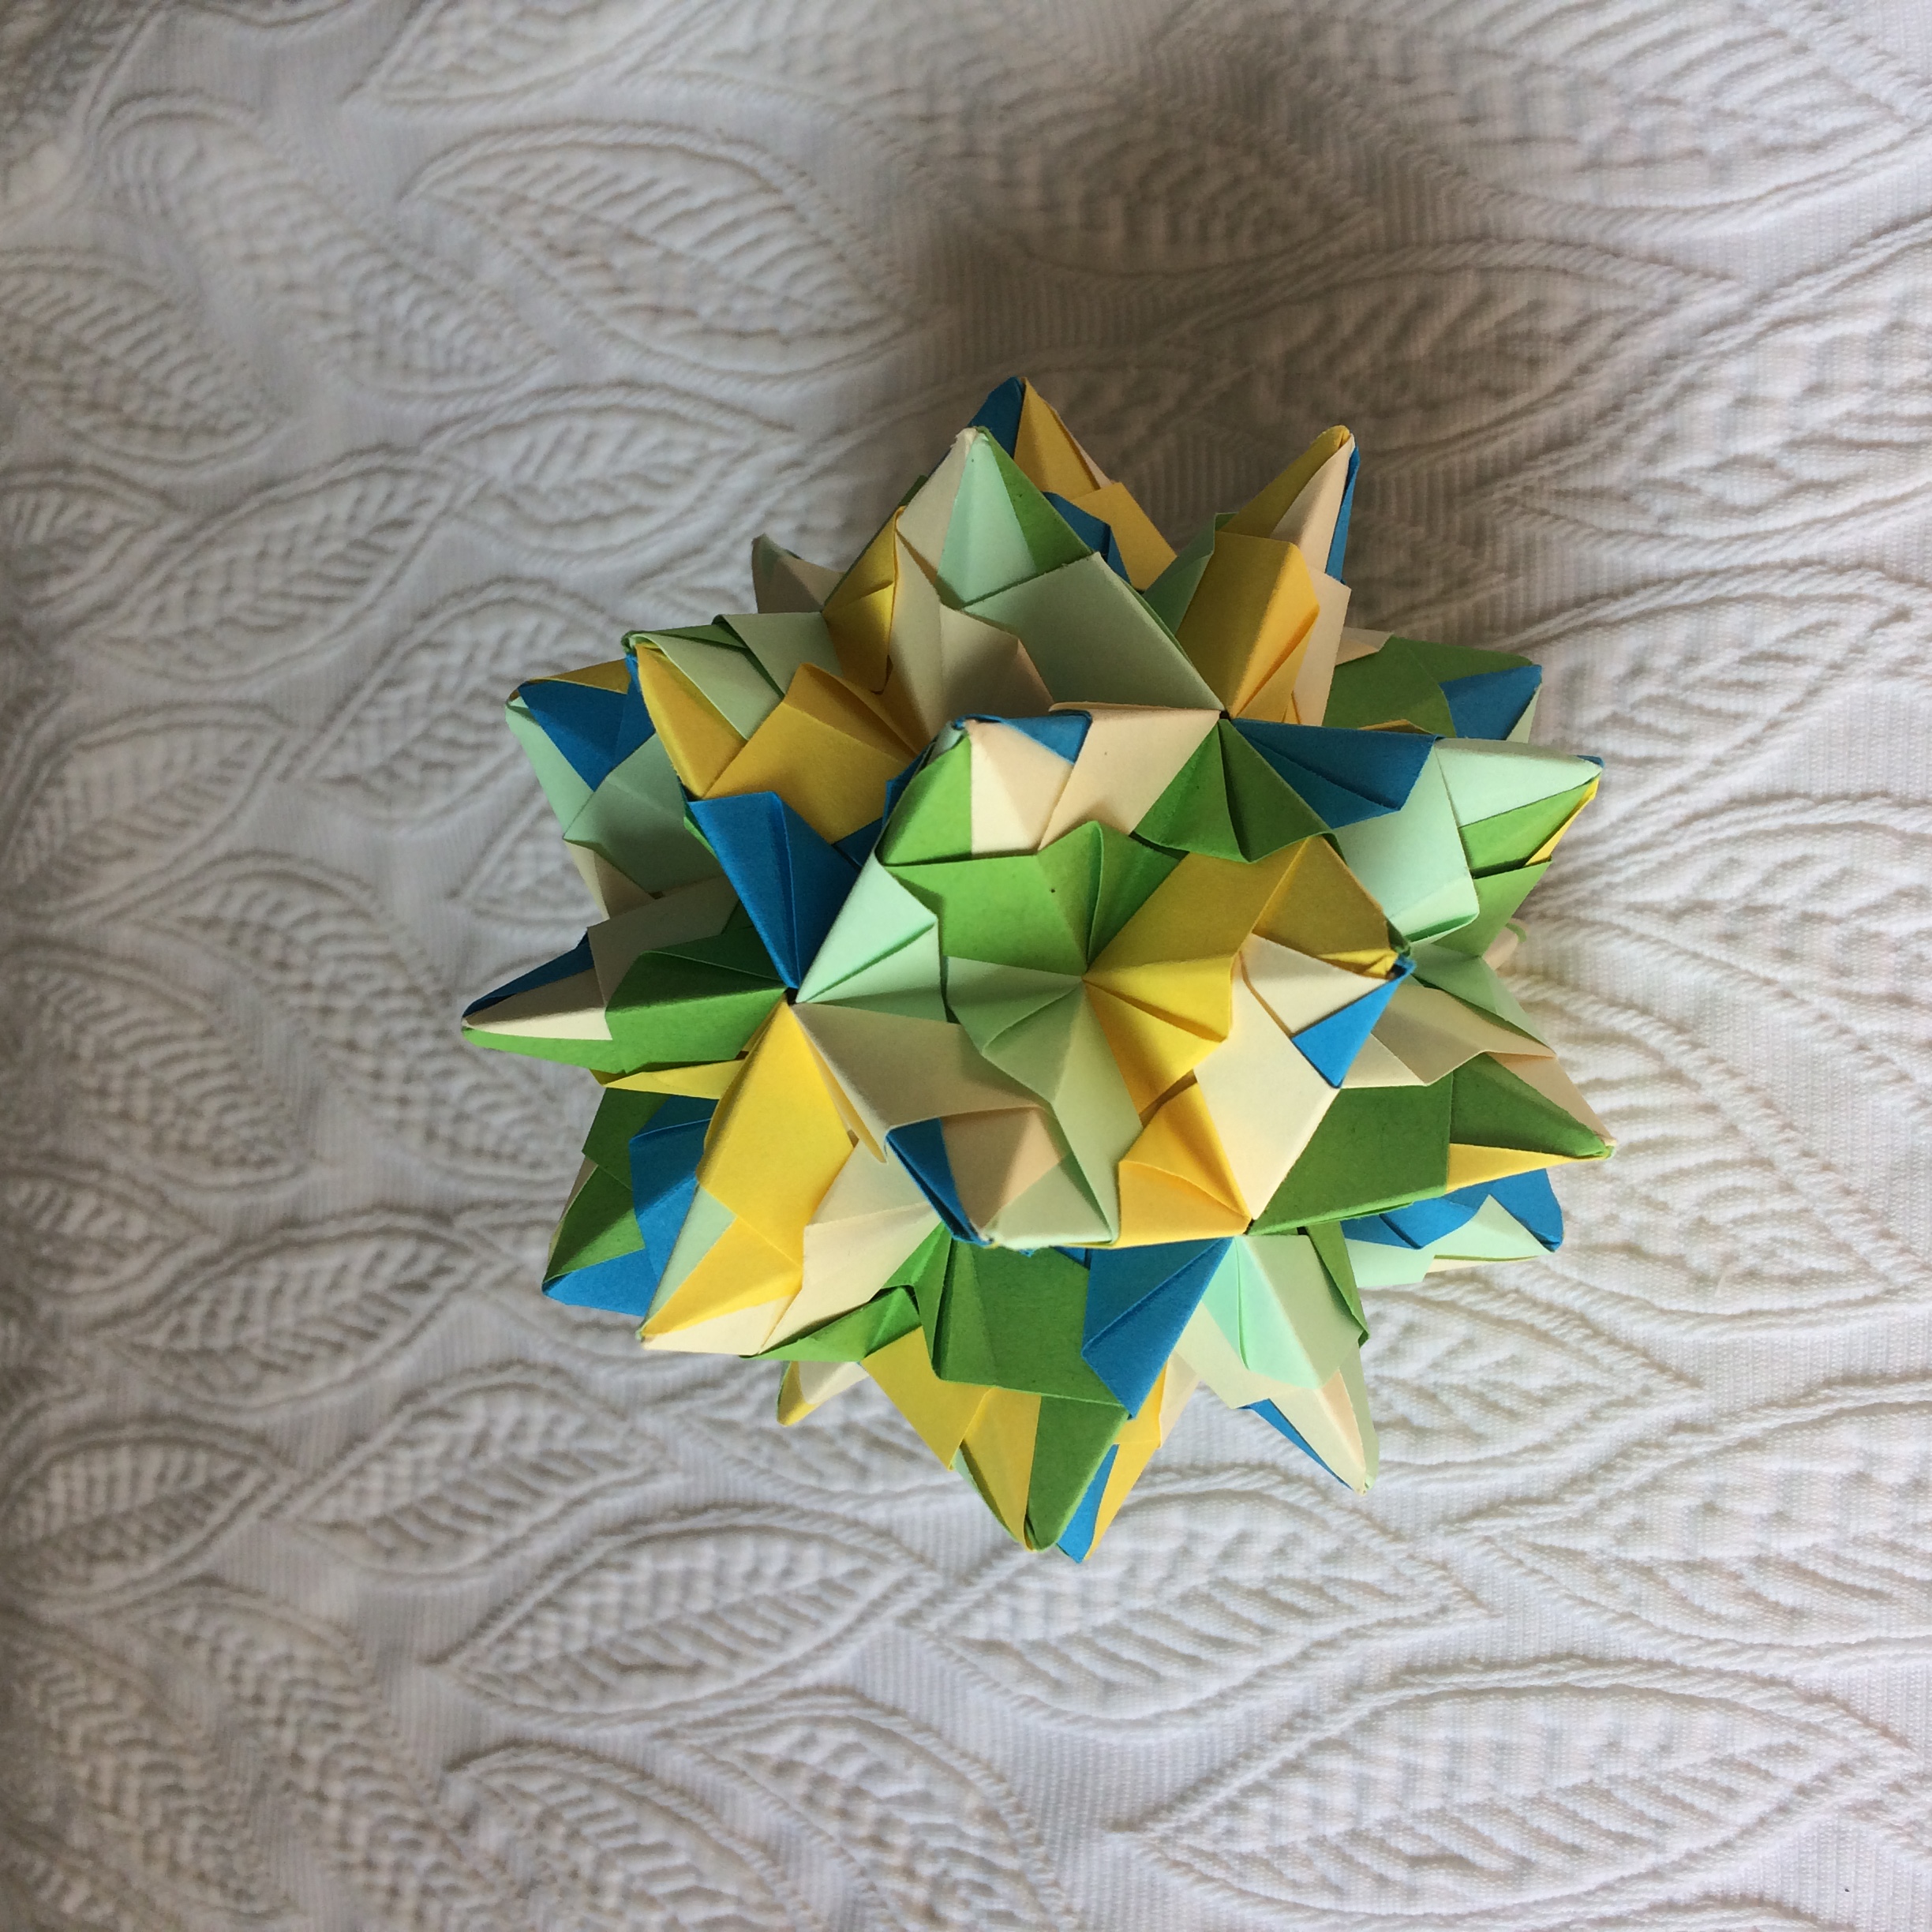
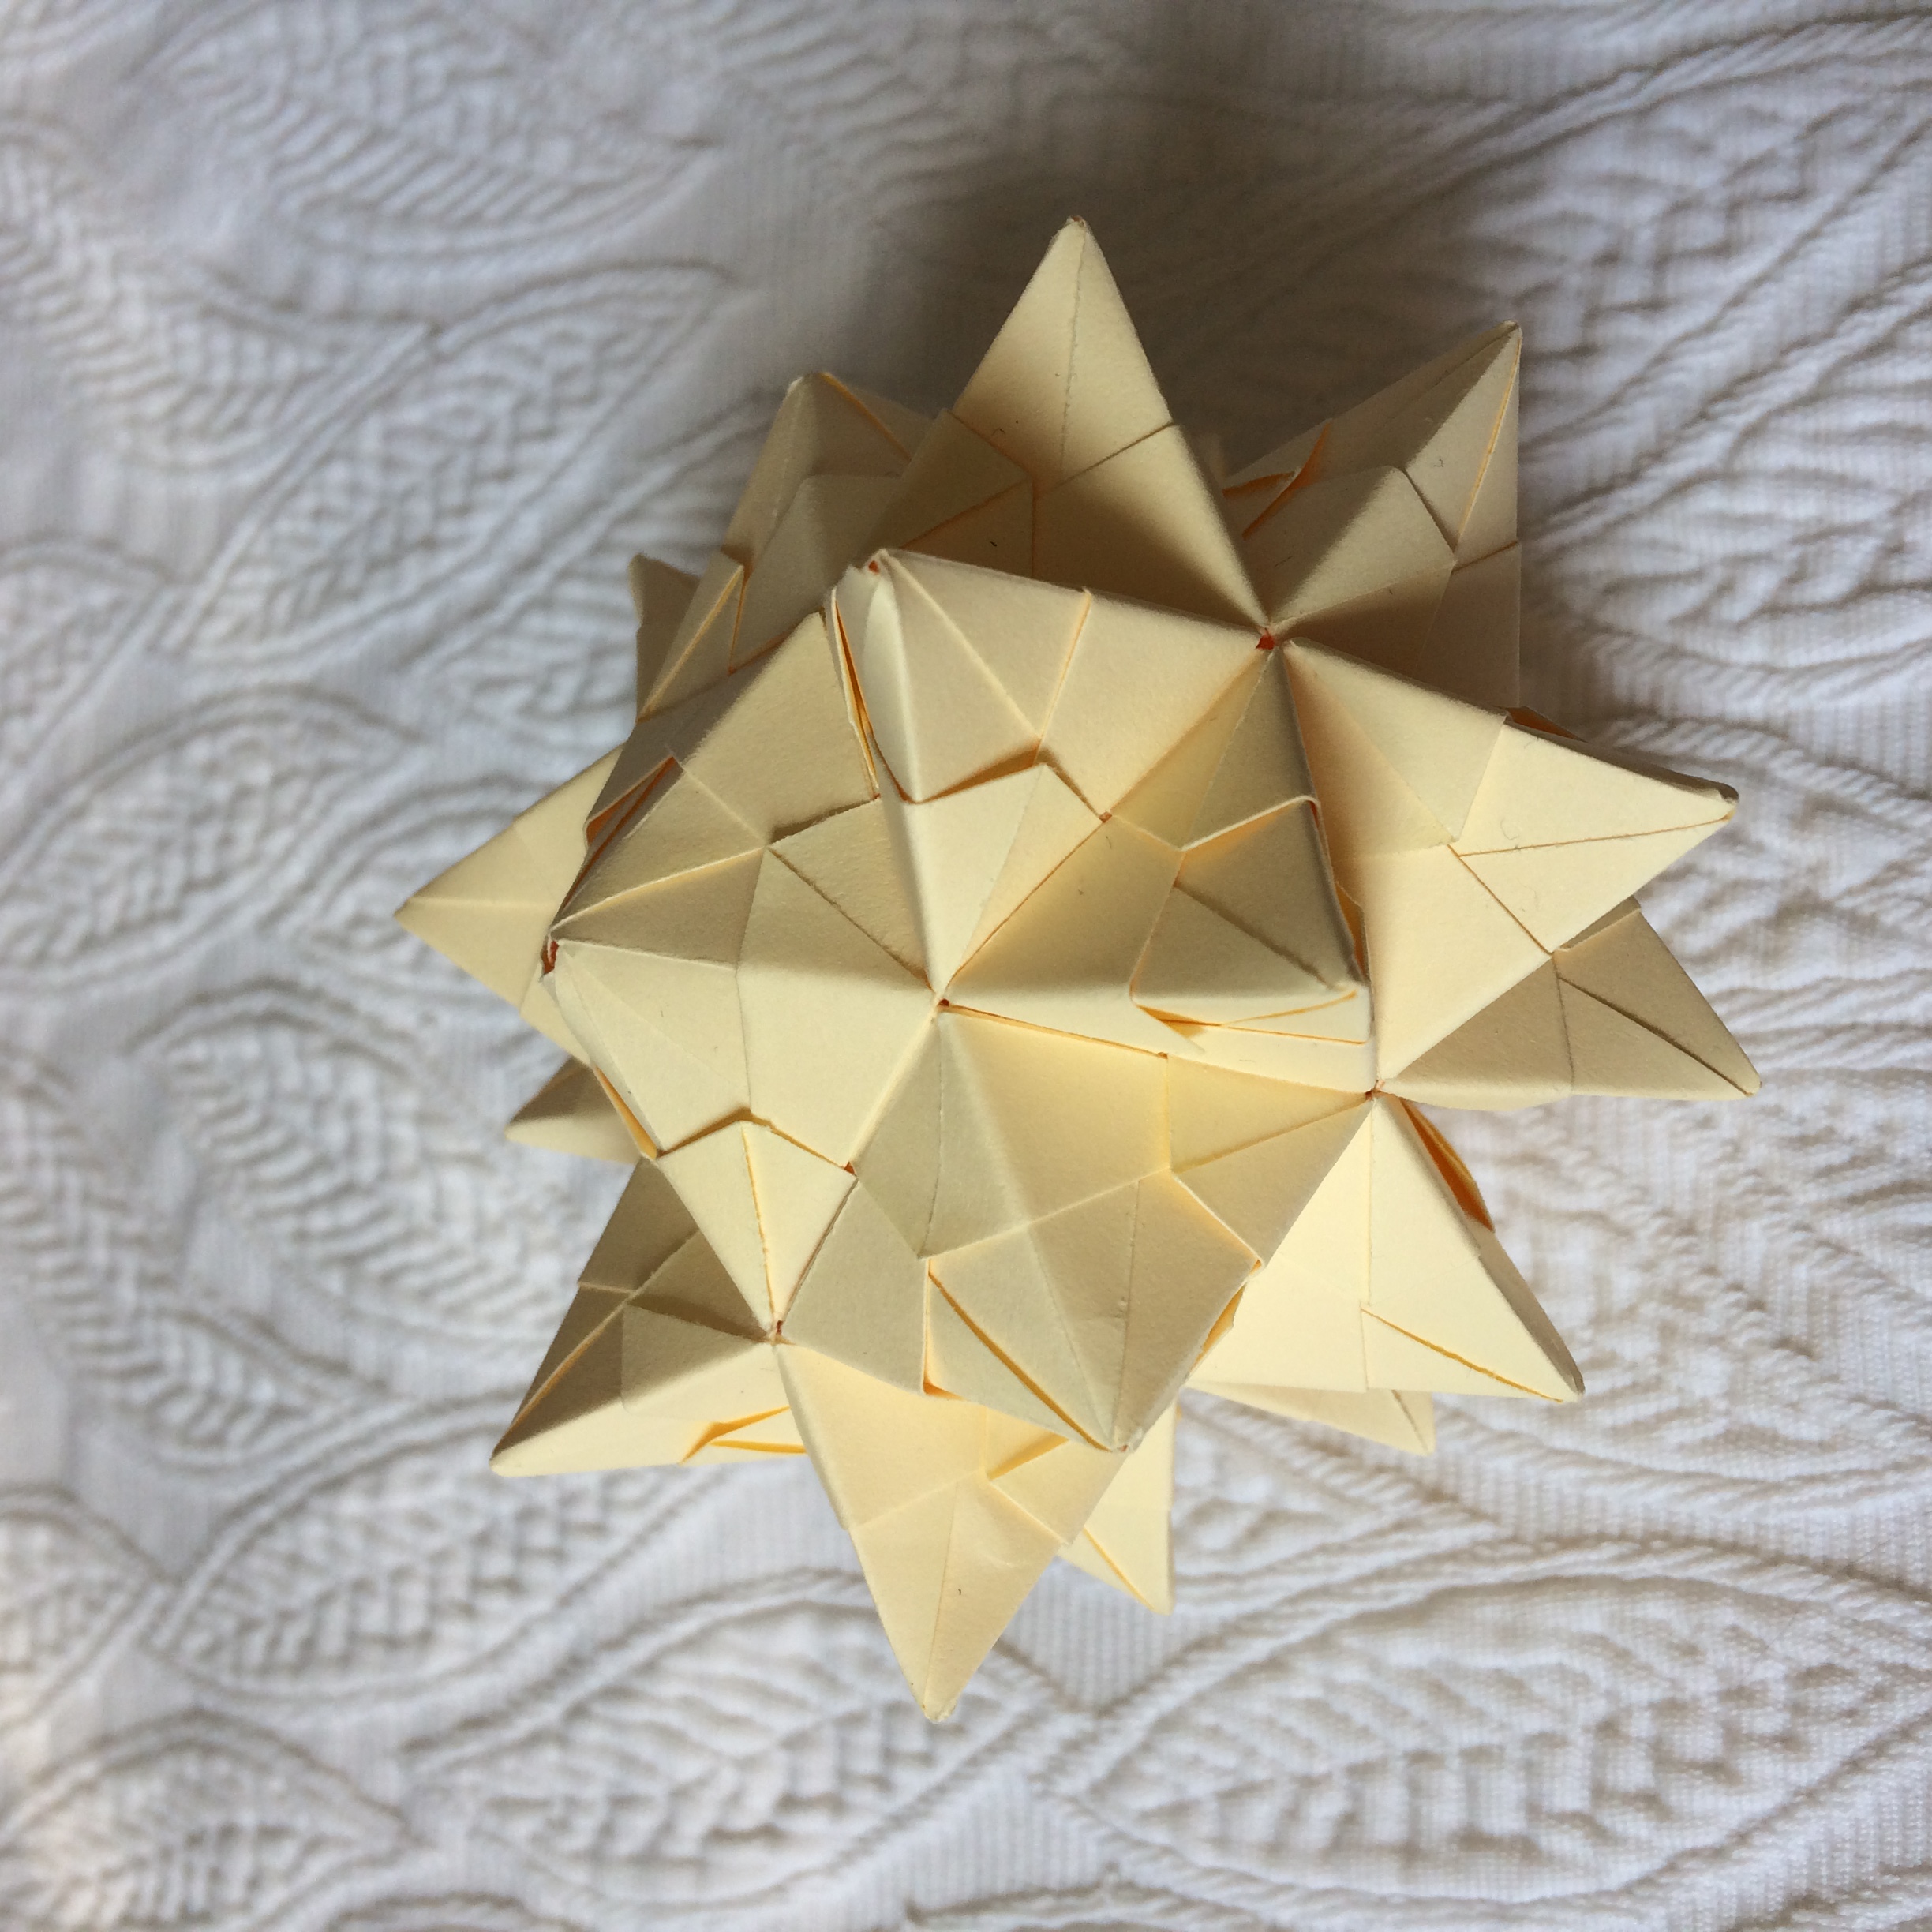
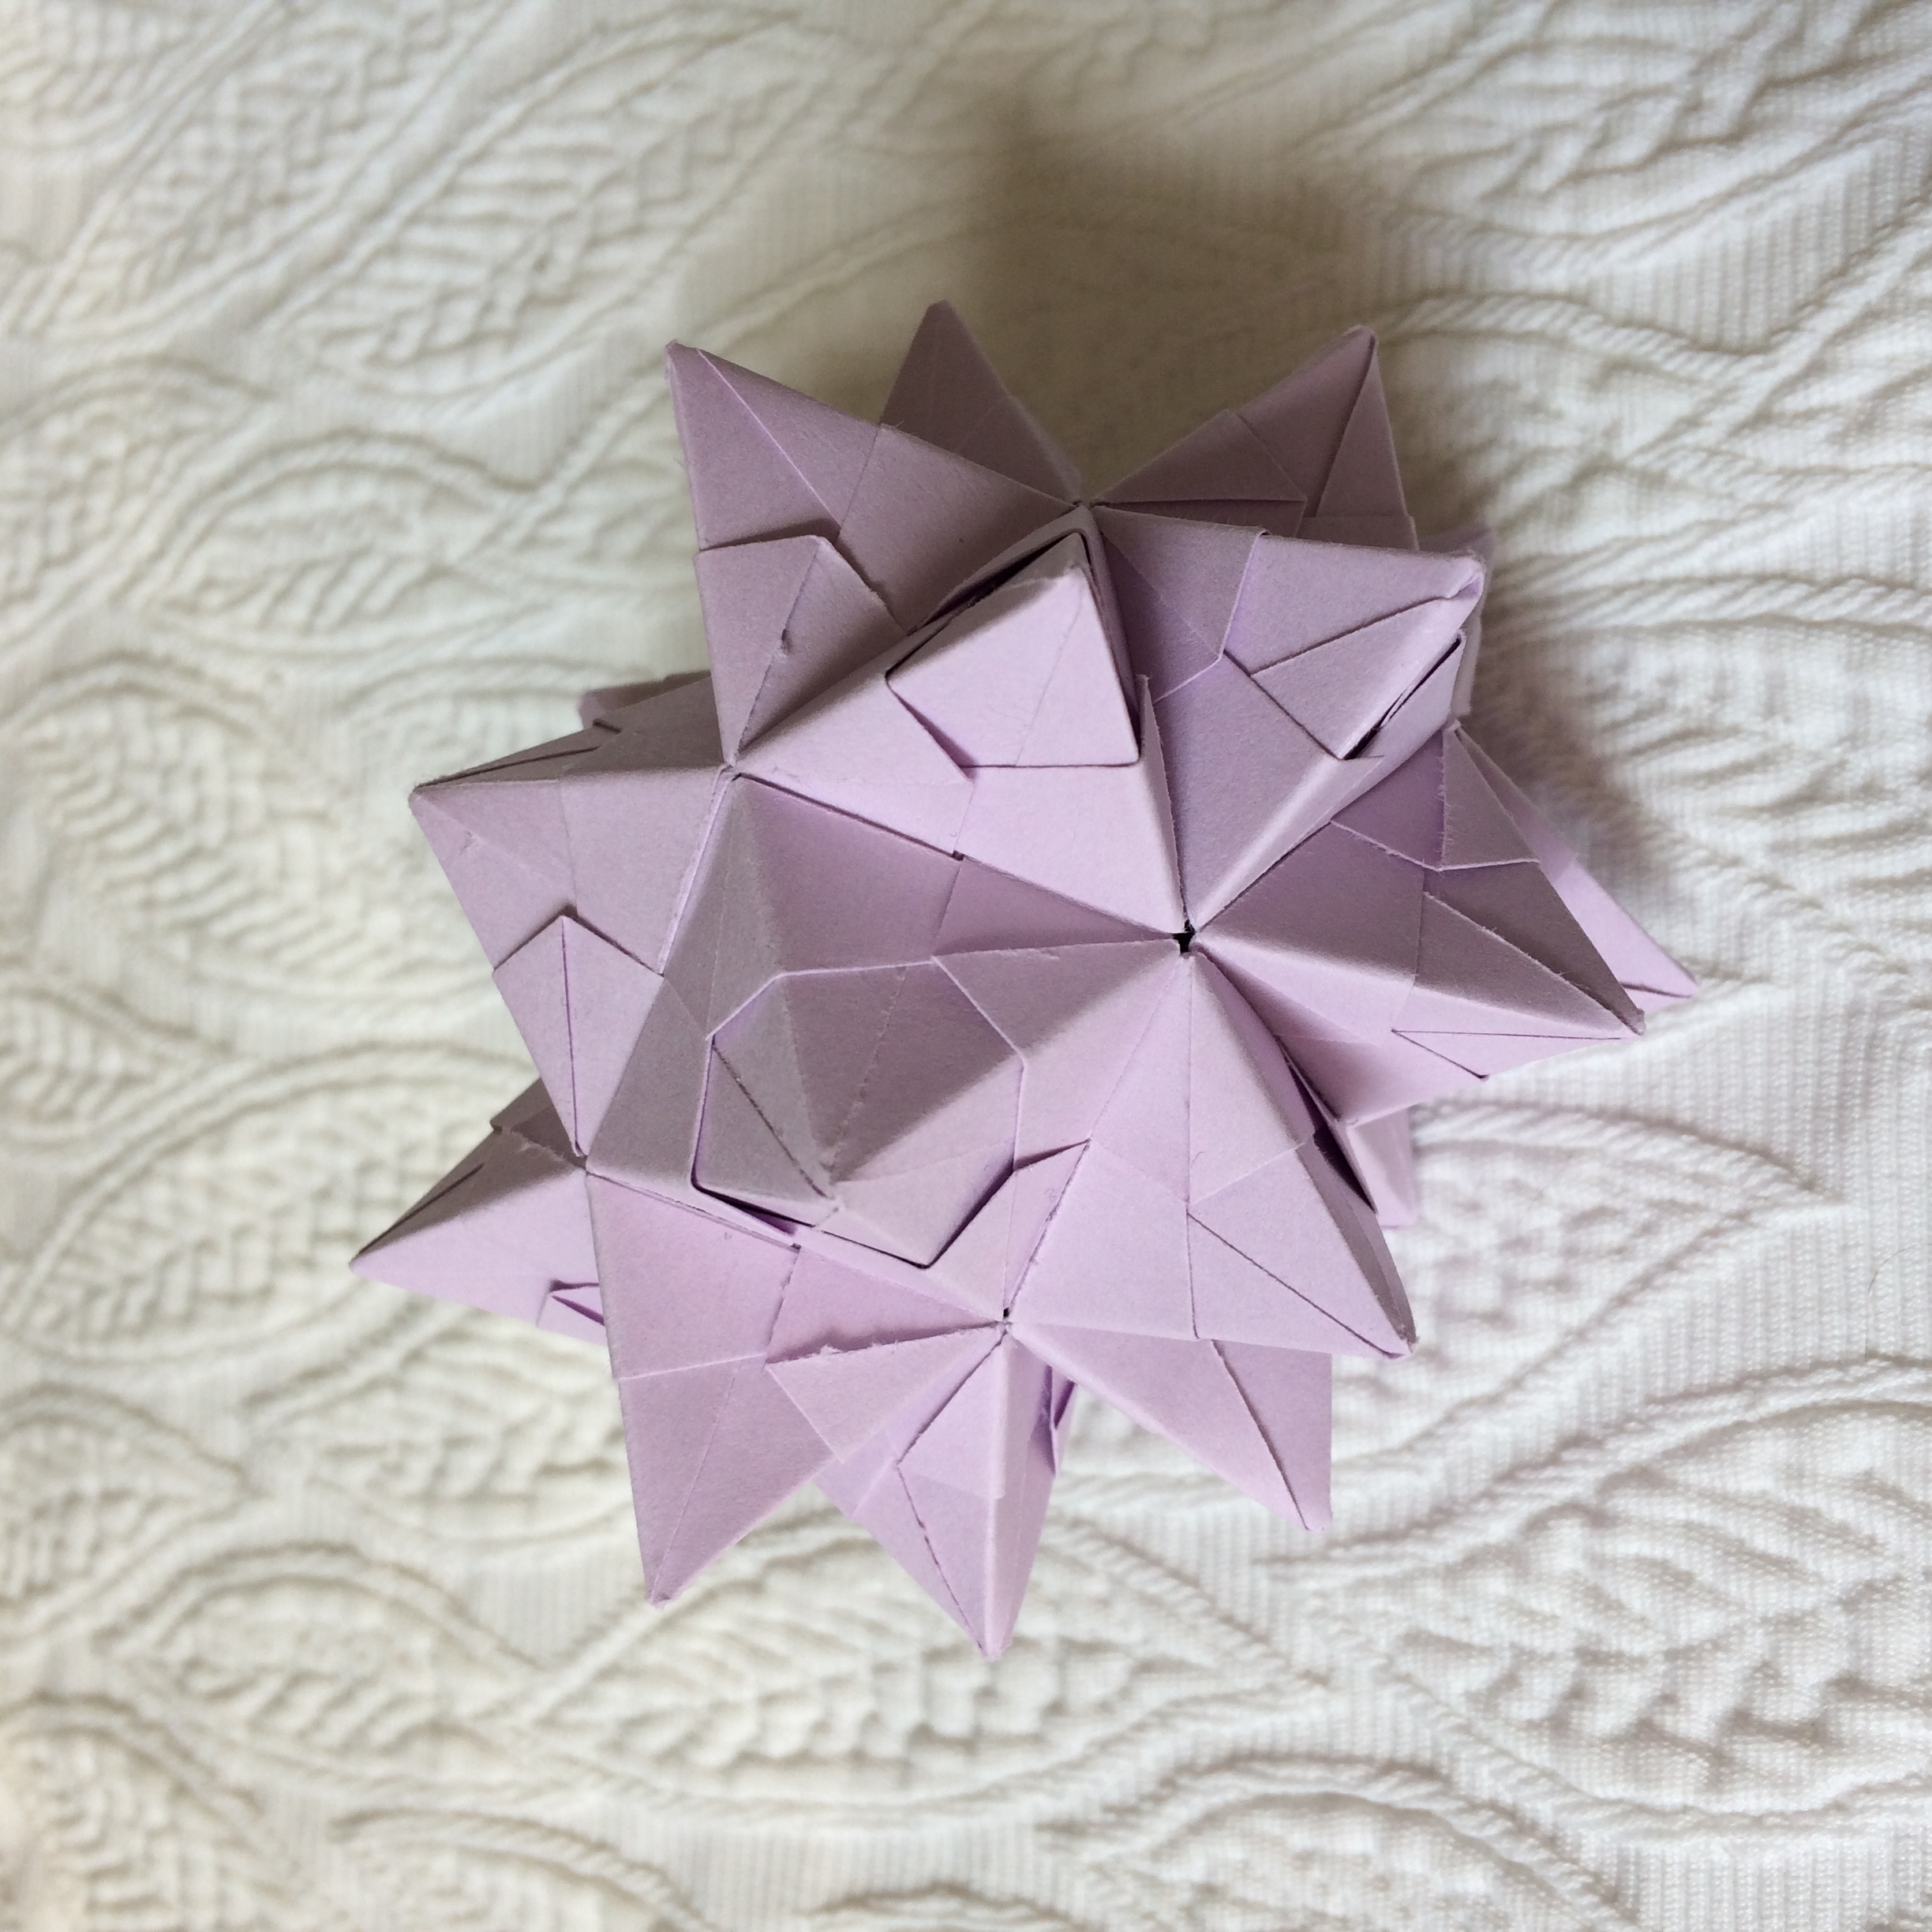
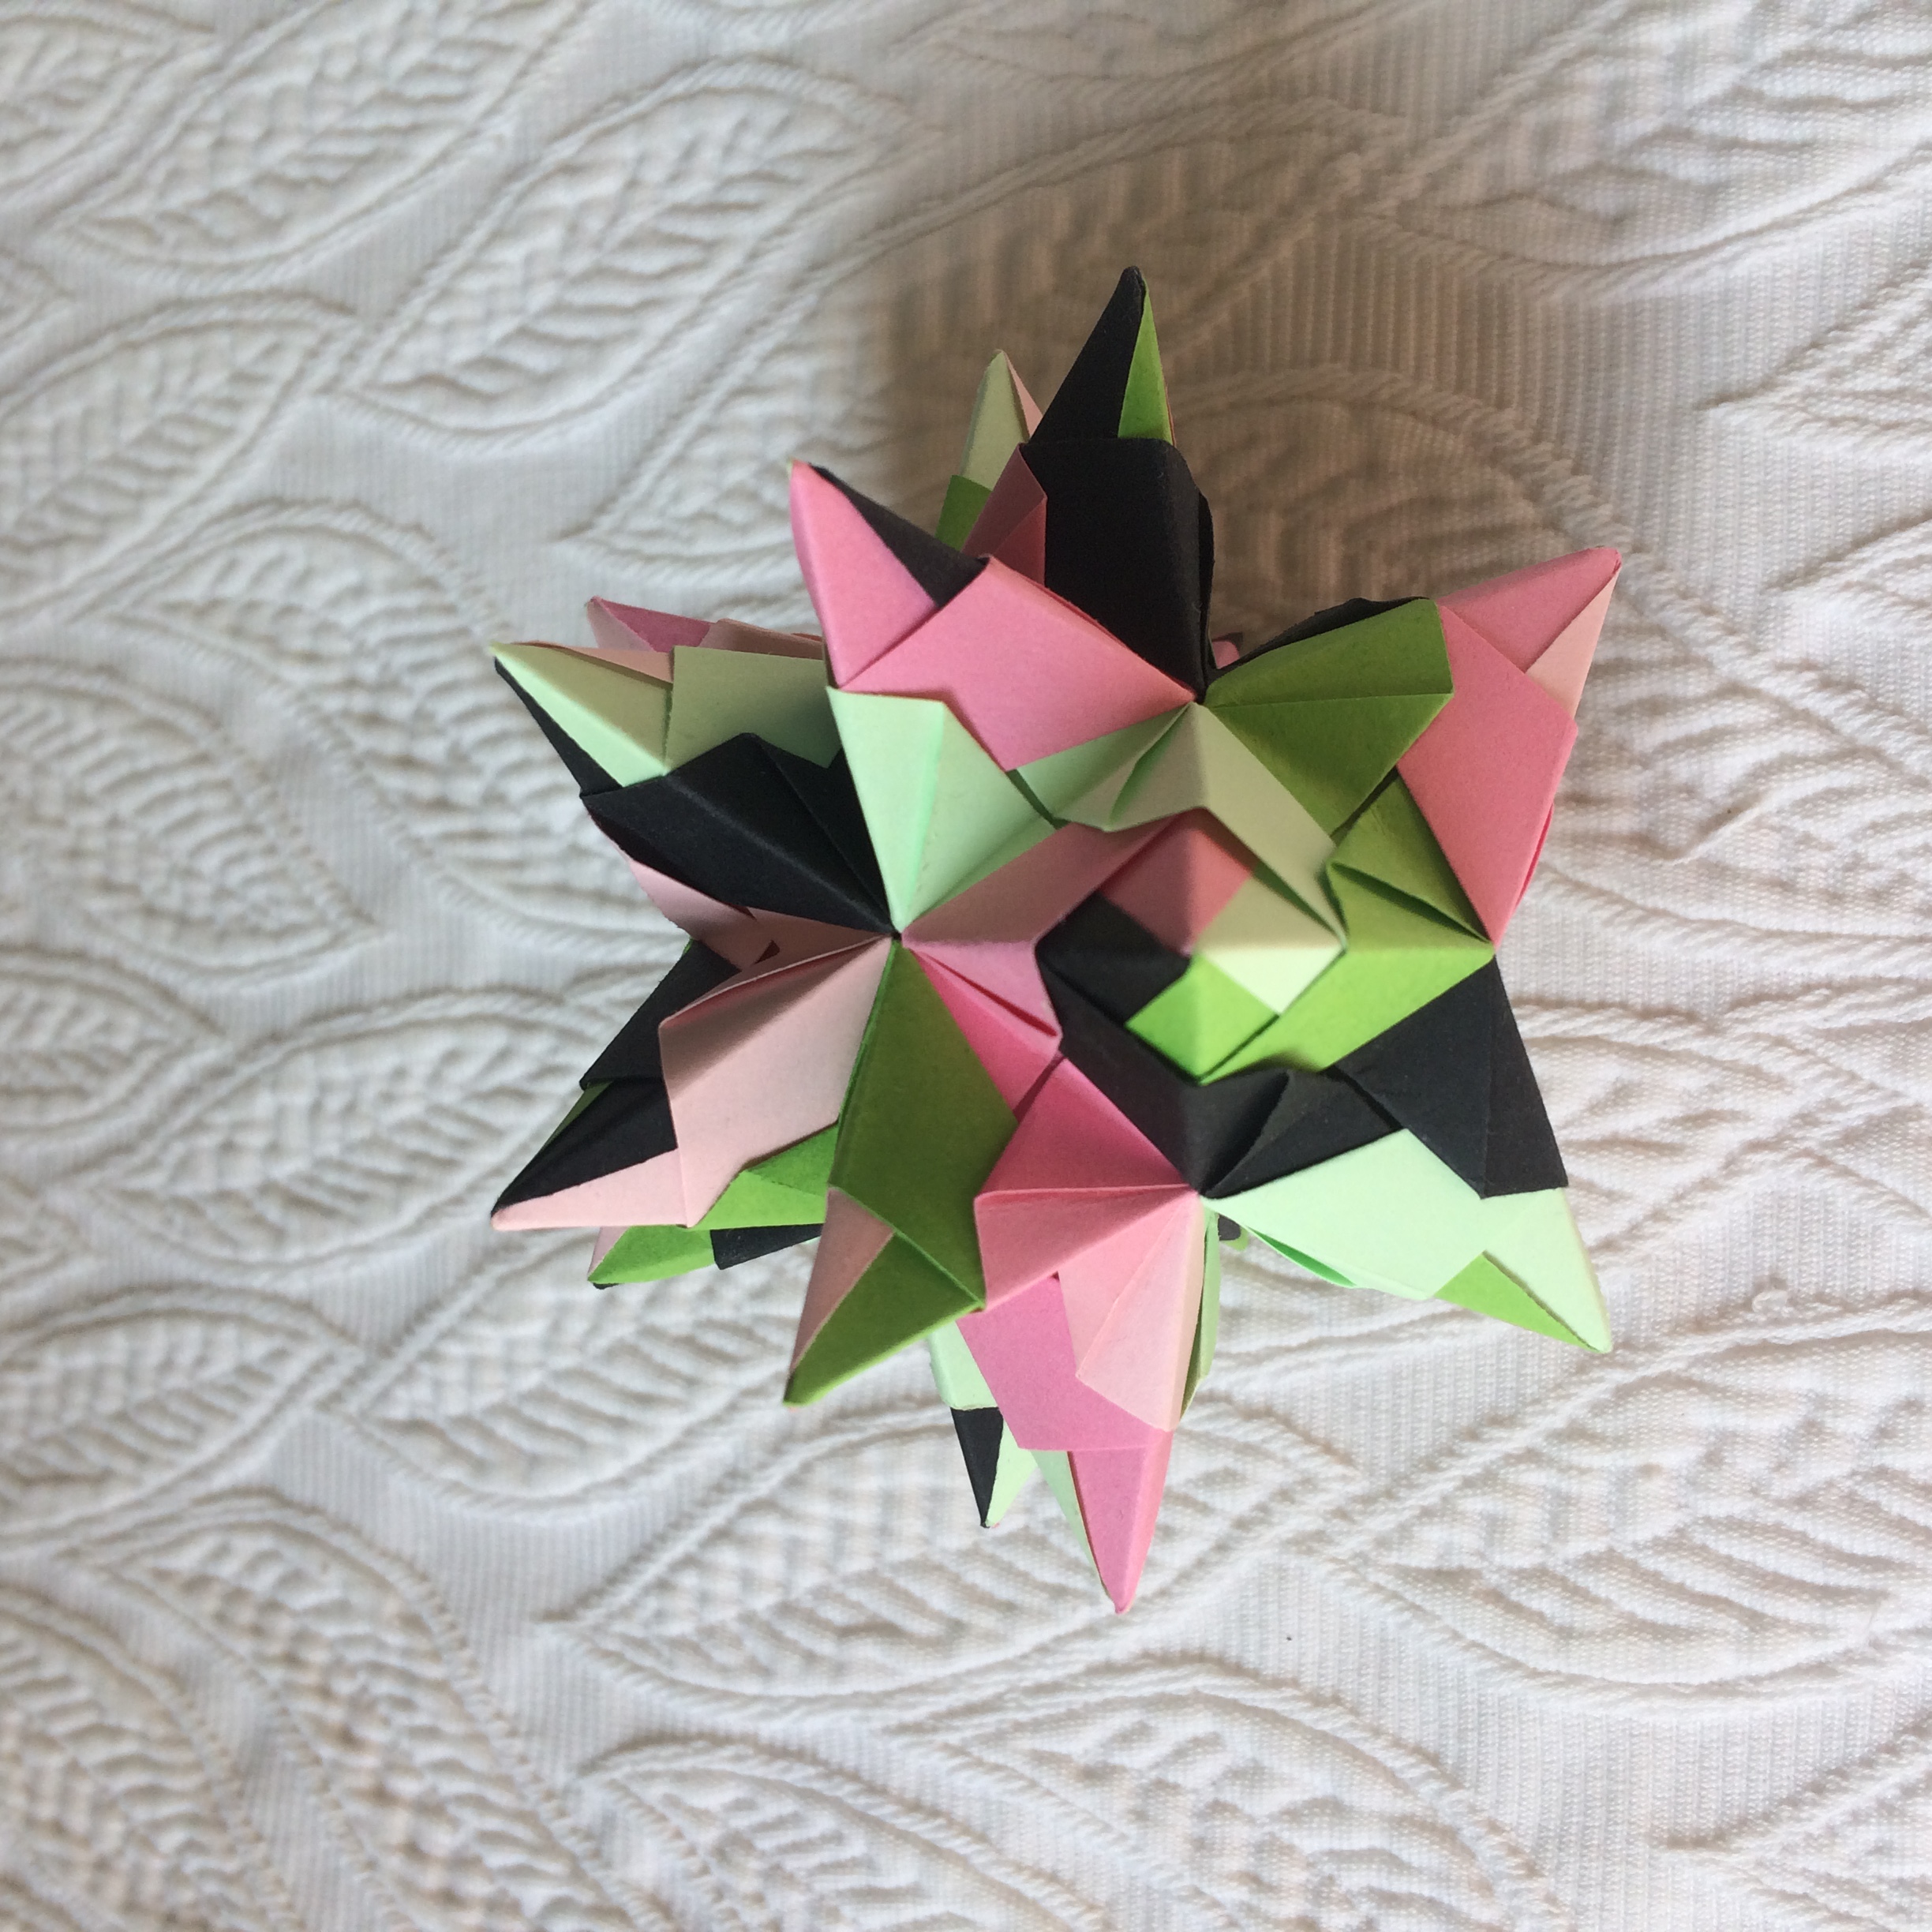
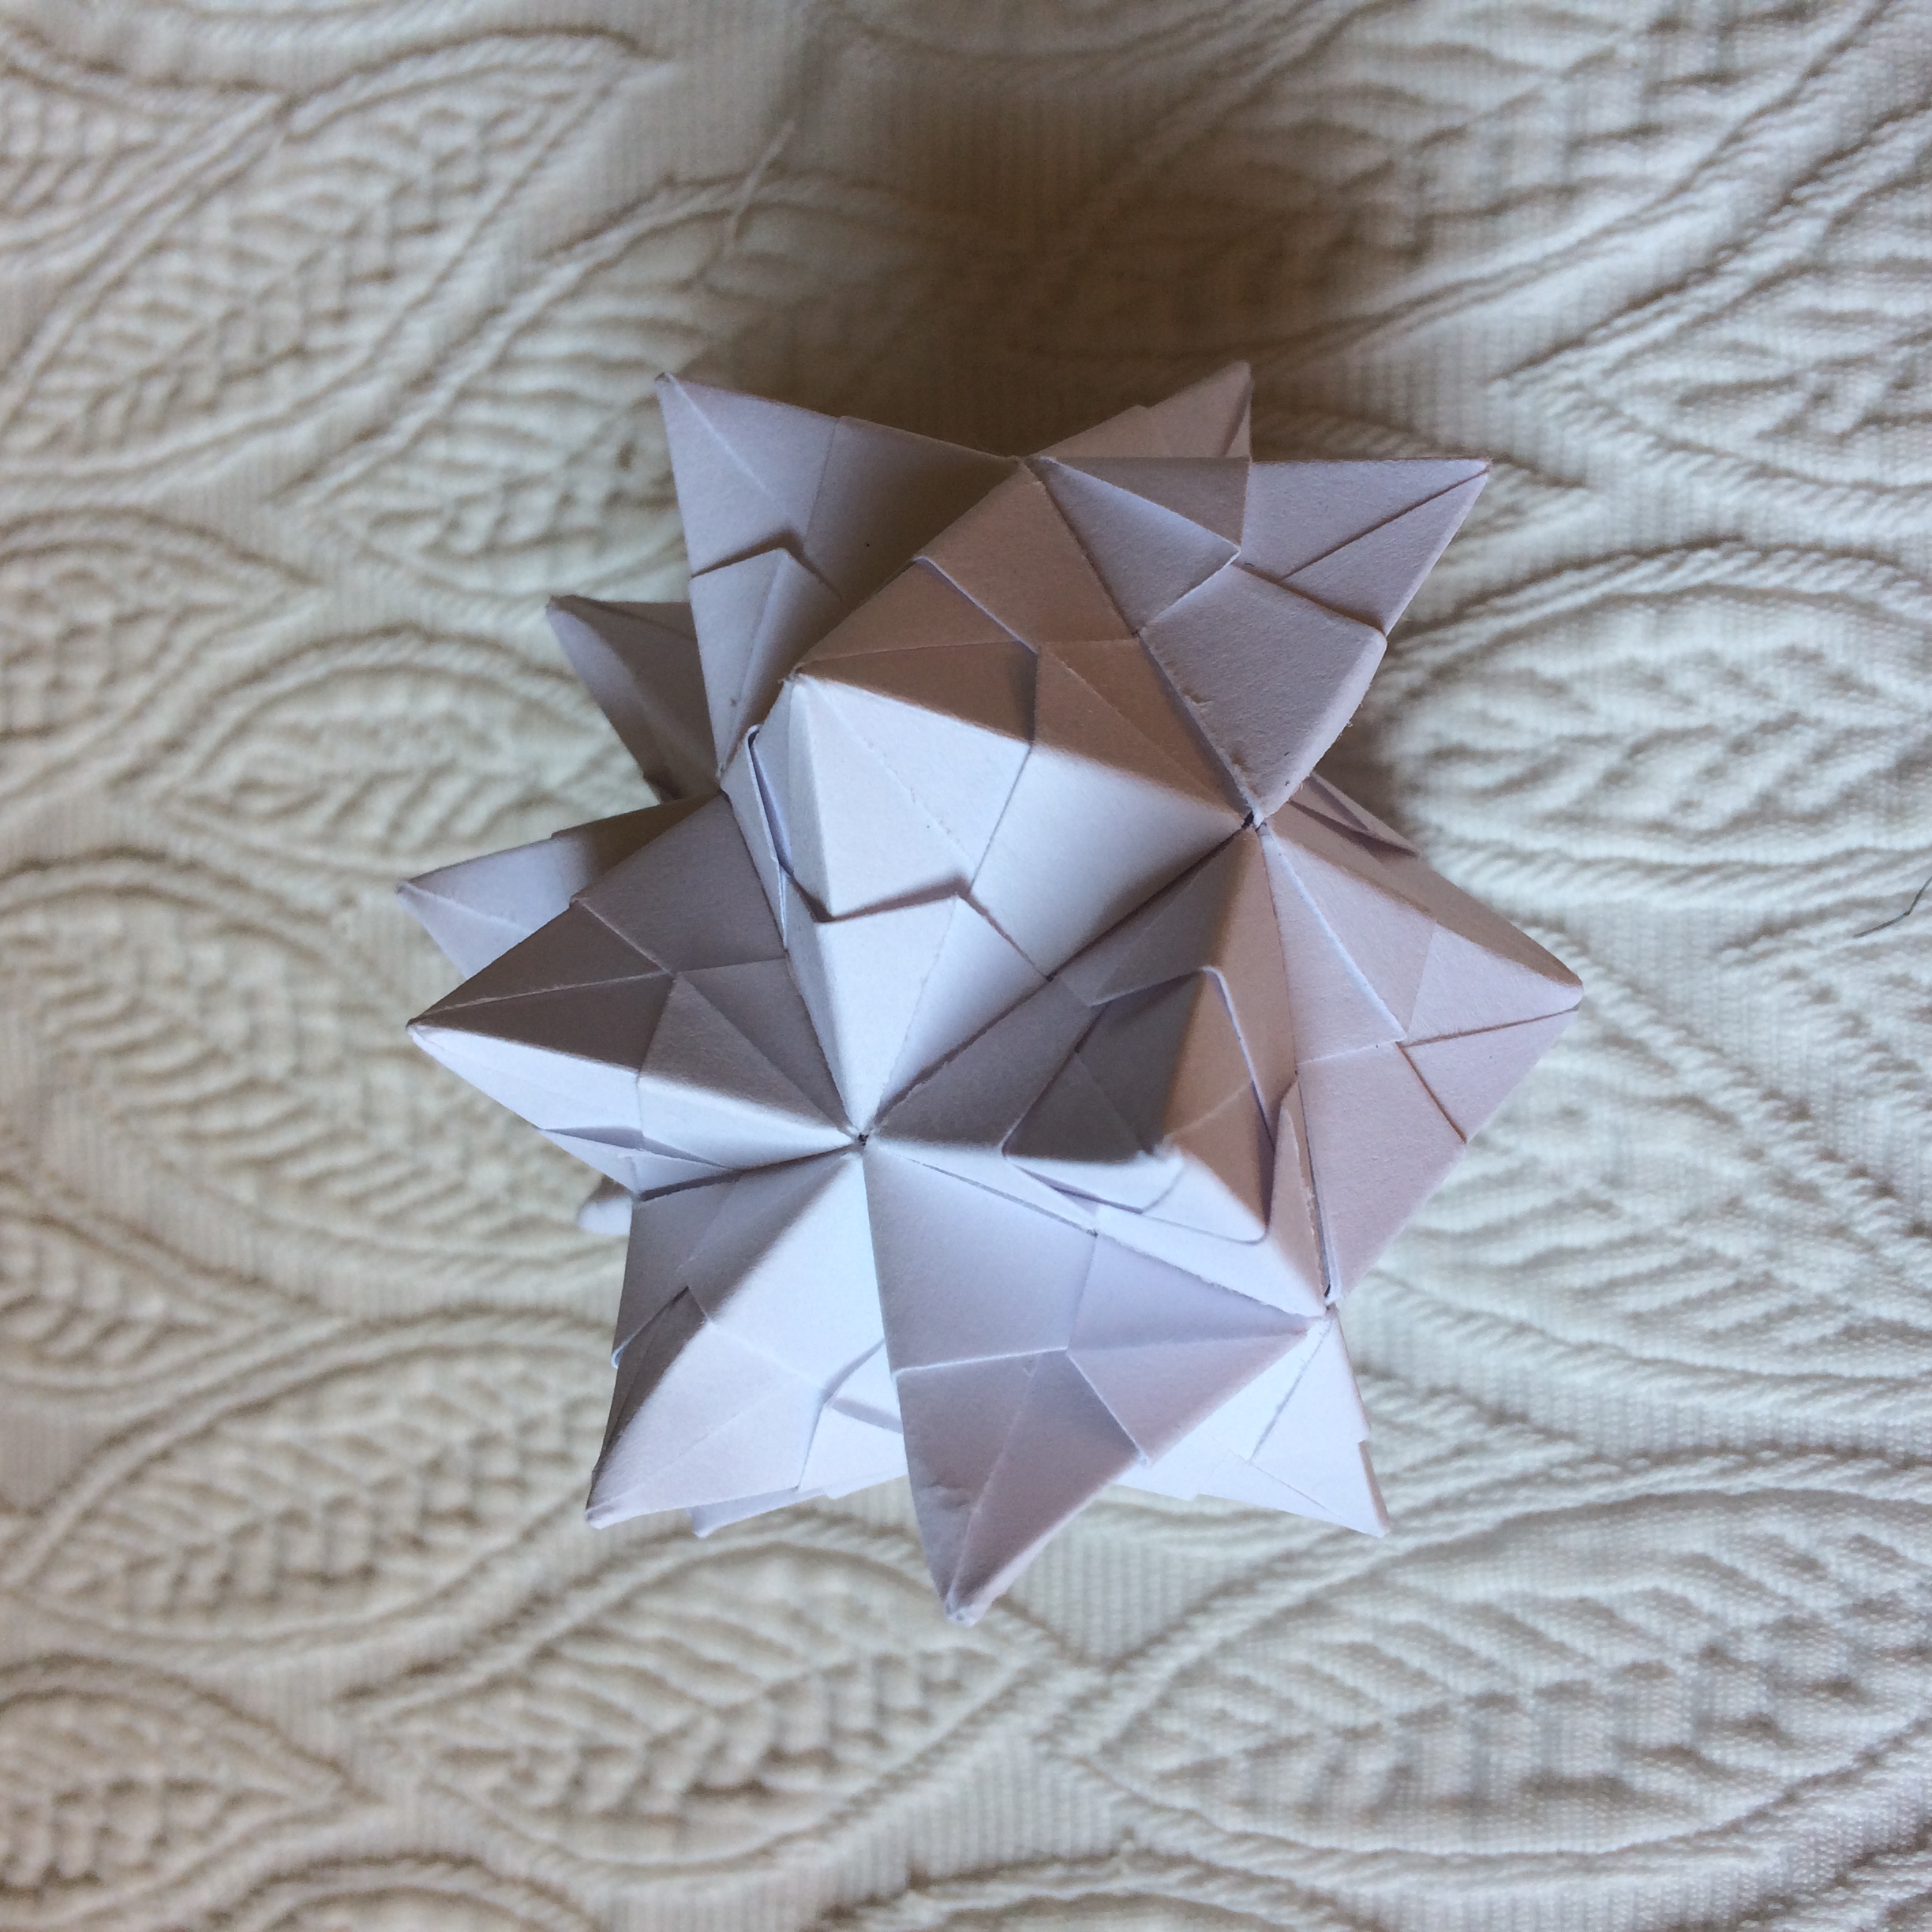
With this modular origami technique, each face of the base solid is replaced with a pyramid which gives it this pointy star-like overall shape.
I call this operation "augmentation". In the end, a module will be part of two pyramids of the origami model
since an edge is at the junction of two faces in the base solid.
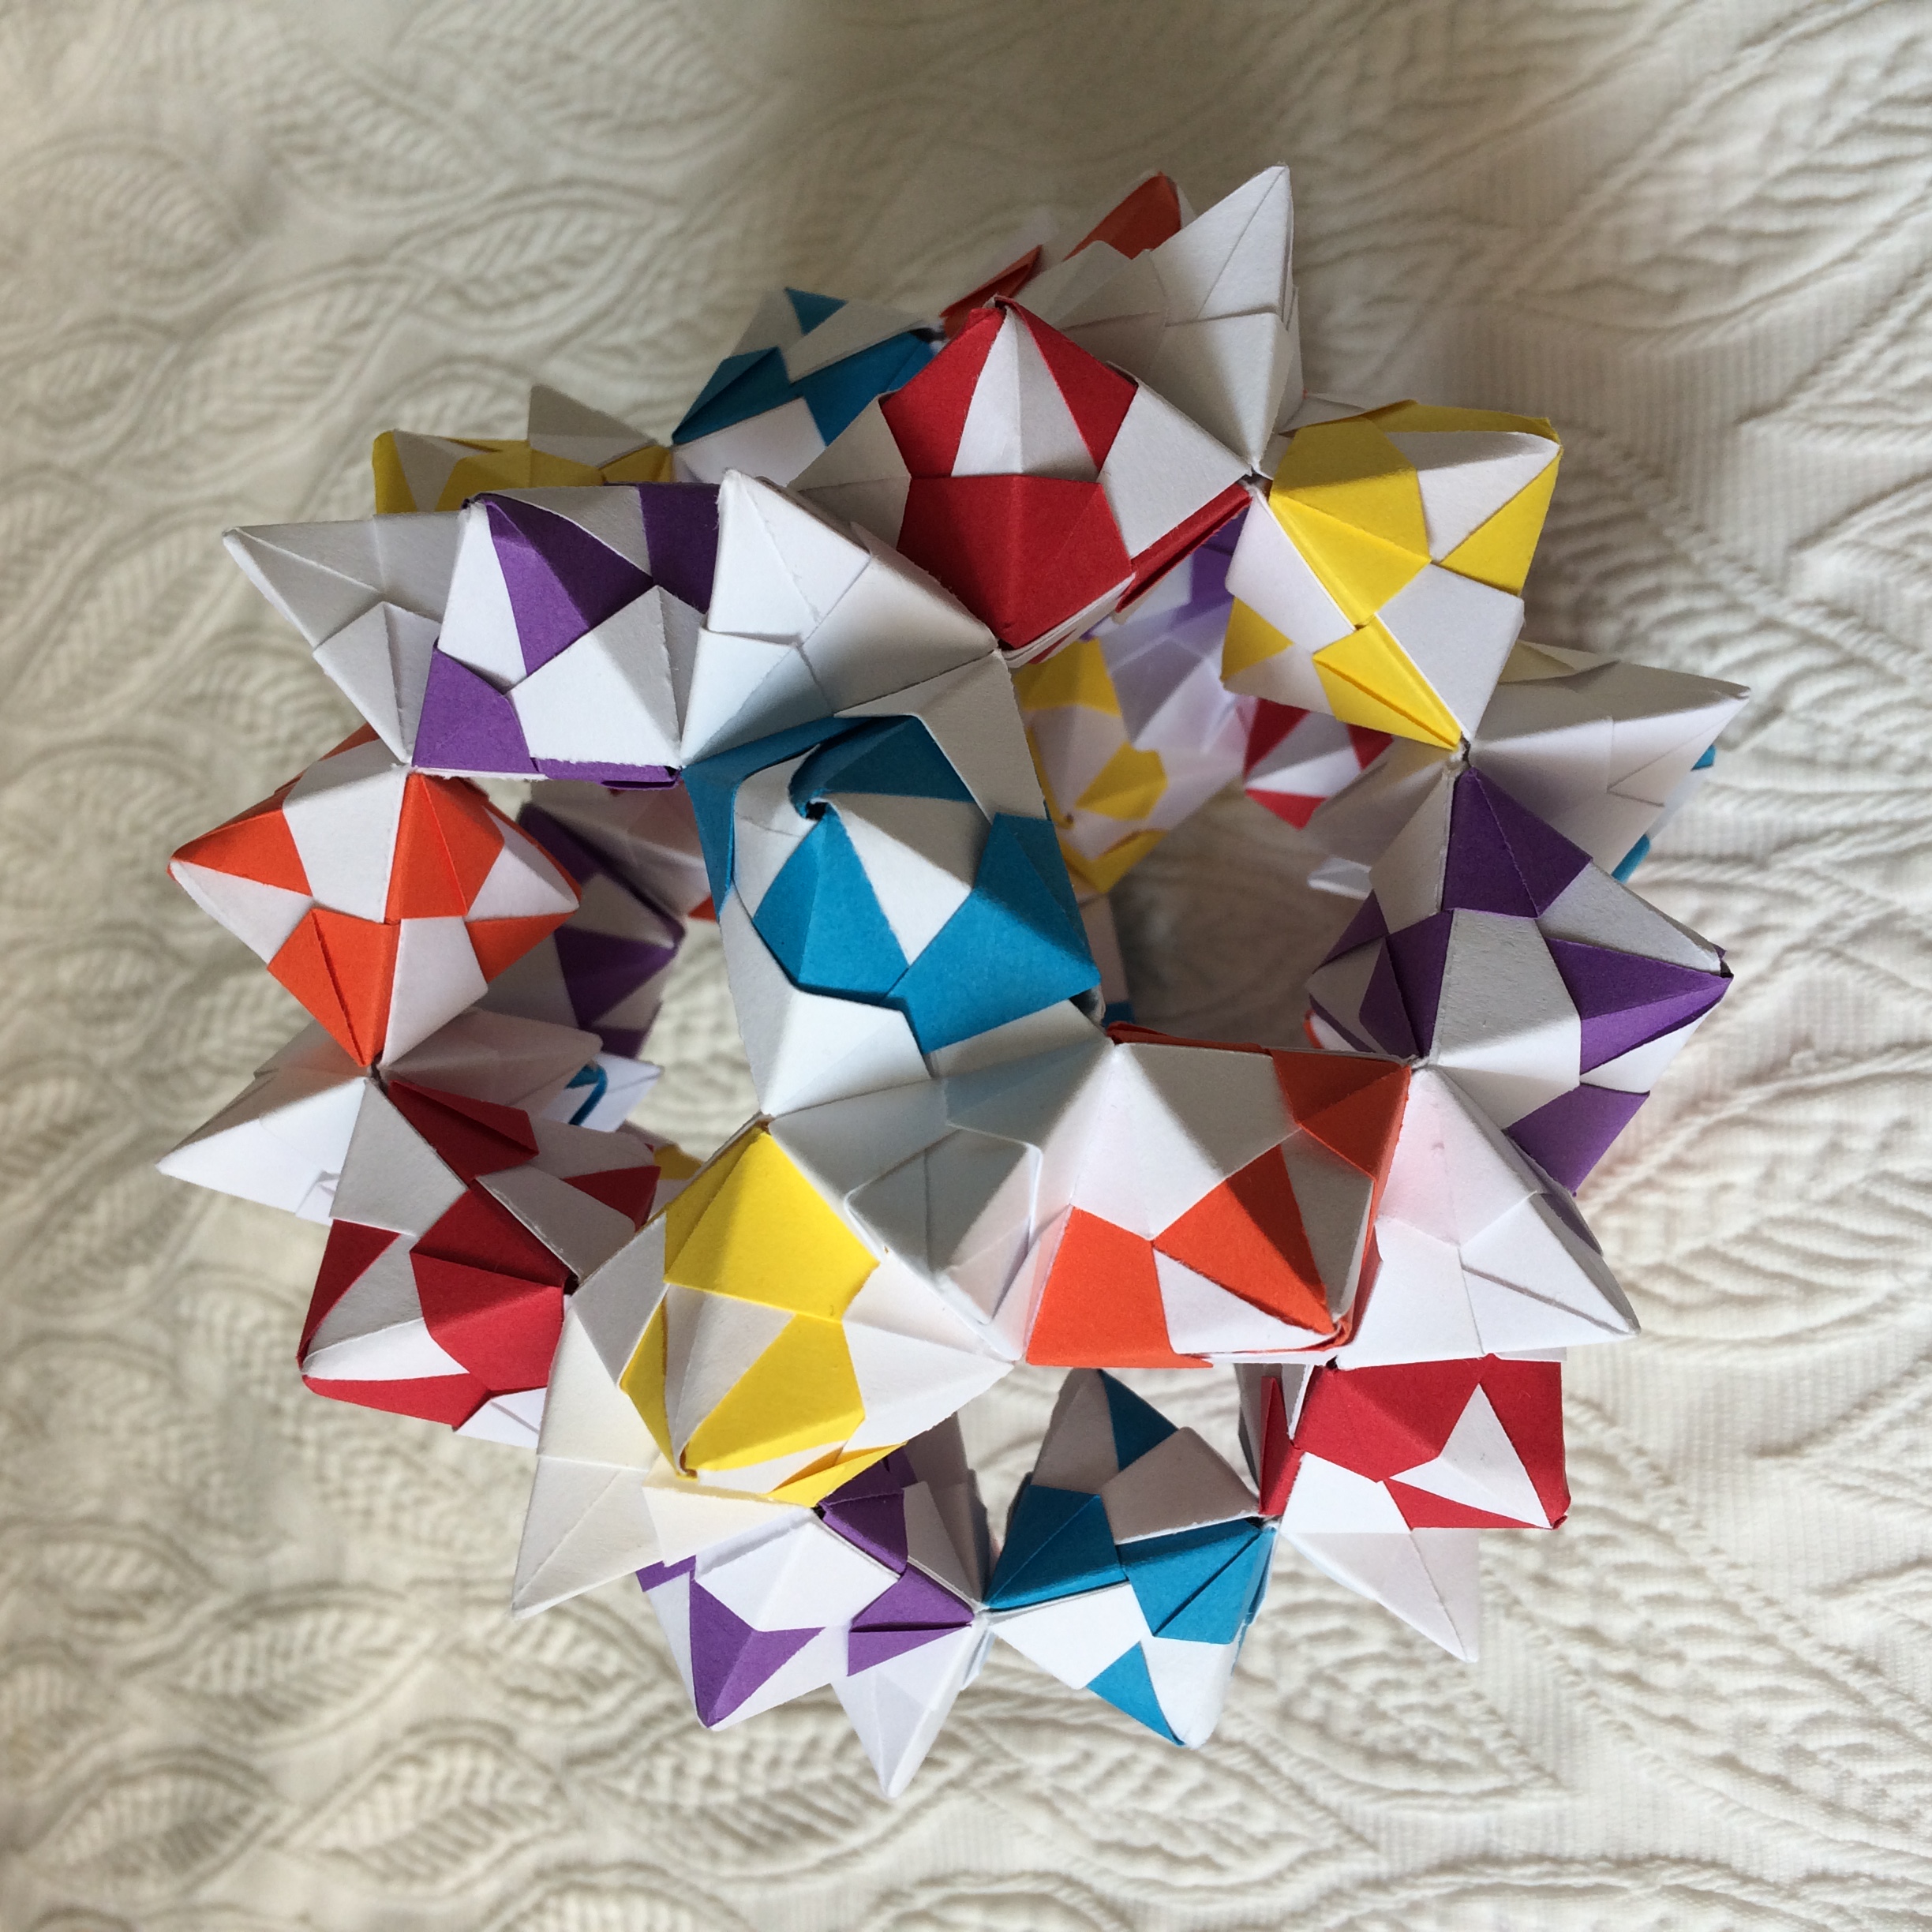
So choosing the colors of each module is exactly the same as choosing the edge colors of the base solid.
Before assembling the model and since I want a specific solo arrangement, I create and color a 2D diagram of the edges of the base solid.
You can already have a look at such diagrams in the previous origami posts.
Finding a proper 2d layout (aka embedding) for the base solid such that edges do not cross each other is always possible because the graph of the base solid is planar.
I use an automatic method to find this layout called the Tutte embedding.
Then, I color the diagram so that no two edges of the same color are part of the same face or join at the same vertex of the base solid.
Solving this problem also relies on graph theory, a new graph, the edge graph, is created where each node corresponds to an edge of the base solid and two nodes are connected if the corresponding edges of the base solid must be of different color.
I use a graph color library in Python that finds a solution where the minimal number of color is used.
However, I have two problems with this procedure : first, I have not found a proper way to ensure a chosen symmetry in the coloring.
Technically, this new constraint will simply be expressed as new connections in the edge graph. Where to connect and how to detect the symmetries is the hard part.
The coloring solver produces the first valid solution and leaves the rest, some solution may be more balanced in the repartition of colors or aesthetically pleasing (like the symmetric ones).
As an output, I get a geometry OFF file which is the same as the original input but with an additional color for each edge.
For the next step, I used to have a Python script to would generate the augmented model. It would set the length of the edges of the base mesh to one, then add a pyramid on each face with an approximately correct height,
and finally solve for the positions of the vertices to keep the unit length for the edges of the base mesh and have the edges of the pyramids equal to the edge ratio computed from the tip angle.
As a reminder, the edge ratio is 1/(2*sin(tipAngle/2)) and for Bascetta module, the tip angle is 45°.
For the online viewer, my requirements are to be able to load the base mesh, to color its edges automatically or manually and to compute the augmented model.
Additionally, I thought it would be quite neat to improve the rendered aspect so that the final faces are not simply flat but look like the real model as much as possible where the modules are intertwined together.
To this end, I had to properly model the folding procedure of the module to have the correct geometry and texture coordinates to be able to later apply some patterned textures onto the modules.
You can check the viewer here :
I have included a catalog of solids based on the ones I could make or easily create numerically.
Please note that the solving procedure may fail for some modules, probably because the tip angle is too large and the real model is not feasible. In this case, try a smaller tip angle.
I will keep a list of features here for my future self:
☑ import a user mesh
☐ export the colored base solid as an OFF file
☐ export the augmented model
☑ have a browsable catalog of solids already available
☑ solve for the stellated mesh
☑ display the various modules (Bascetta + Becker 45,60,30,36,22.5)
☐ have the correct texture coordinates for all the modules
☐ have the correct geometry for all the modules
☑ display different textures based on the coloring
☑ have a texture editor
☑ edit the edge colors
To keep an history of the advancement of the project, here is the first version of the viewer
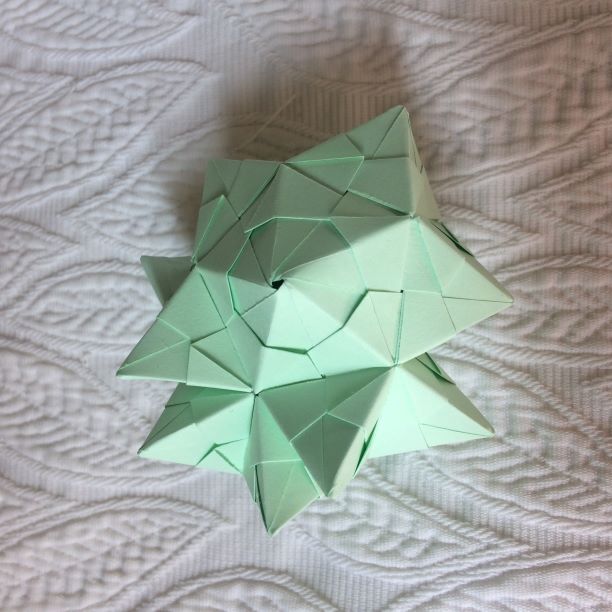
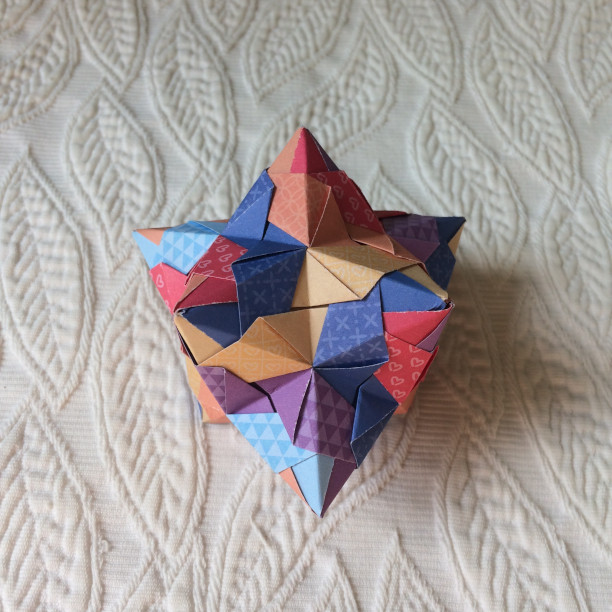
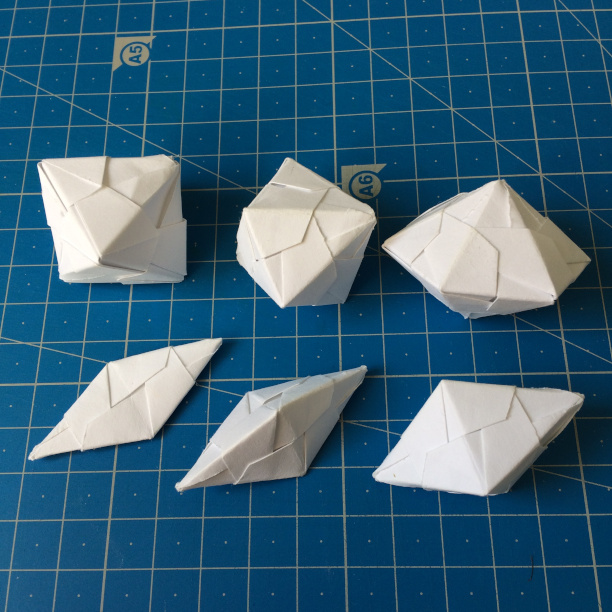
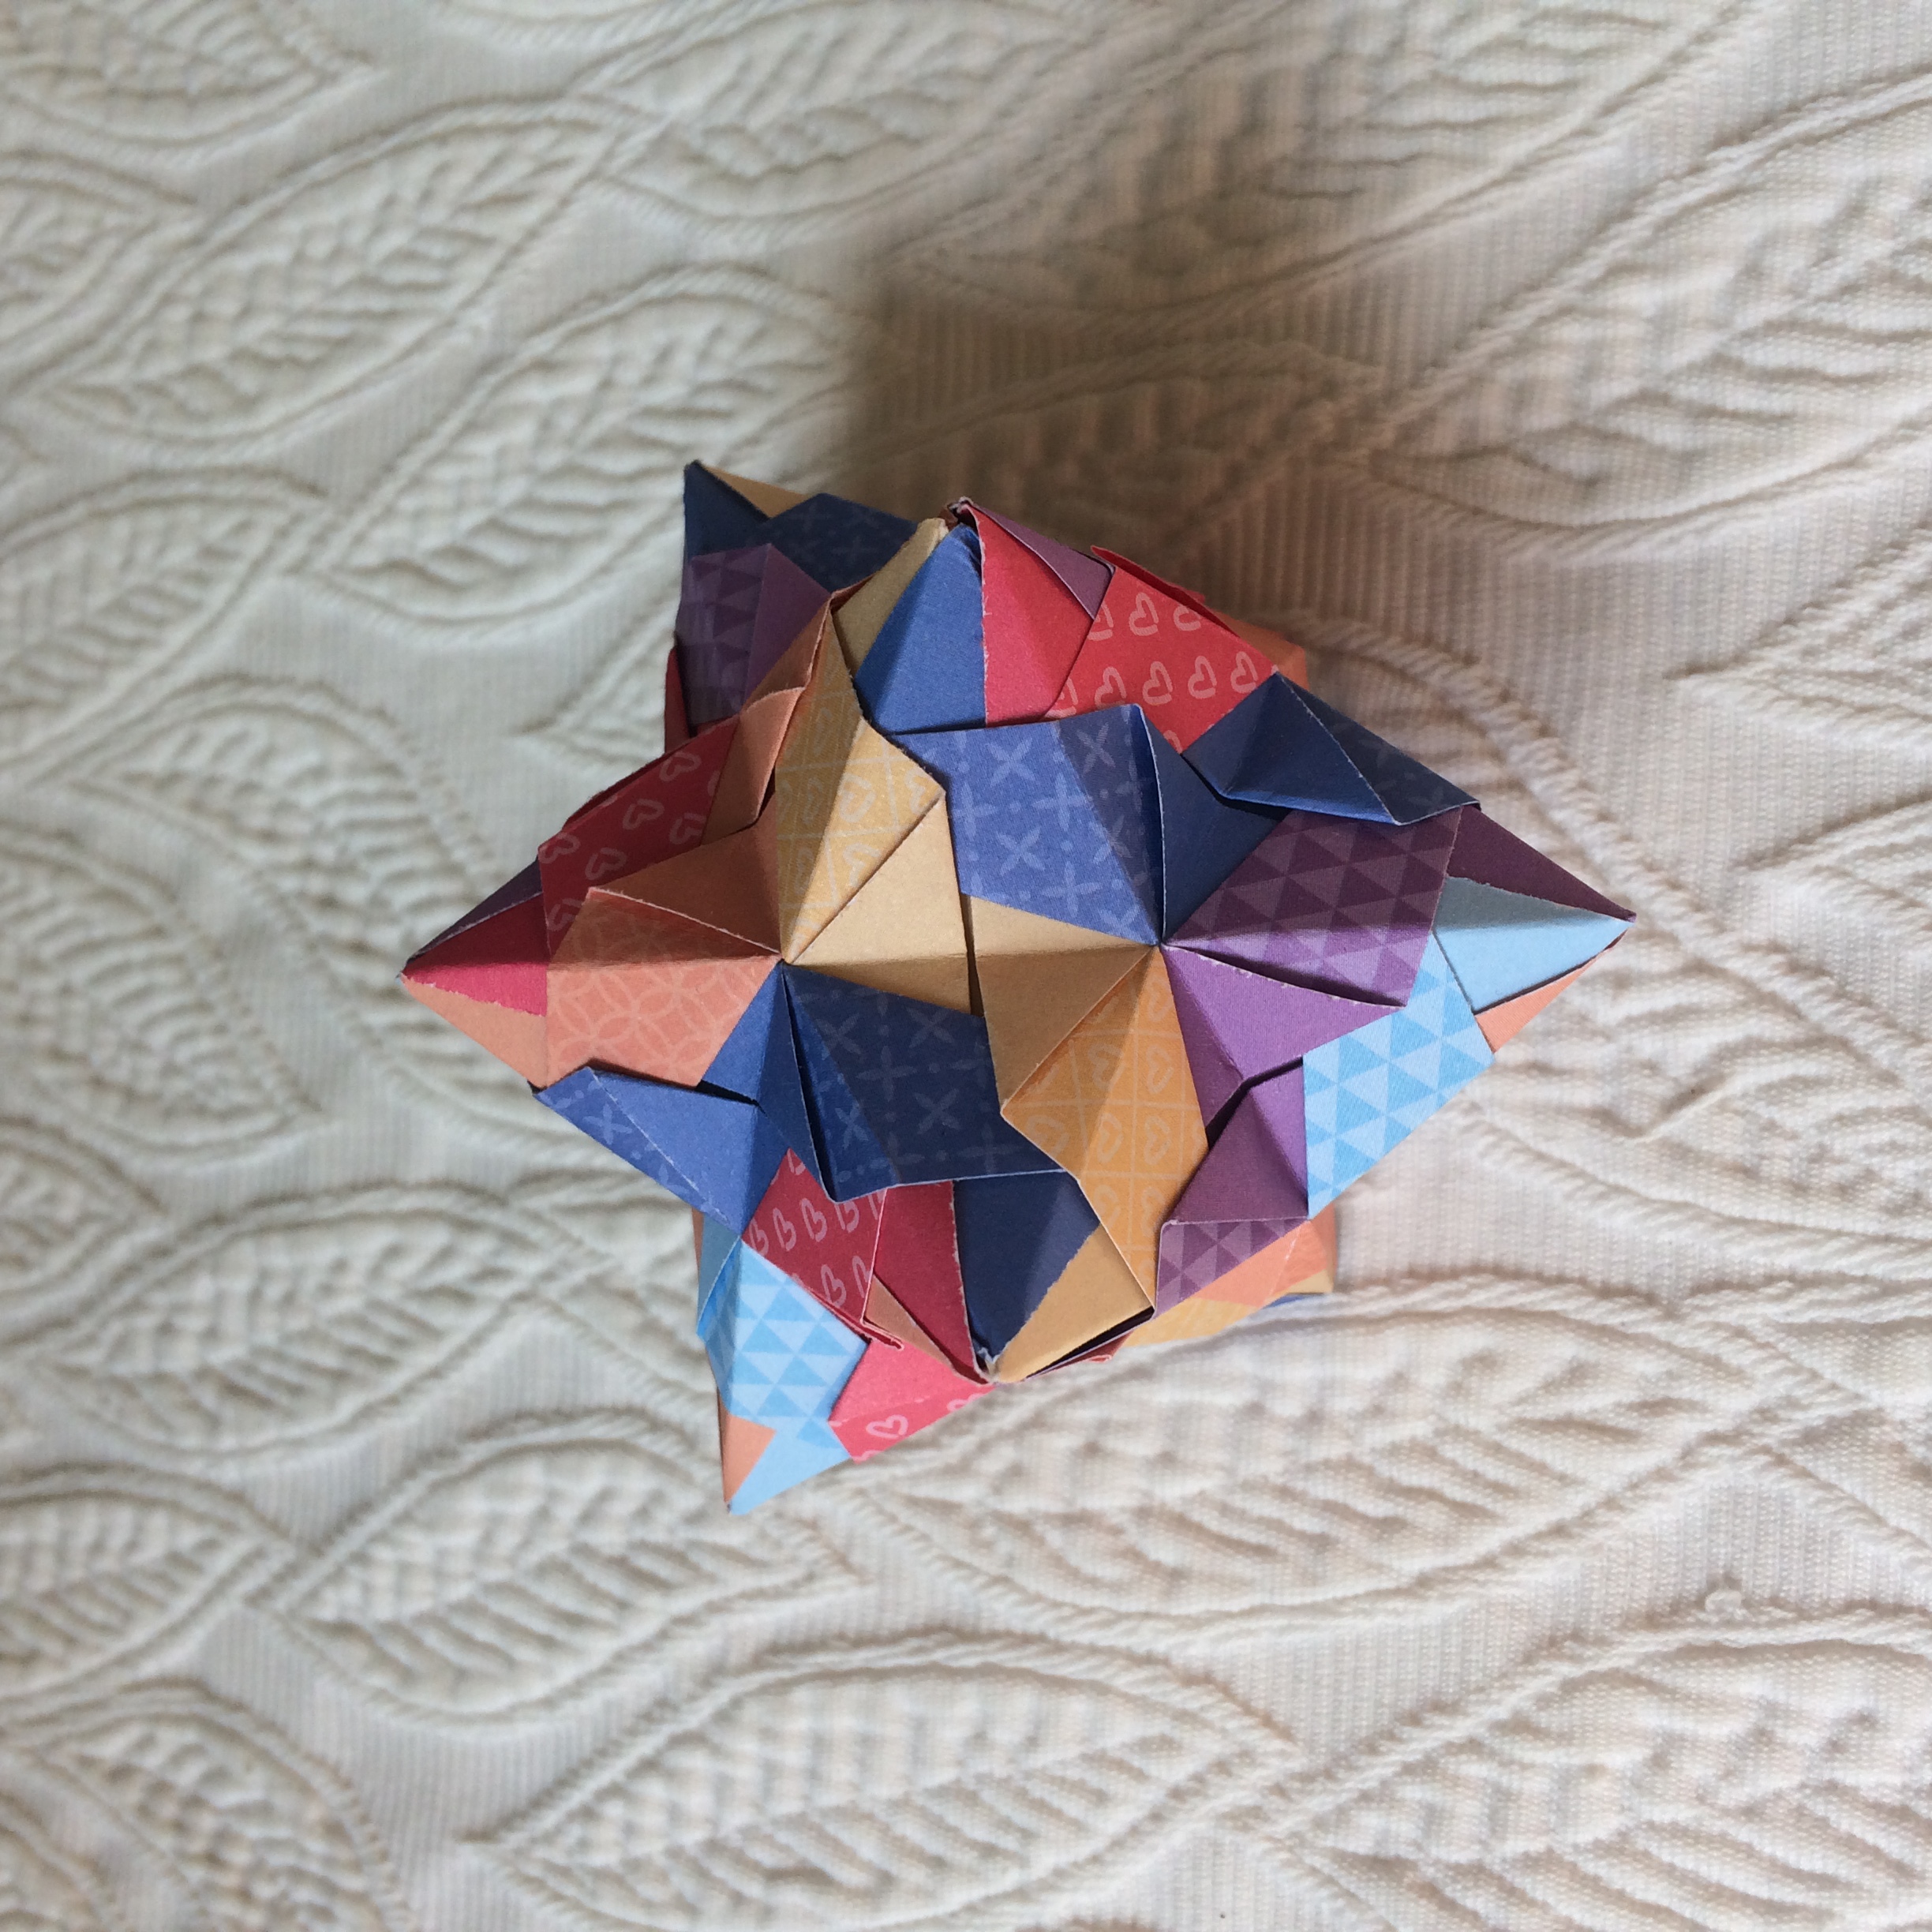
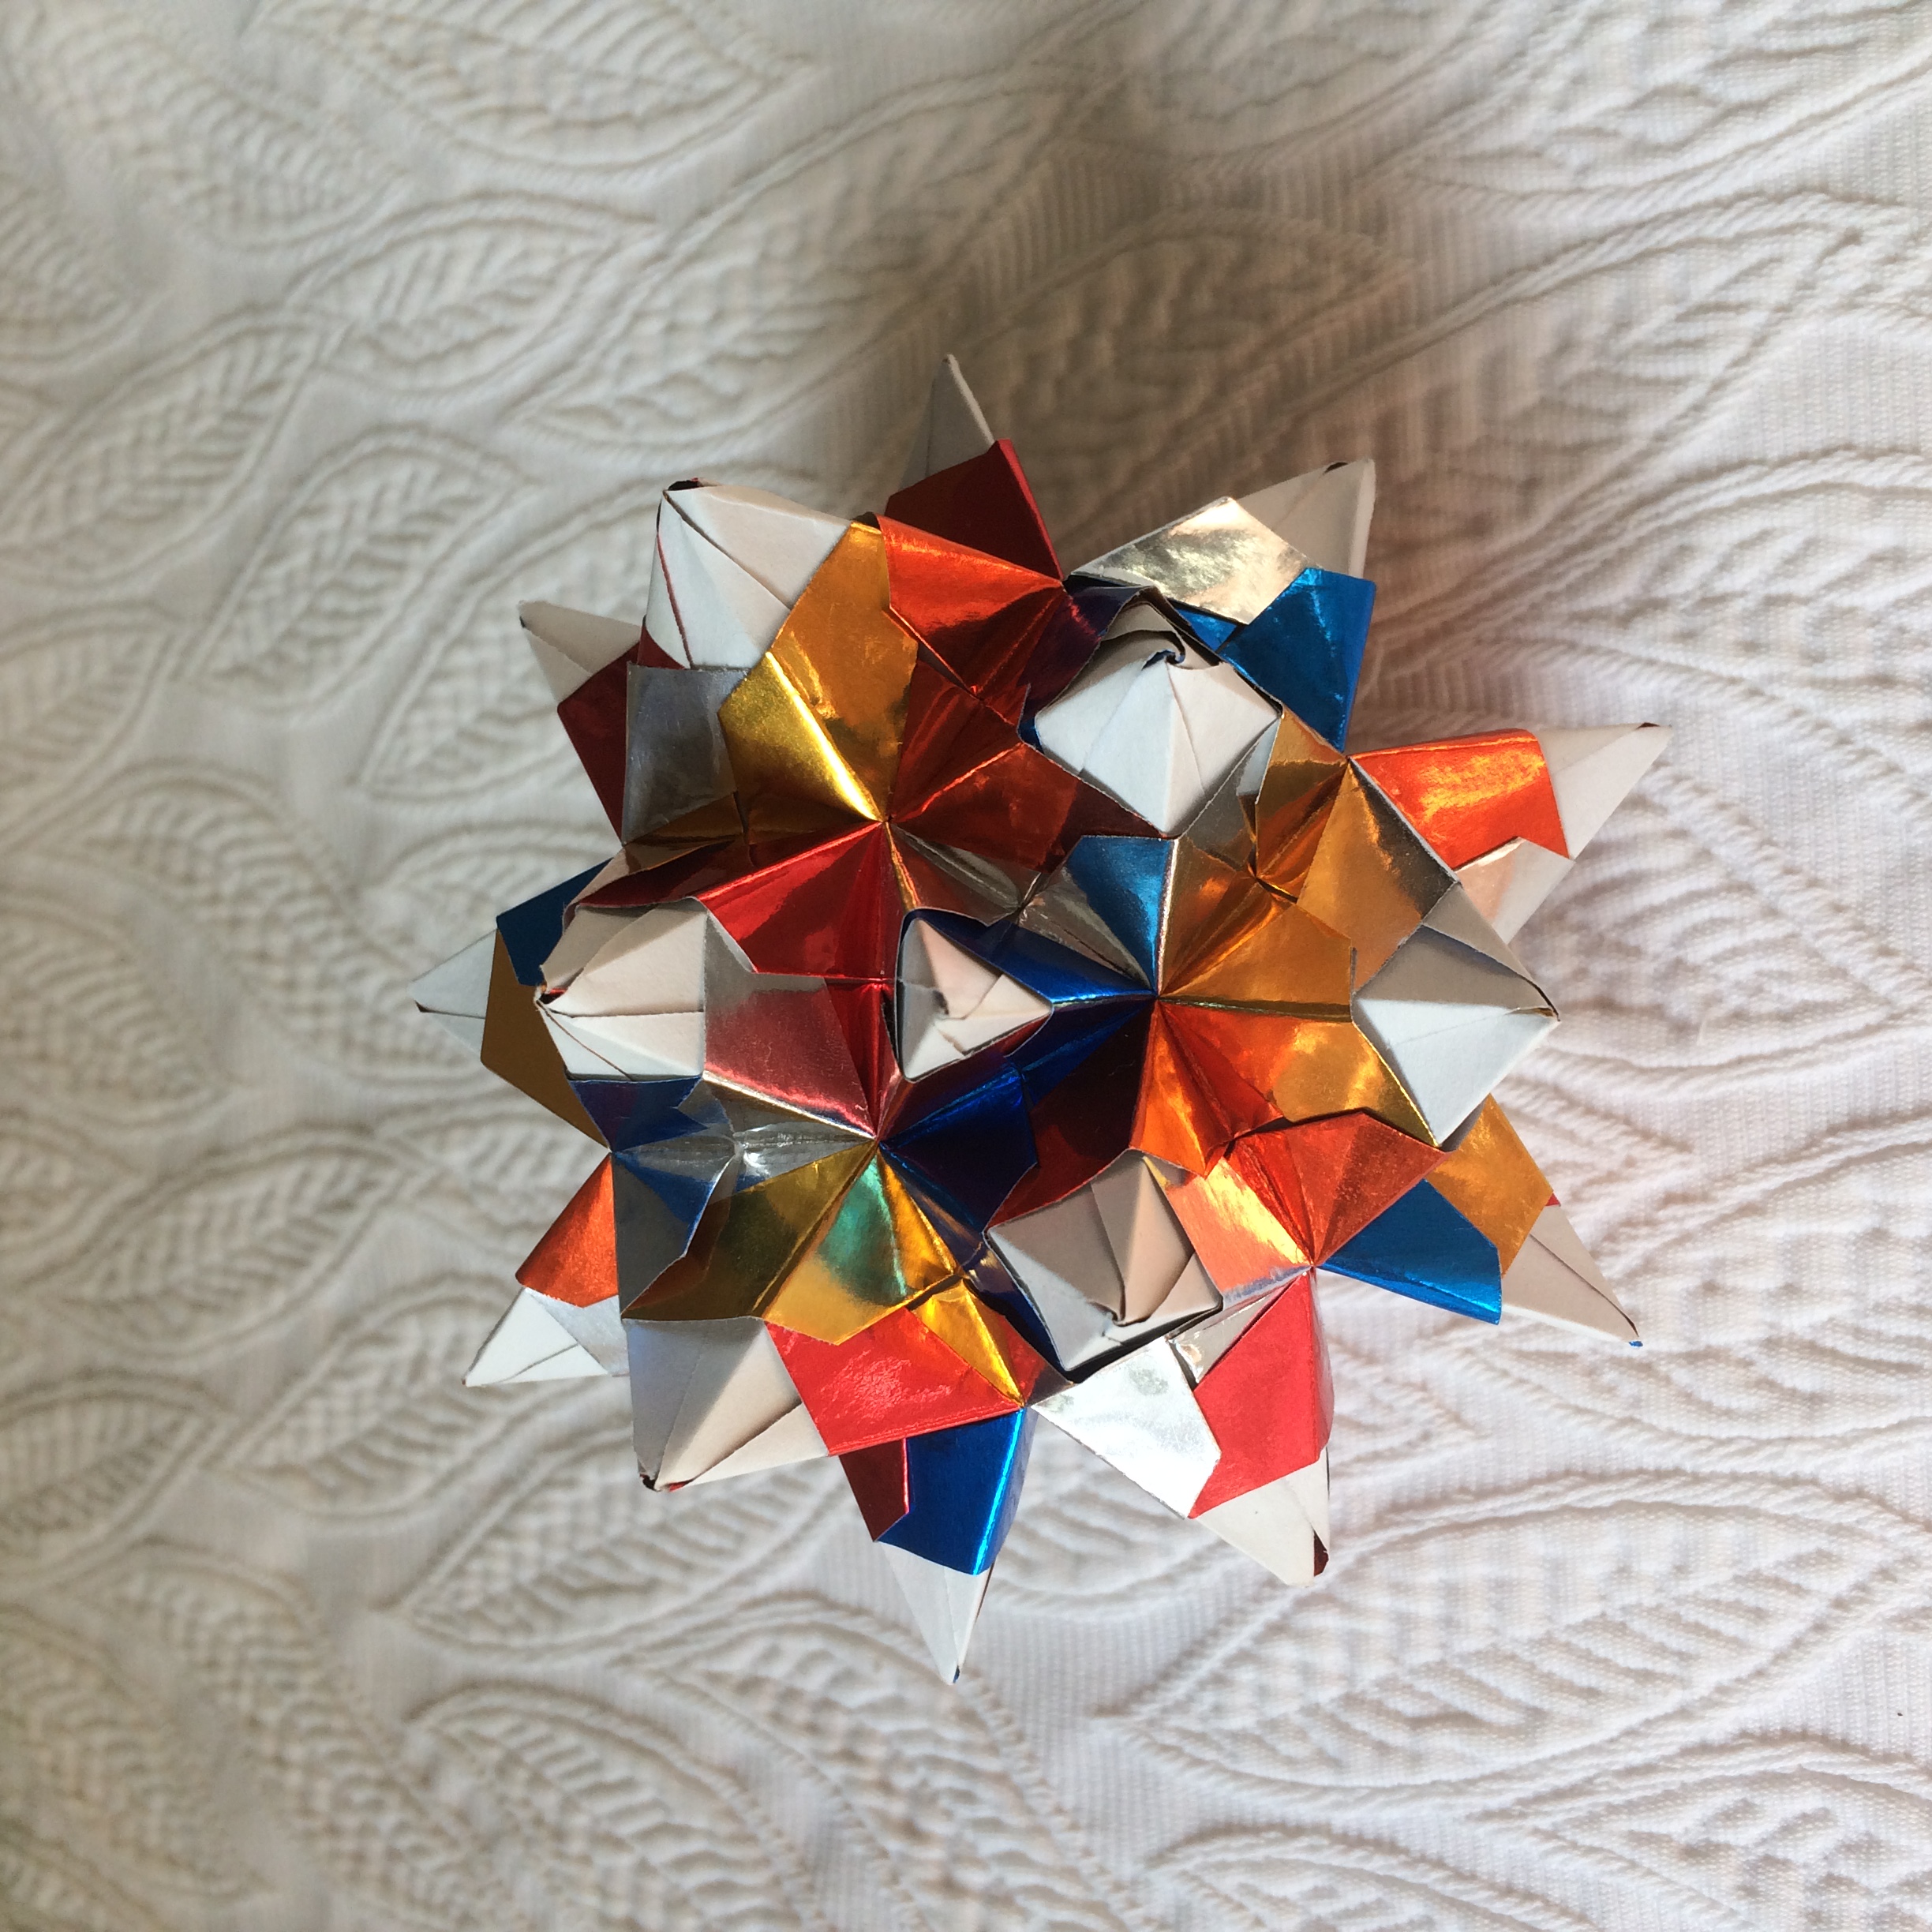
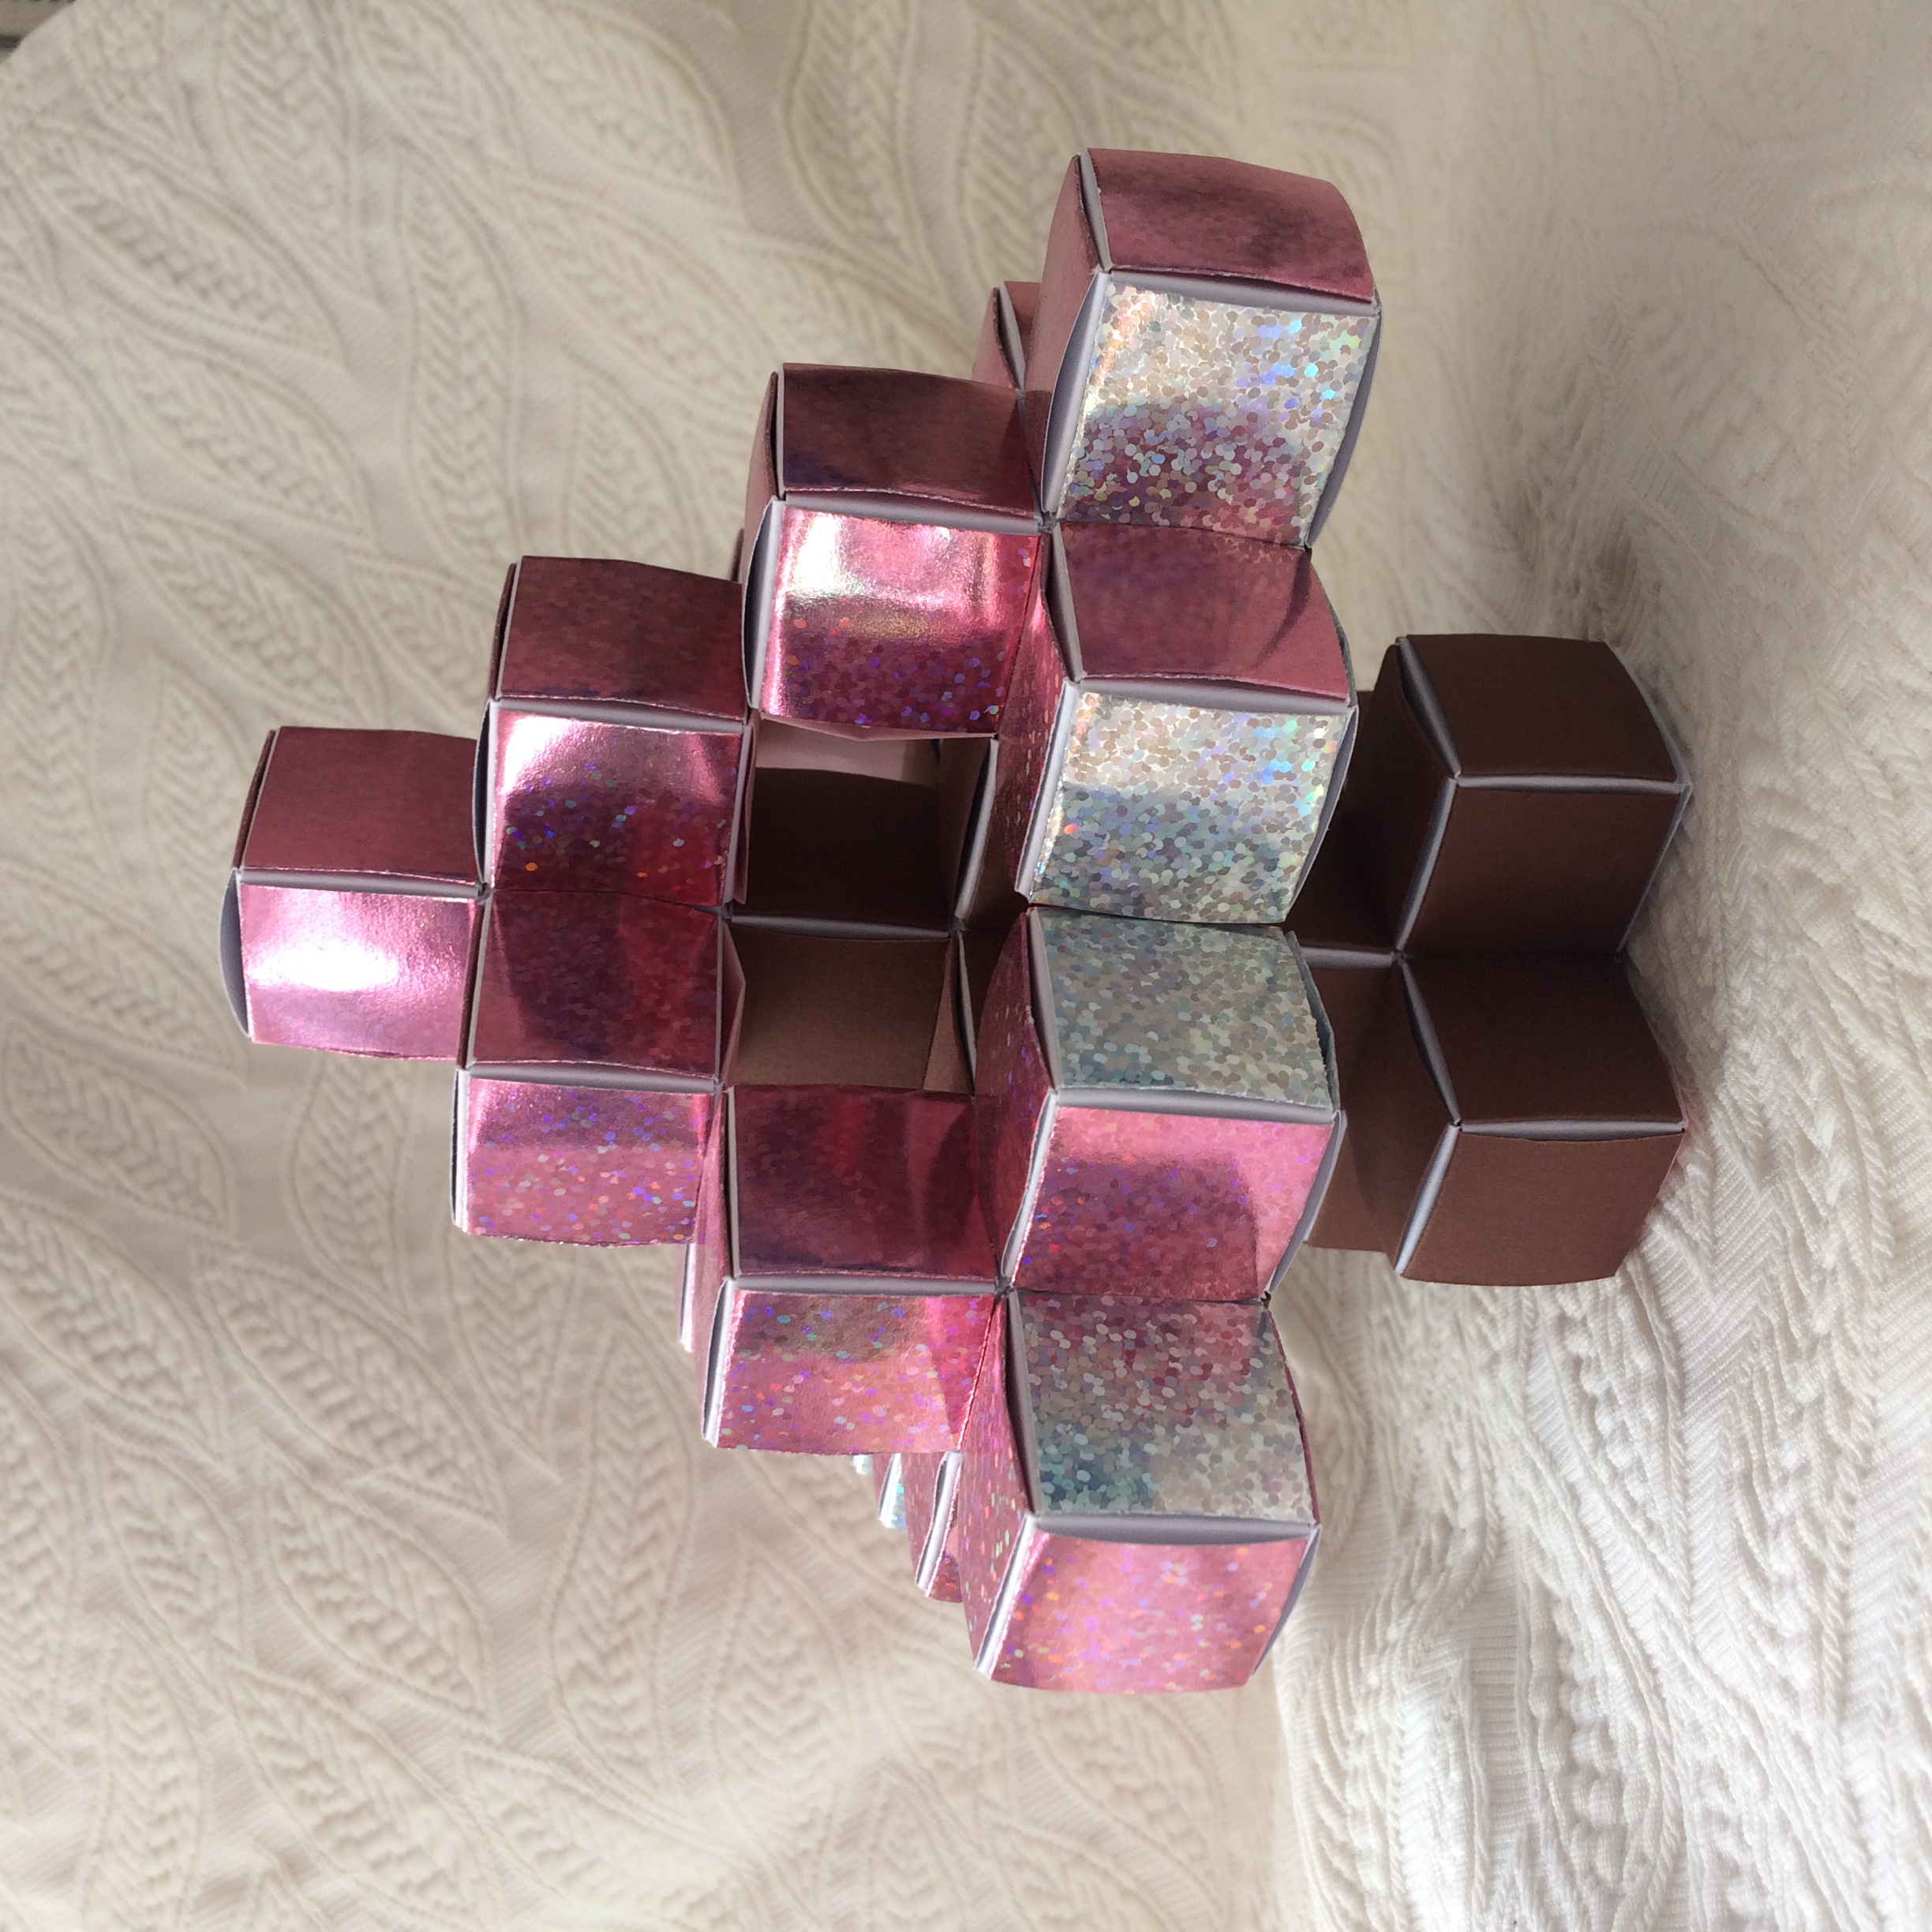
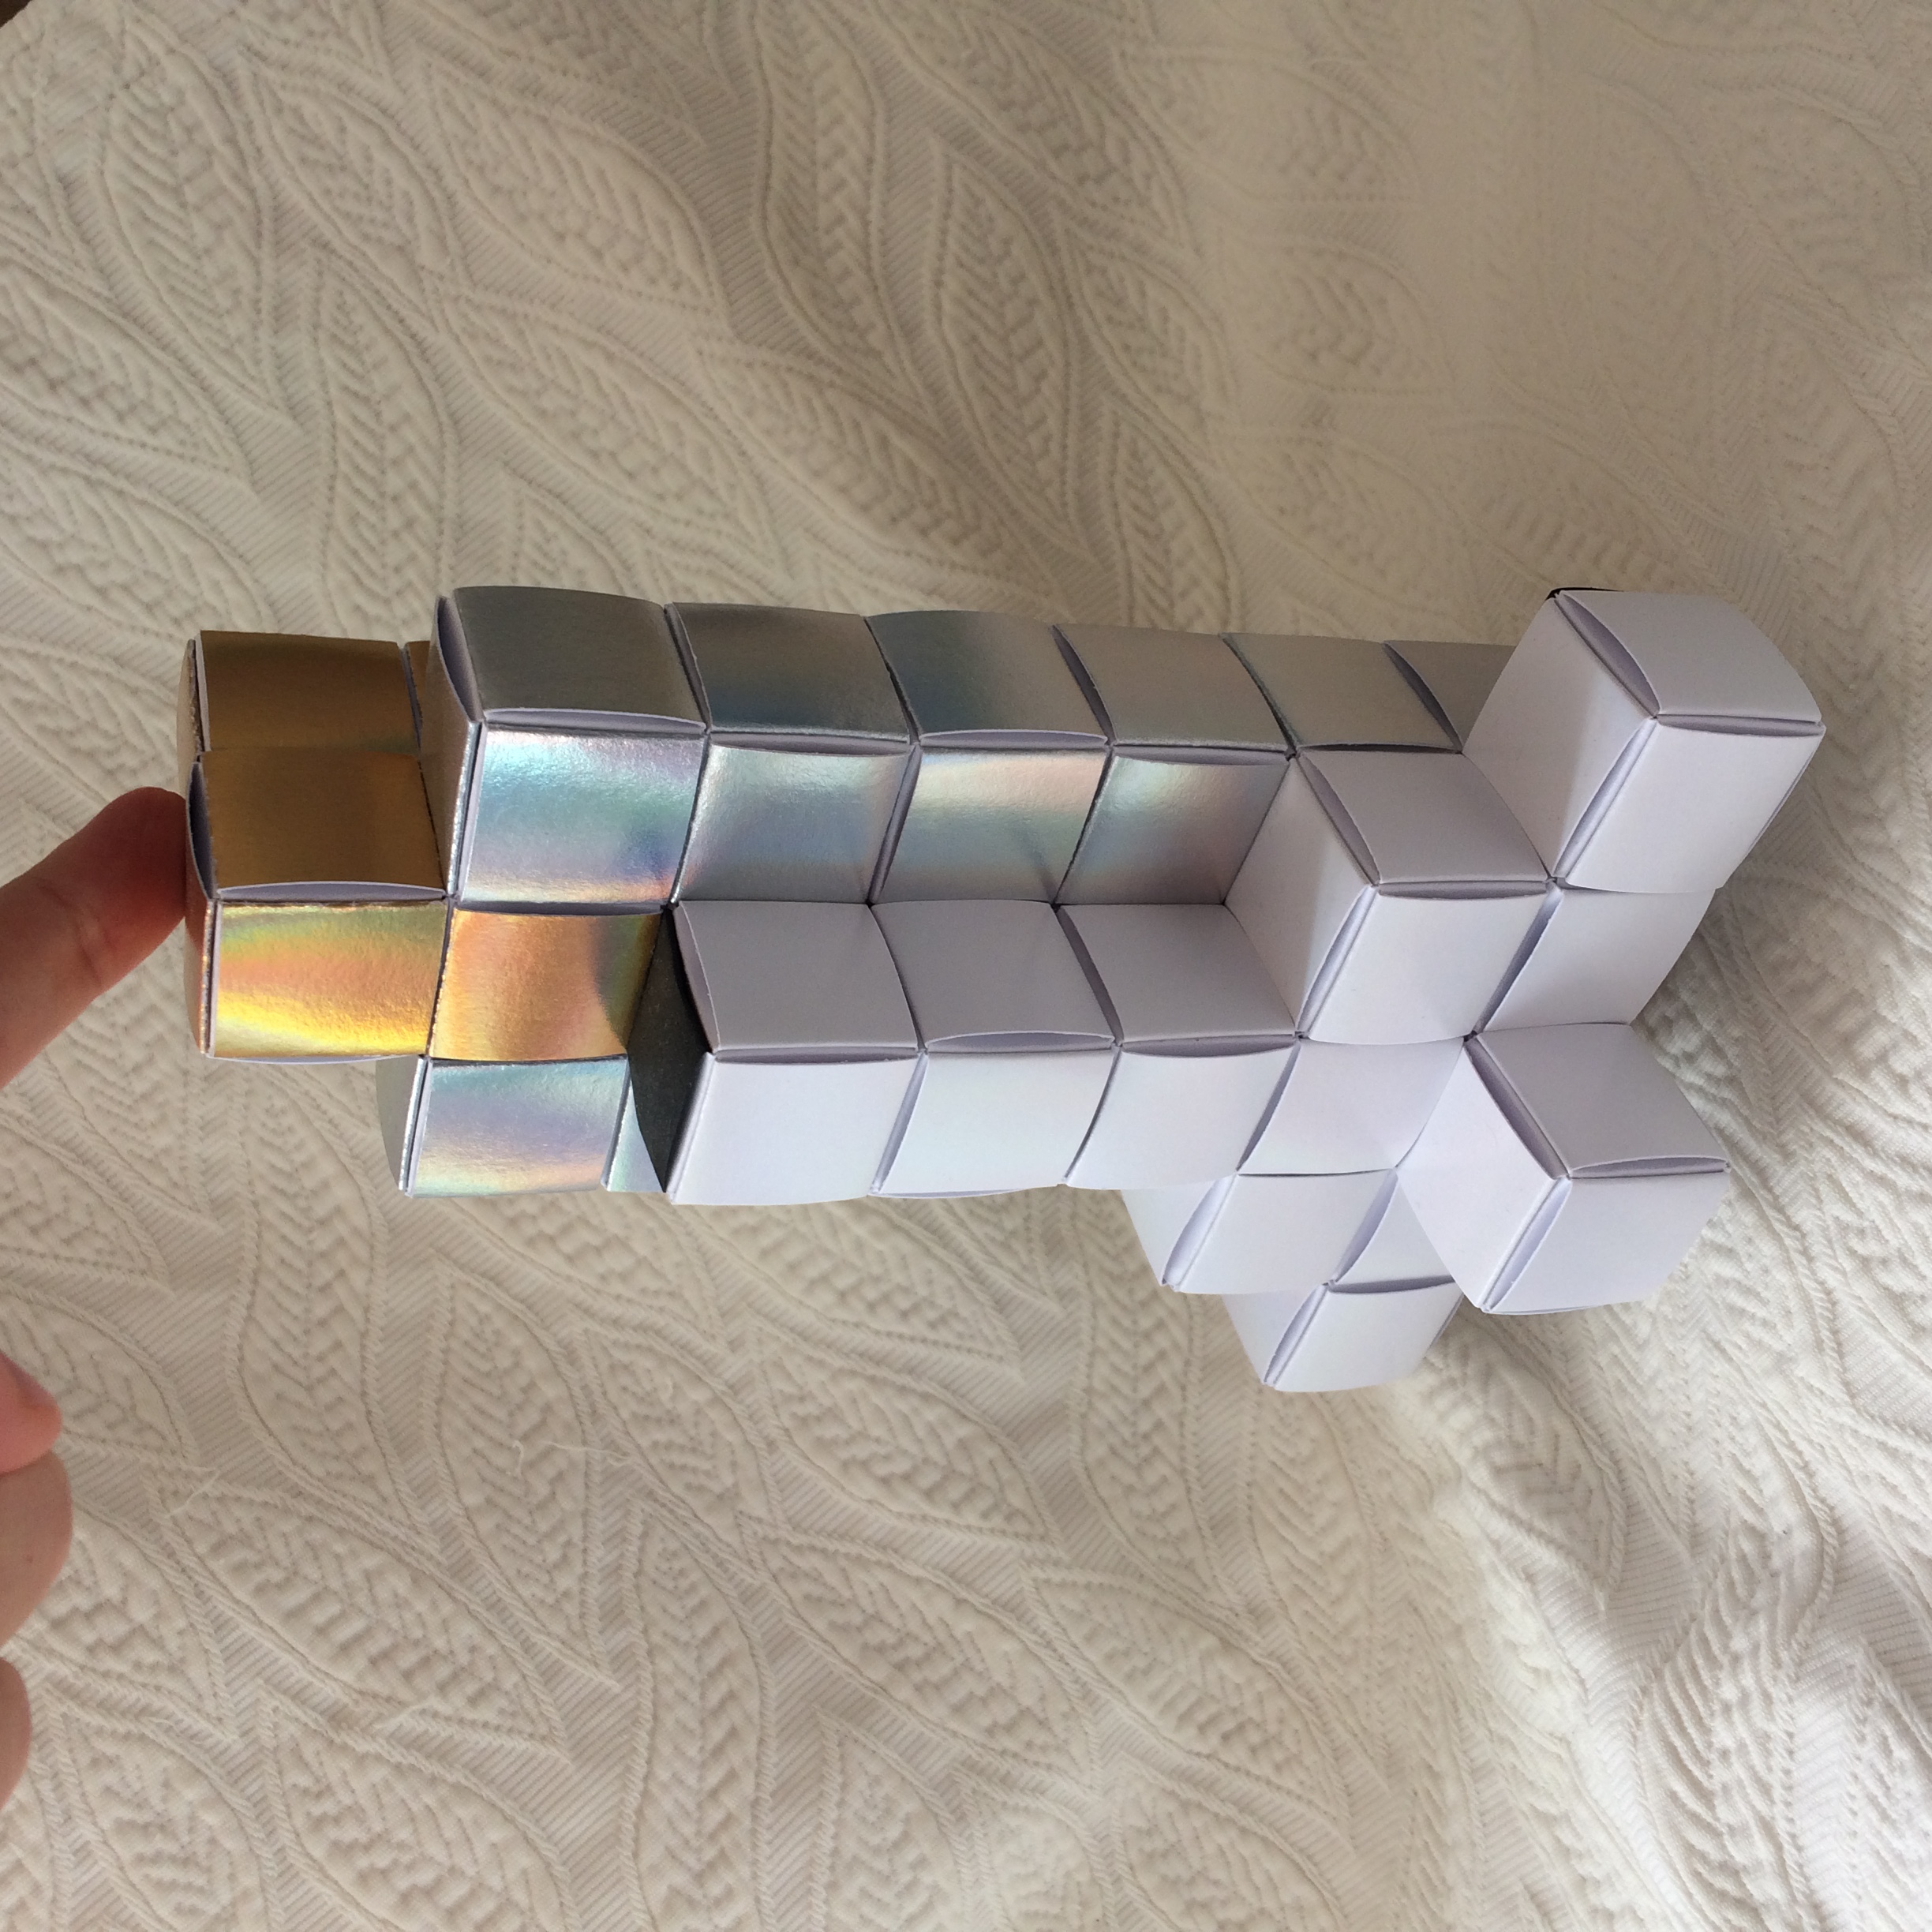
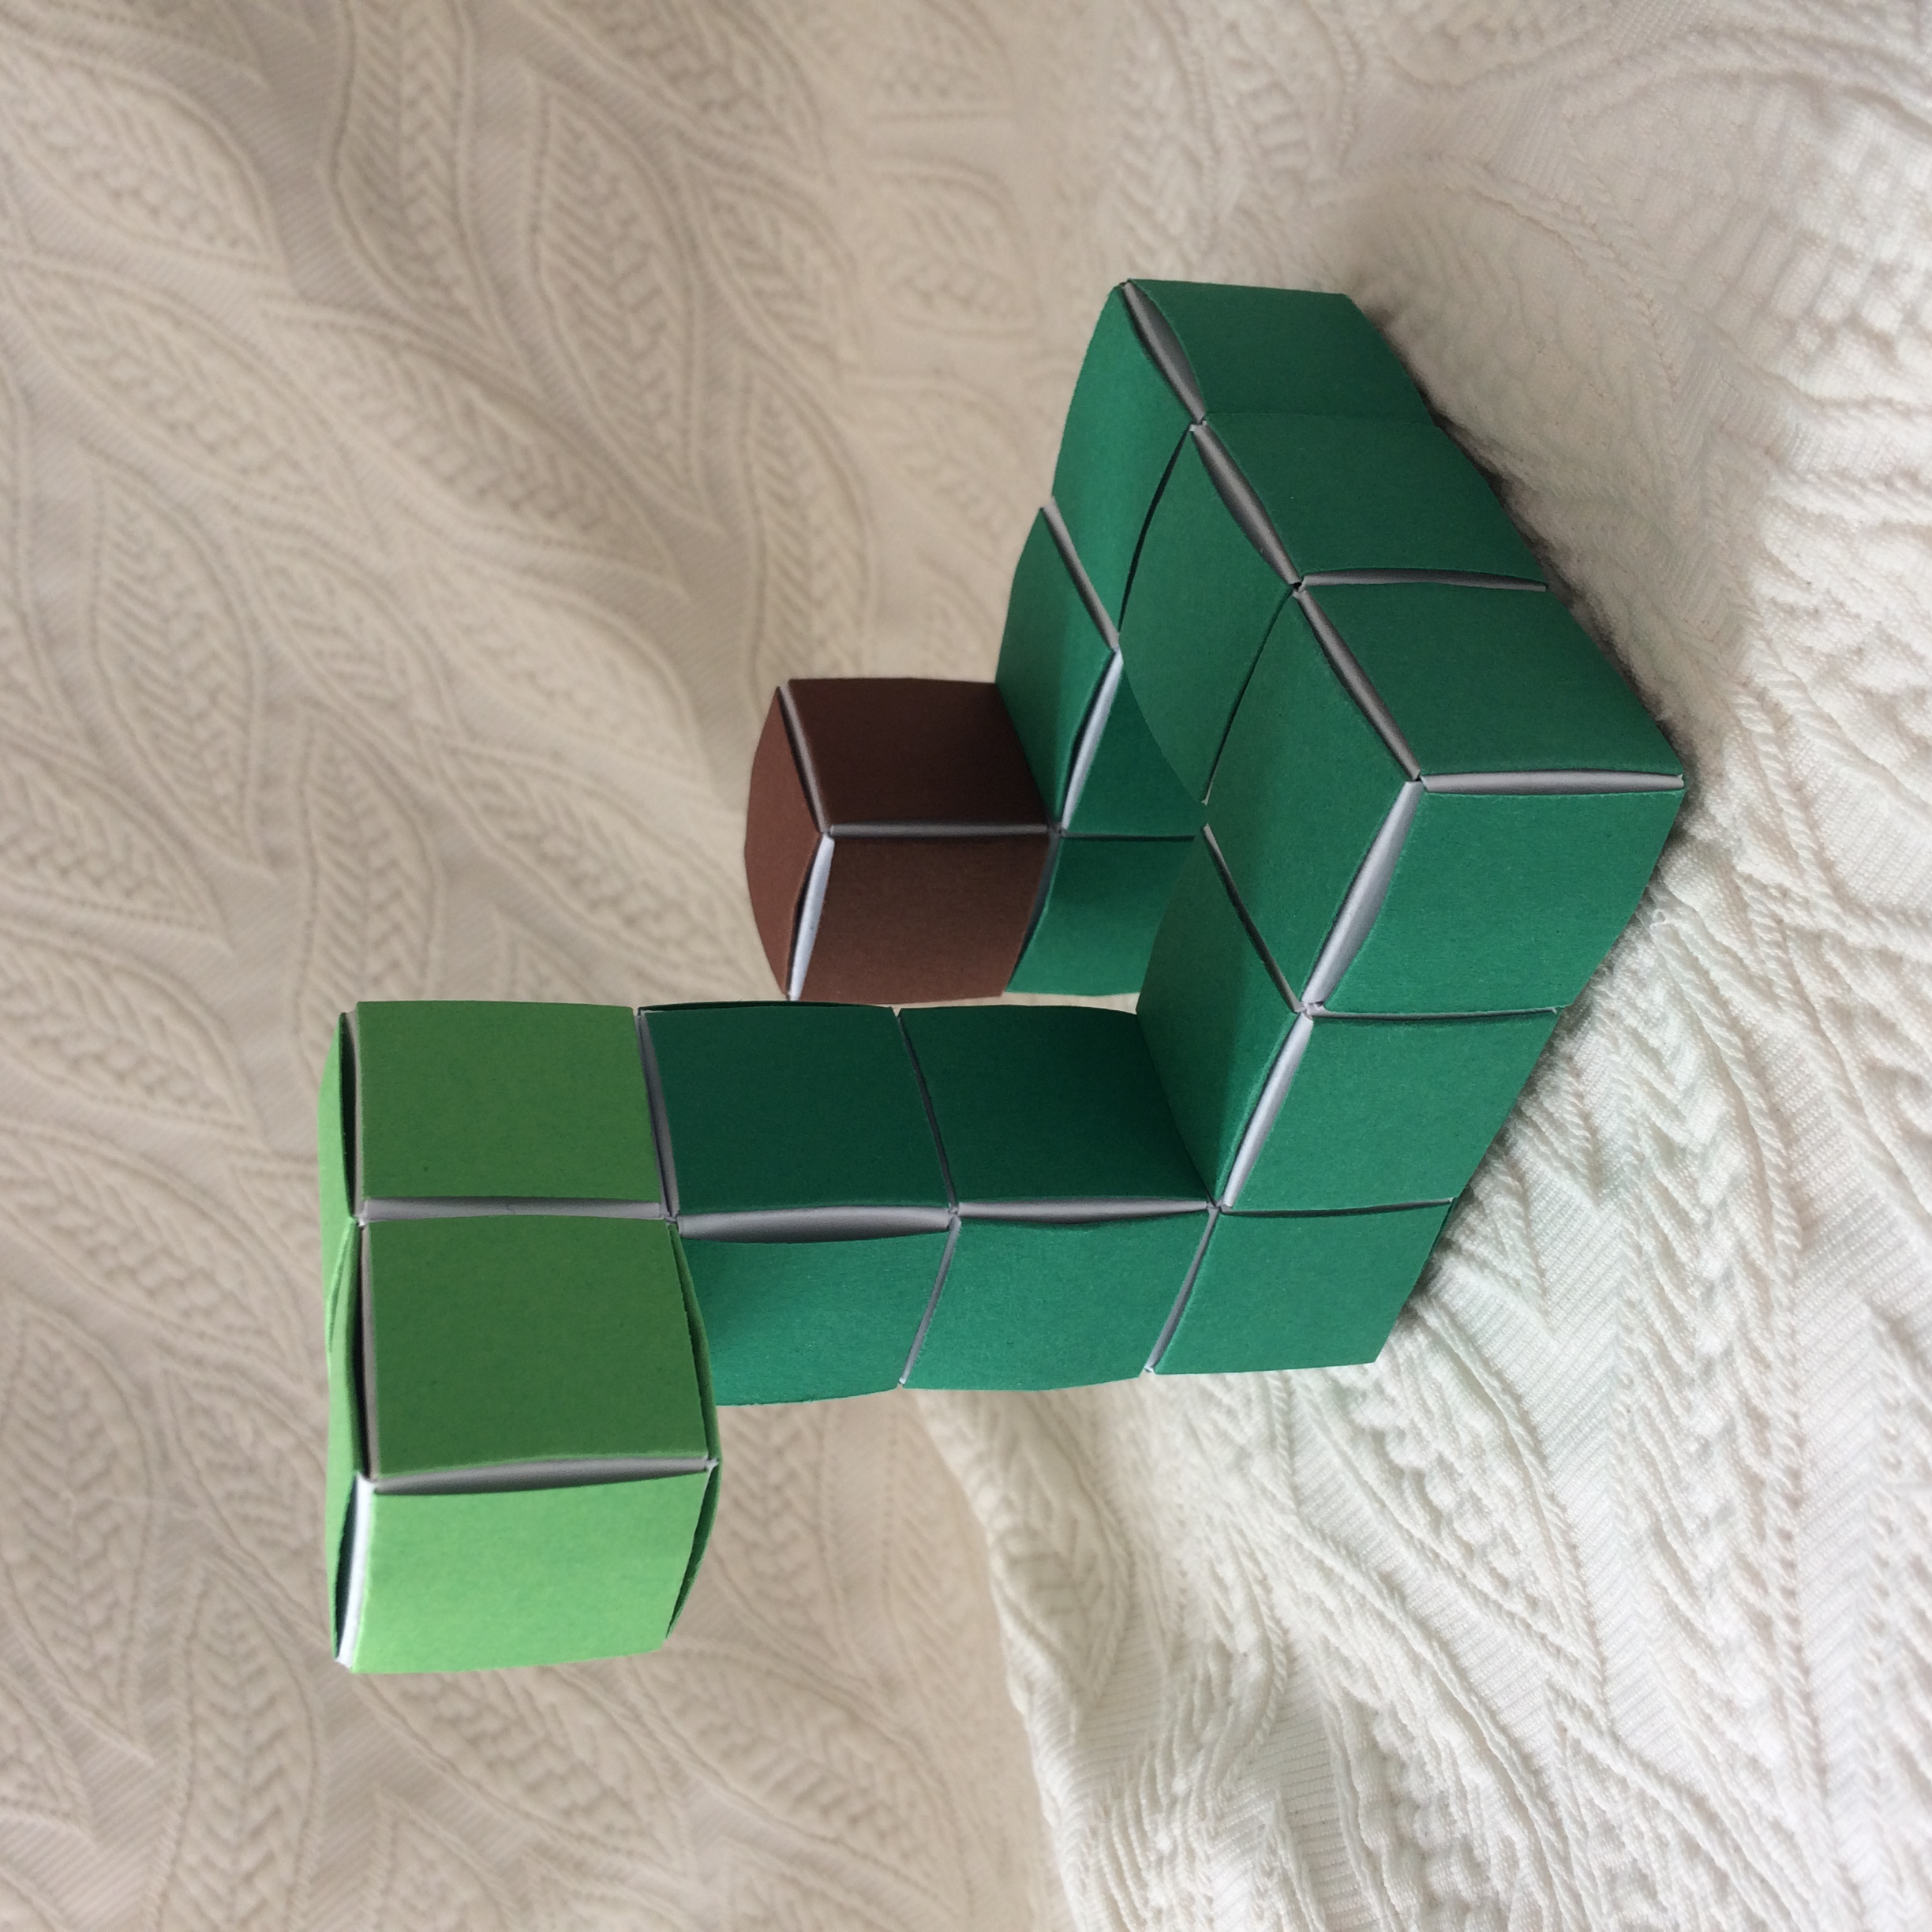
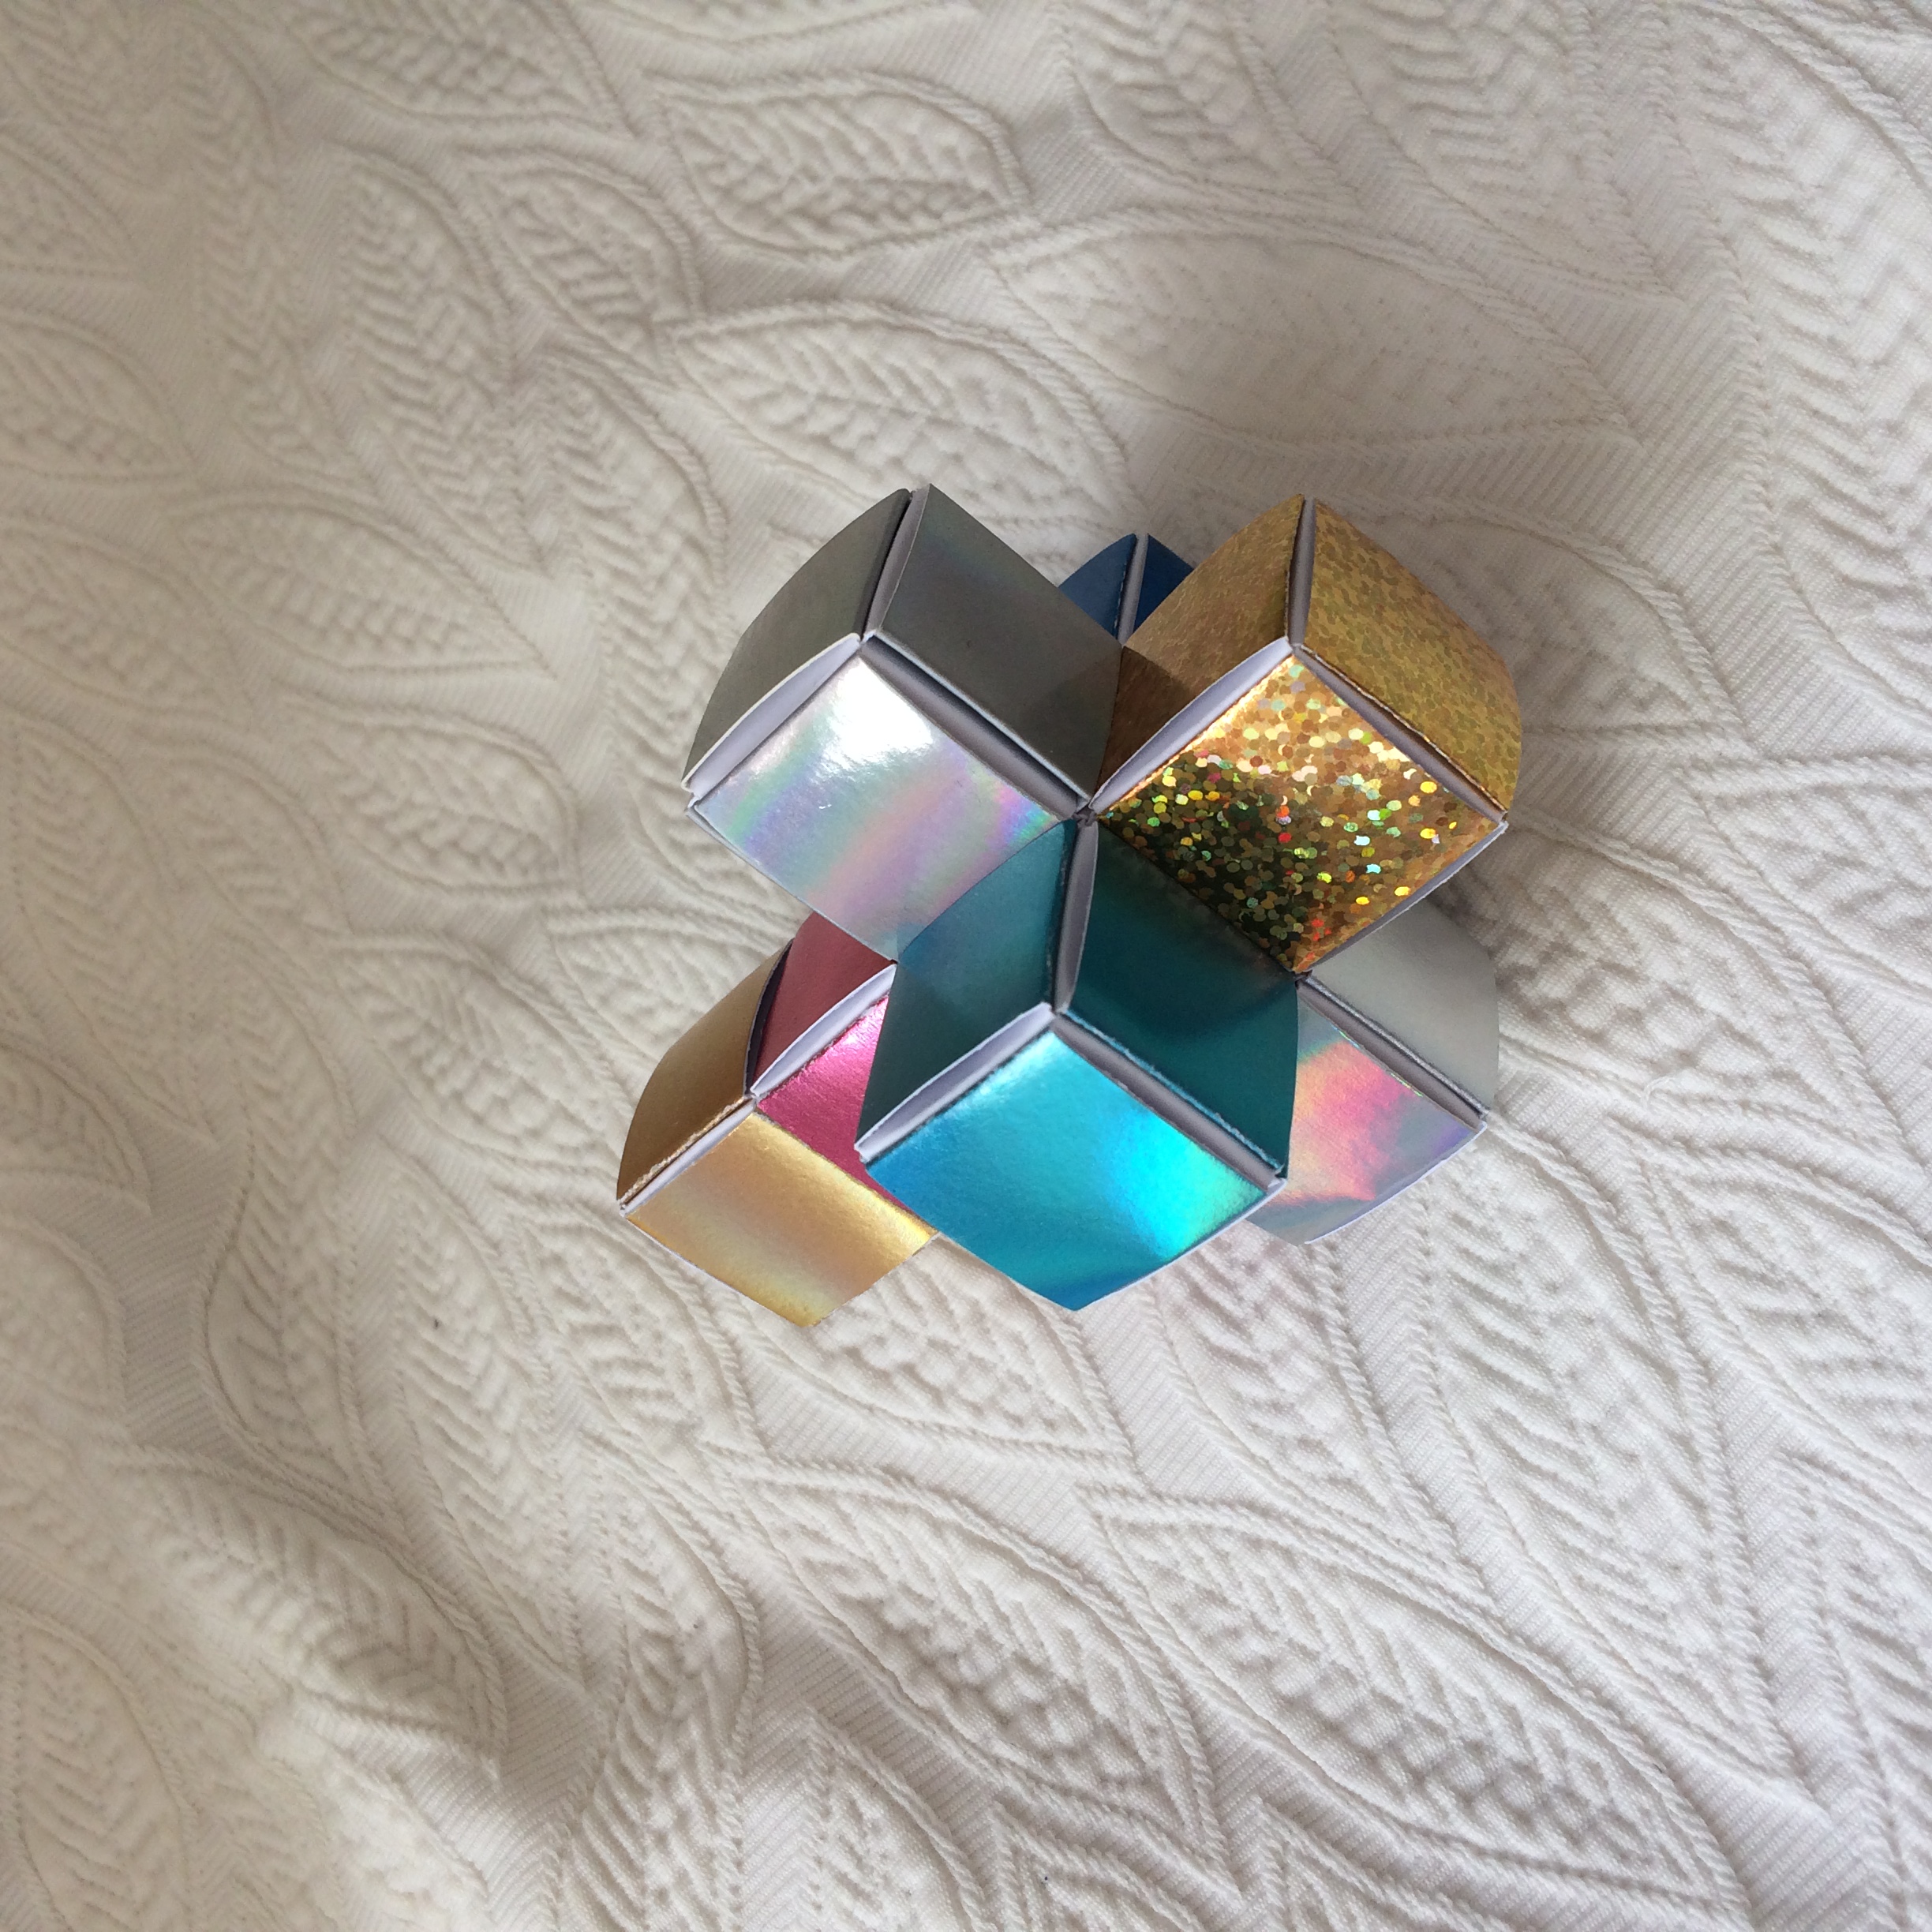
I also went and recreated cube-based structures with smaller paper sheets, on a A4 sheet, 9x7=63 modules can fit.
I also took the opportunity to try out sheets with special effects like sparkles and holographic coating.